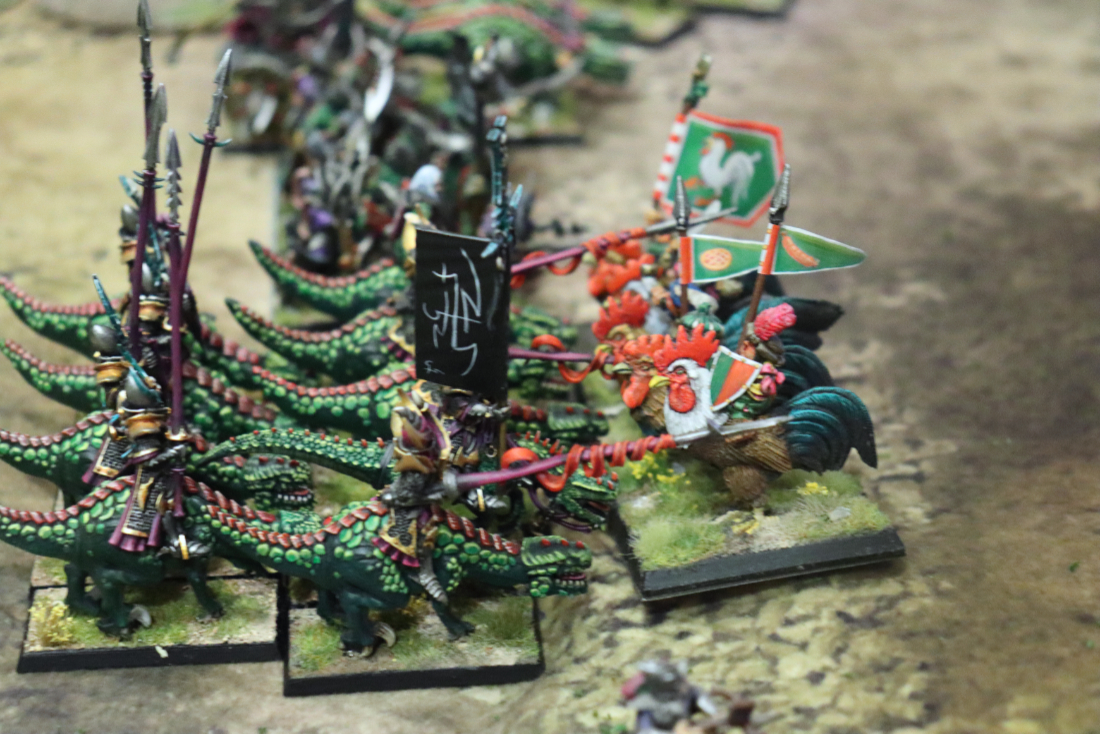
Heyhey, I had a little impromptu Warhammer Renaissance game. Mainly to get acquainted with the rules a bit better and to try some things in the game.
It’s a simple 1000 points game, Dark Elves vs. Empire
The Forces
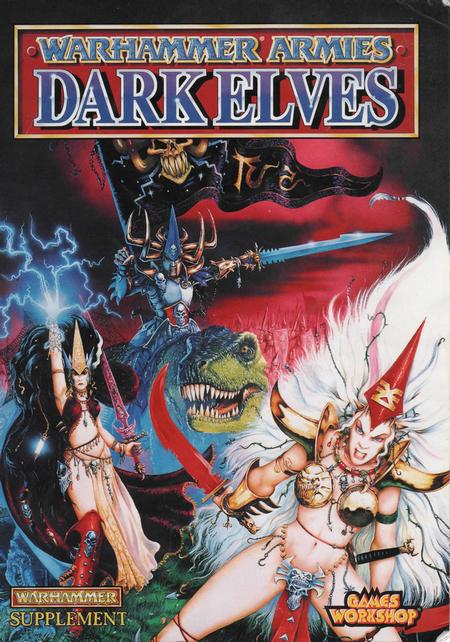
Dark Elves
Sorcerer Champion Tawsha (level 2), Spells: Death Spasm, Blade Wind
6 Dark Riders (Spears, Repeating Crossbows, Light Armour)
12 Dark Elf Warriors with Repeating Crossbows (Repeating Crossbows)
16 Black Ark Corsairs (2 Hand Weapons, Sea Dragon Cloaks, Assault Banner)
9 Cold One Knights (Lances, Heavy Armour, Shields)
1 Cold One Chariot (2 Crew, Spears, Repeating Crossbows, Light Armour)
Repeating Bolt Thrower (2 Crew)
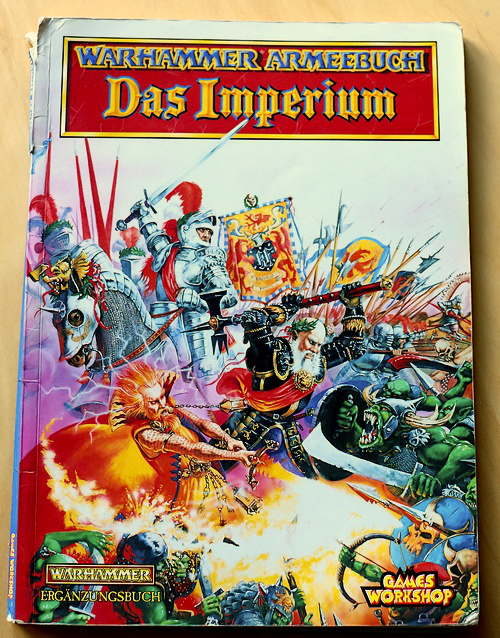
Empire
Hero Hego von Haffmanstal (Lance, Full Plate Armour, Shield, Barded Warhorse)
Gold Wizard (level1), Spell: Gleaming Arrow
19 Halberdiers (Halberds)
12 Crossbowmen (Crossbow)
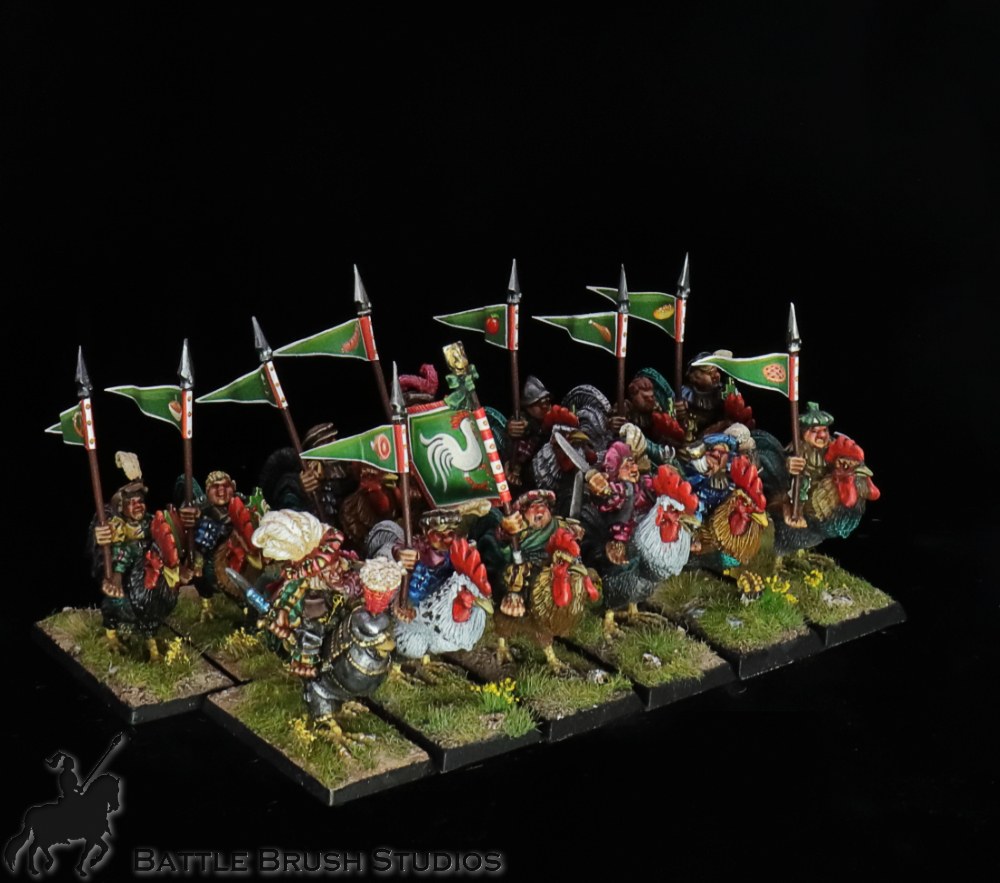
12 Winged Lancers (Lances, Light Armour, Shields, Banner of Might)
6 Pistoliers (Brace of Pistols, Light Armour)
7 Knights of the Blazing Sun (Lances, Full Plate Armour, Shields, Barded Warhorses)
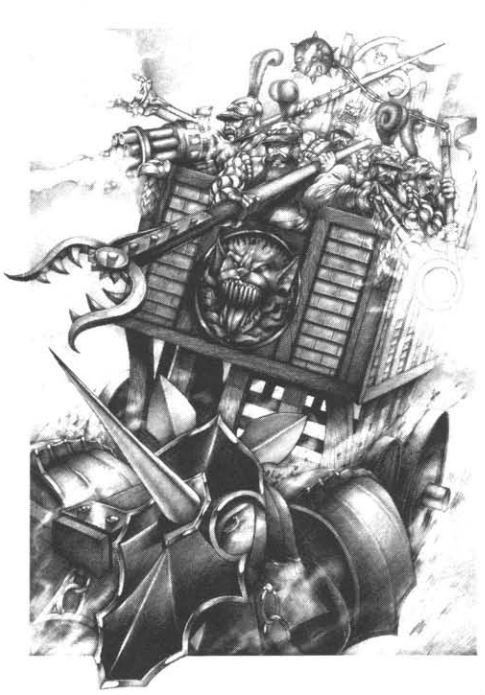
War Wagon (Repeating Handgun, Blunderbuss, Hochland Long Rifle, Man Catcher, Ball and Chain, Hook Halberd, Light Armour, Barded Warhorses)
The Scenario
A Dark Elves raiding party somehow snuck inland of the Empire, possibly using underground river networks or dark magic. They seek to raid Ostland for plunder, slaves and just for the fun of it.
As it happens, Hego von Hoffmanstal and his knights are nearby. They, along with some wealthy Halfling pie nobility and their lifeguard, are invited to oversee the first public test runs of Lorezo Lepus’ new War Wagon. This armoured platform aims to make various experimental weapons mobile and thus more suited to the changing requirements of battlefields of the near future. The halflings show some interest in the technology, whereas the knights are dismissive. They have to admit though that the vehicle seems to be more reliable than steam-powered alternatives.
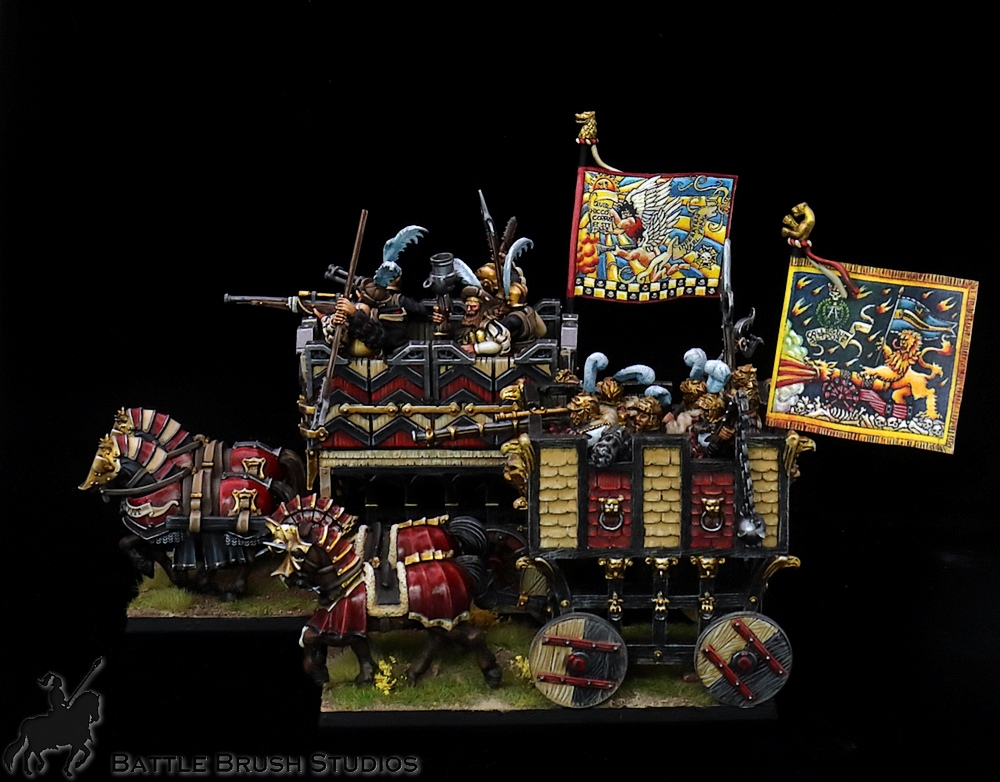
Alarm bells from nearby villages sound, and the rather mixed imperial force leaves to meet the enemy. They quickly recognize the nature of the enemy and decide that the course of action is to cut them off from their landing ships and then round them up.
The Dark Elves’ plan is to swiftly cut into the hinterland and raid the richer villages.
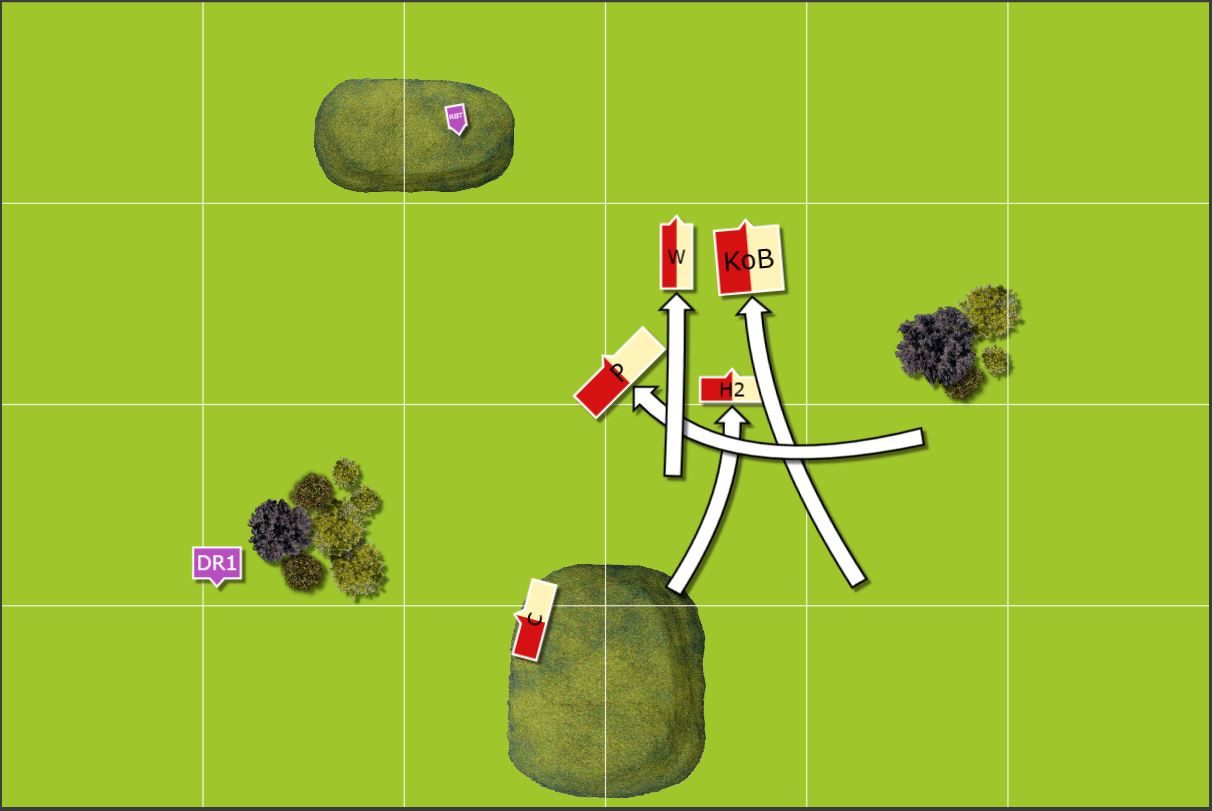
So here’s the table:
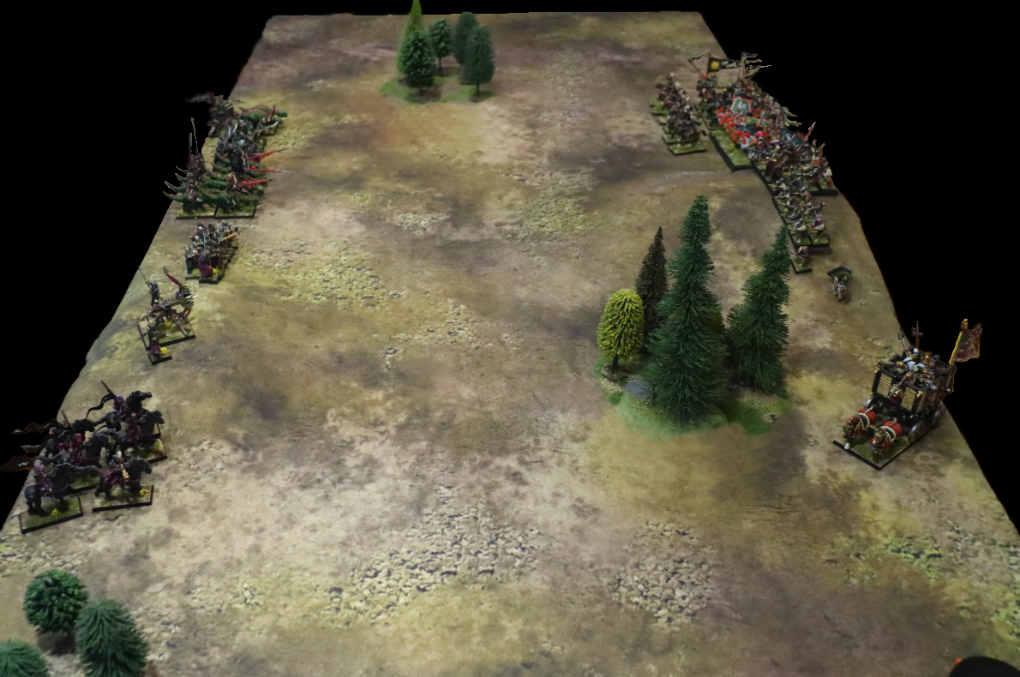
The objective is to get more units (regiments, rank & file) into the enemy army’s deployment zone by the end of the game. This grants 500 Victory Points.
Deployment
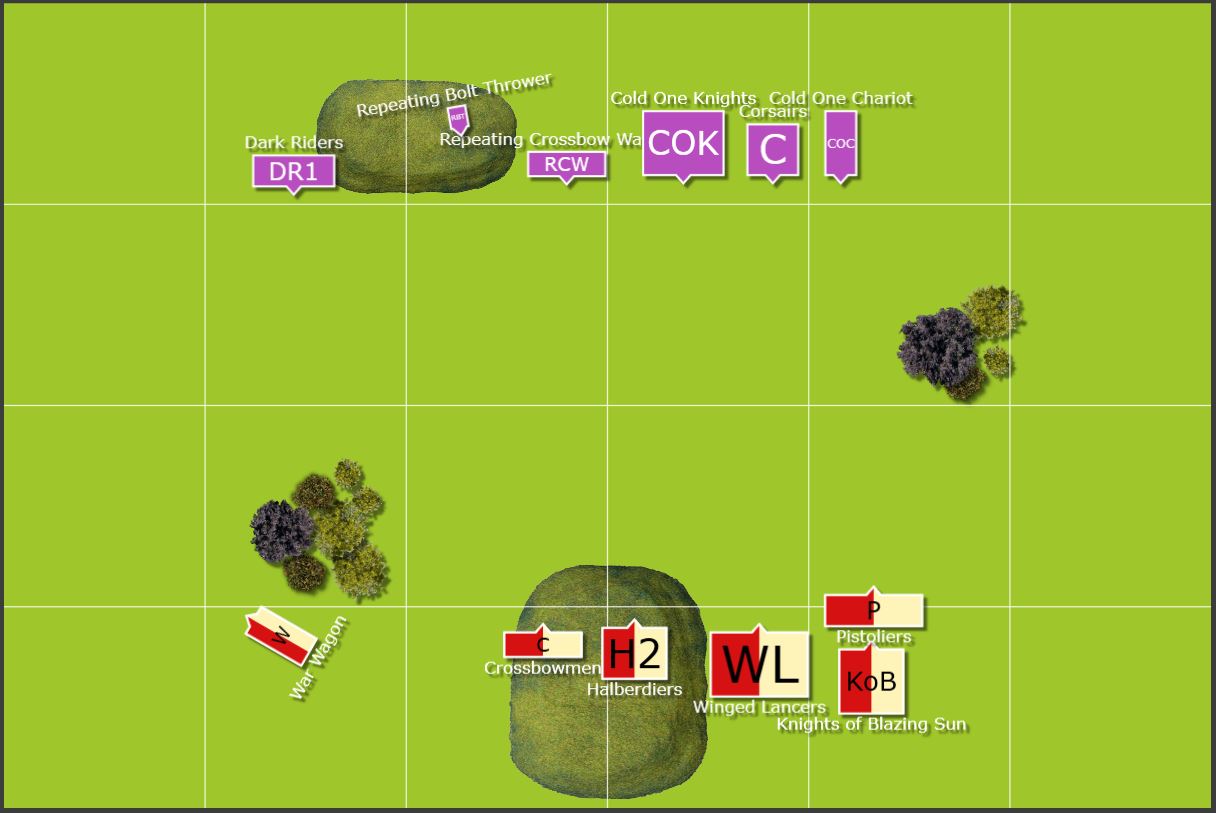
Since this is a solo game, I rolled for terrain, then for which army would deploy on which side and THEN I rolled for where each unit would deploy. It’s a super special, super secret and super wobbly system, but it somewhat randomizes where units deploy.
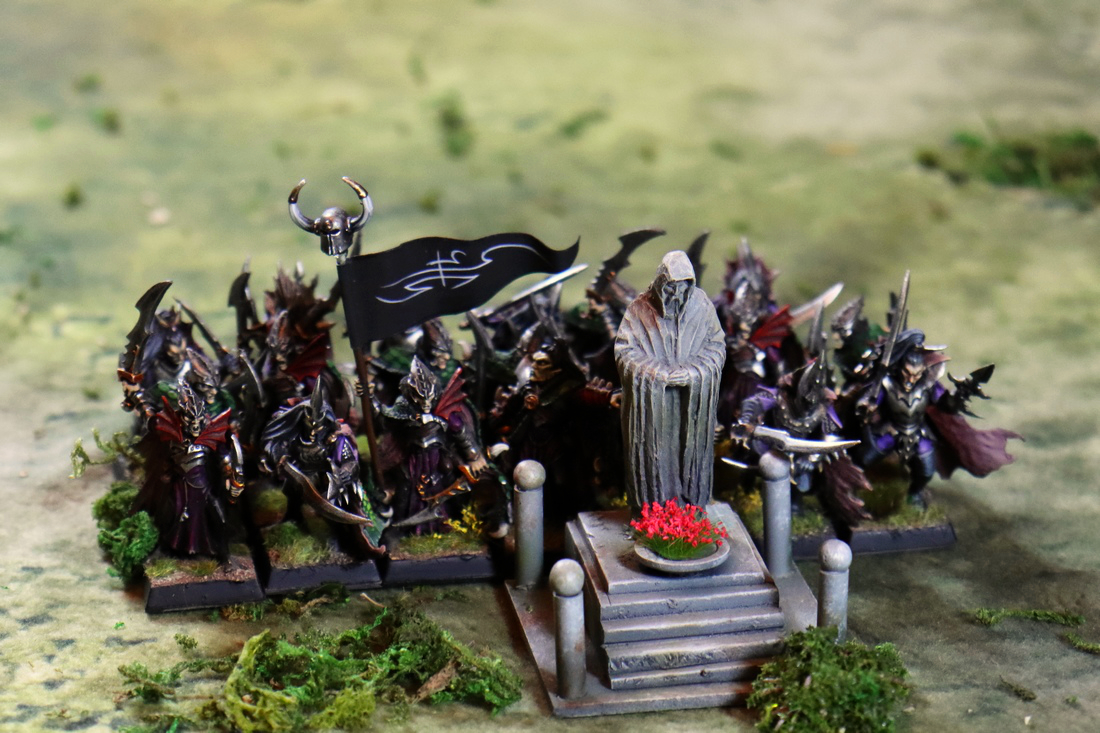
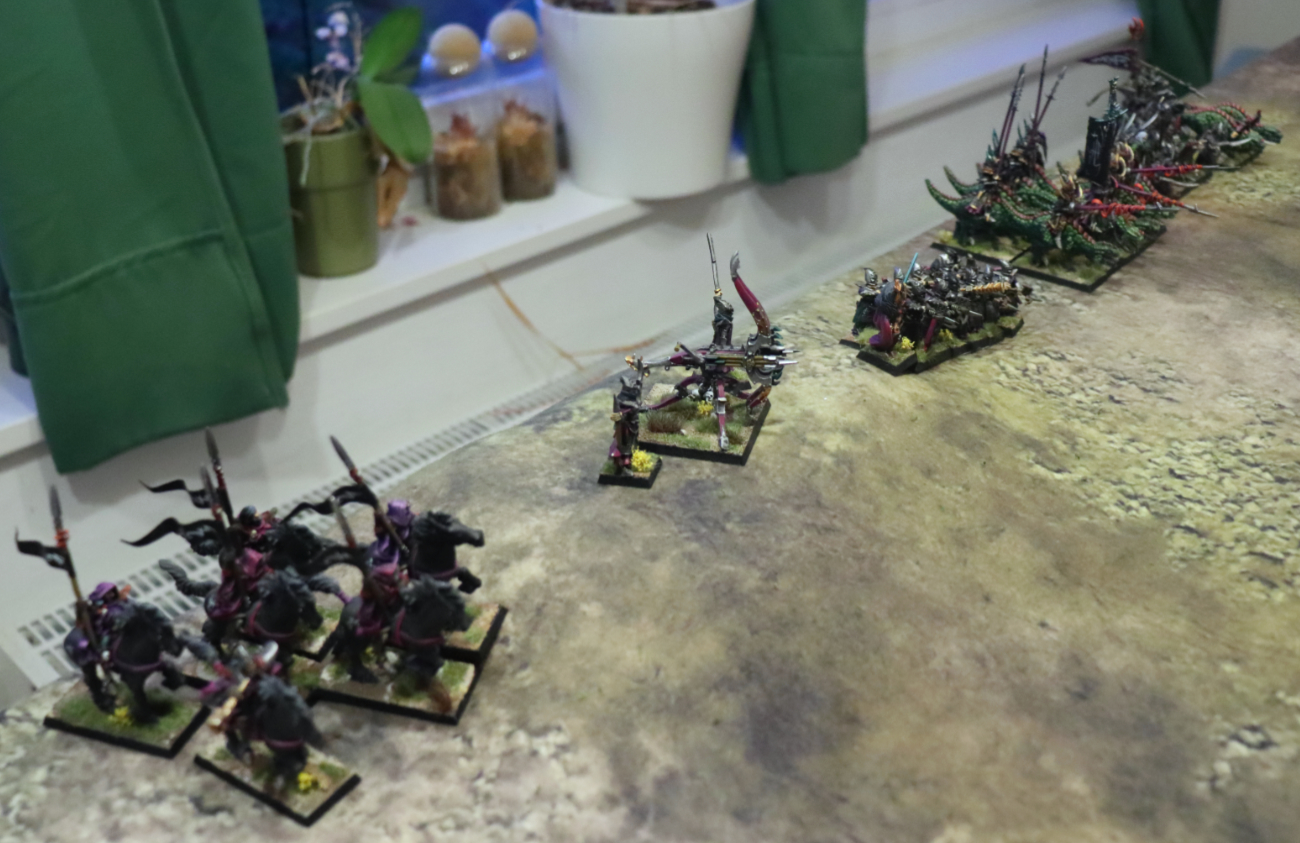
Dark Elves deployment, from (their) left to (their) right:


Empire deployment, from (their) right to (their) left):
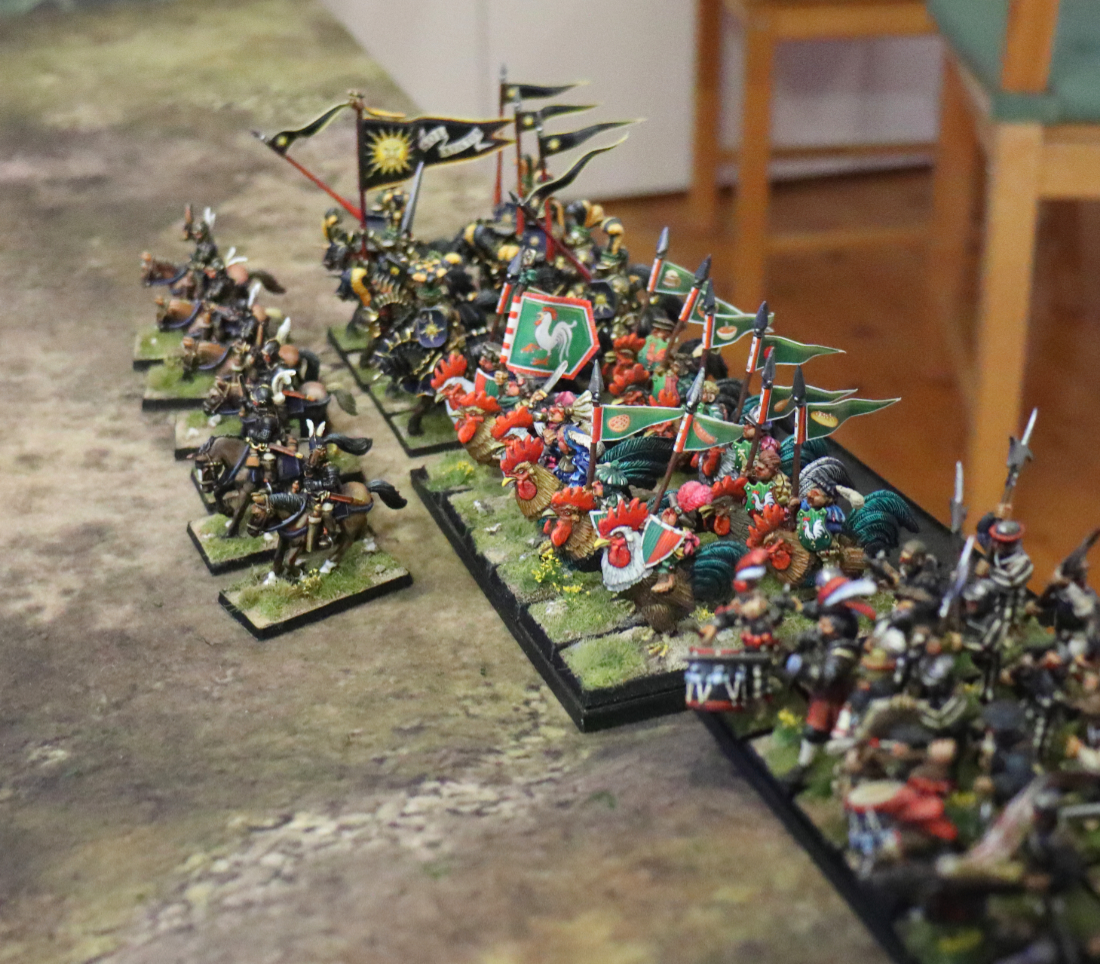
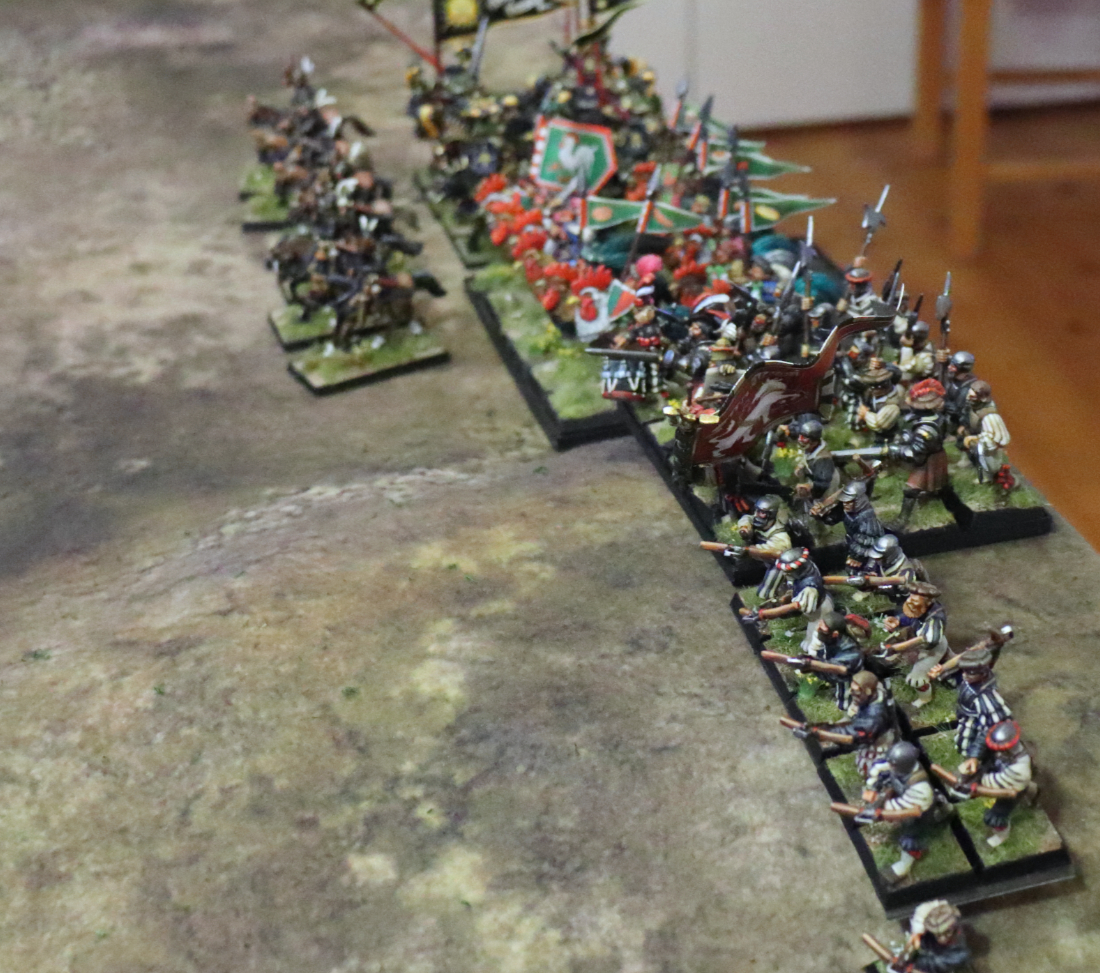
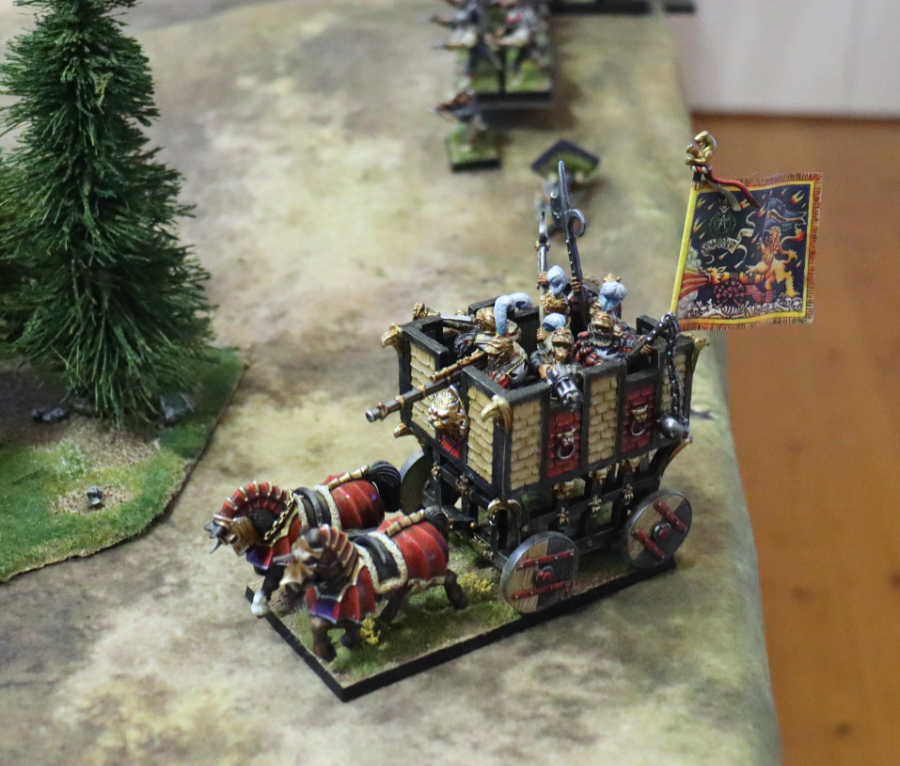
Turn 1
The Dark Elves get to go first.
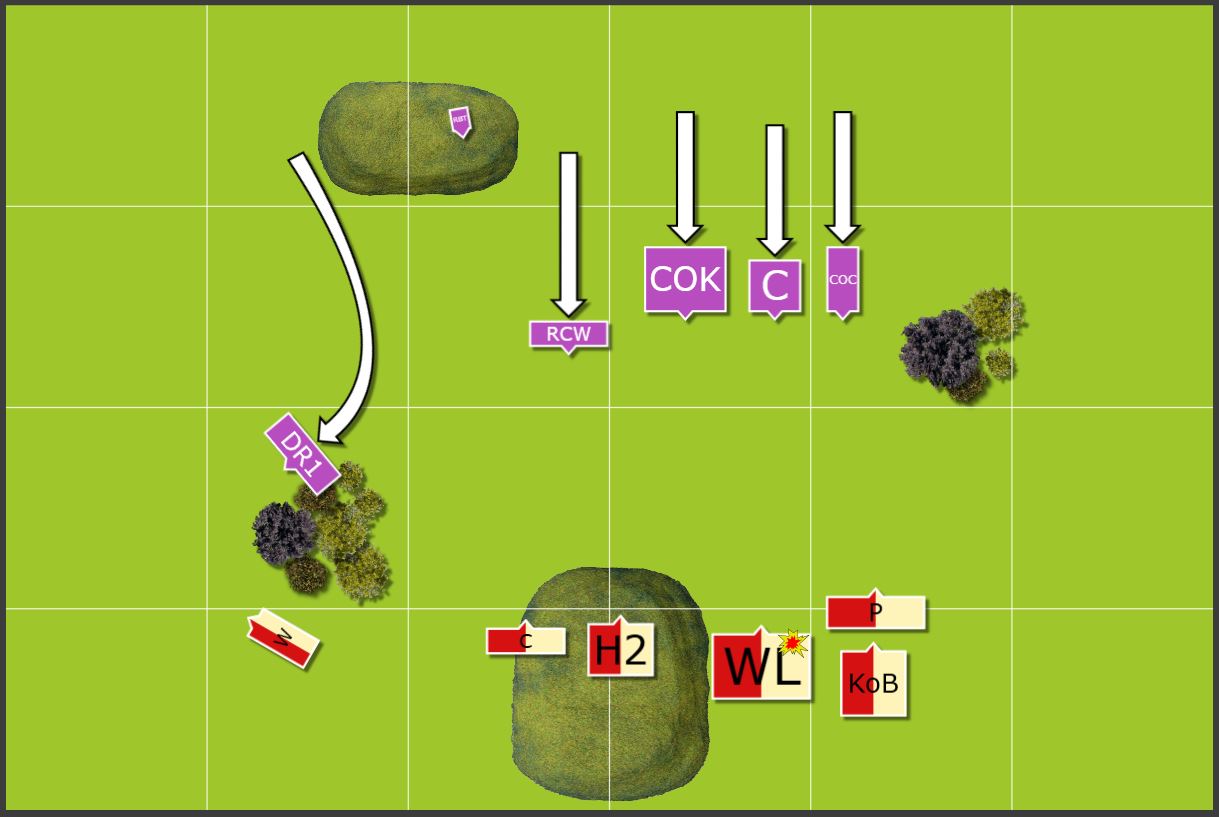
They advance as one battle line at the speed of the chariot. The Dark Riders use their Vanguard move and regular move to hide behind the forest. In the shooting phase, the bolt thrower fires a volley at the proud halfling cavalry, taking two of them.
Empire Turn 1:
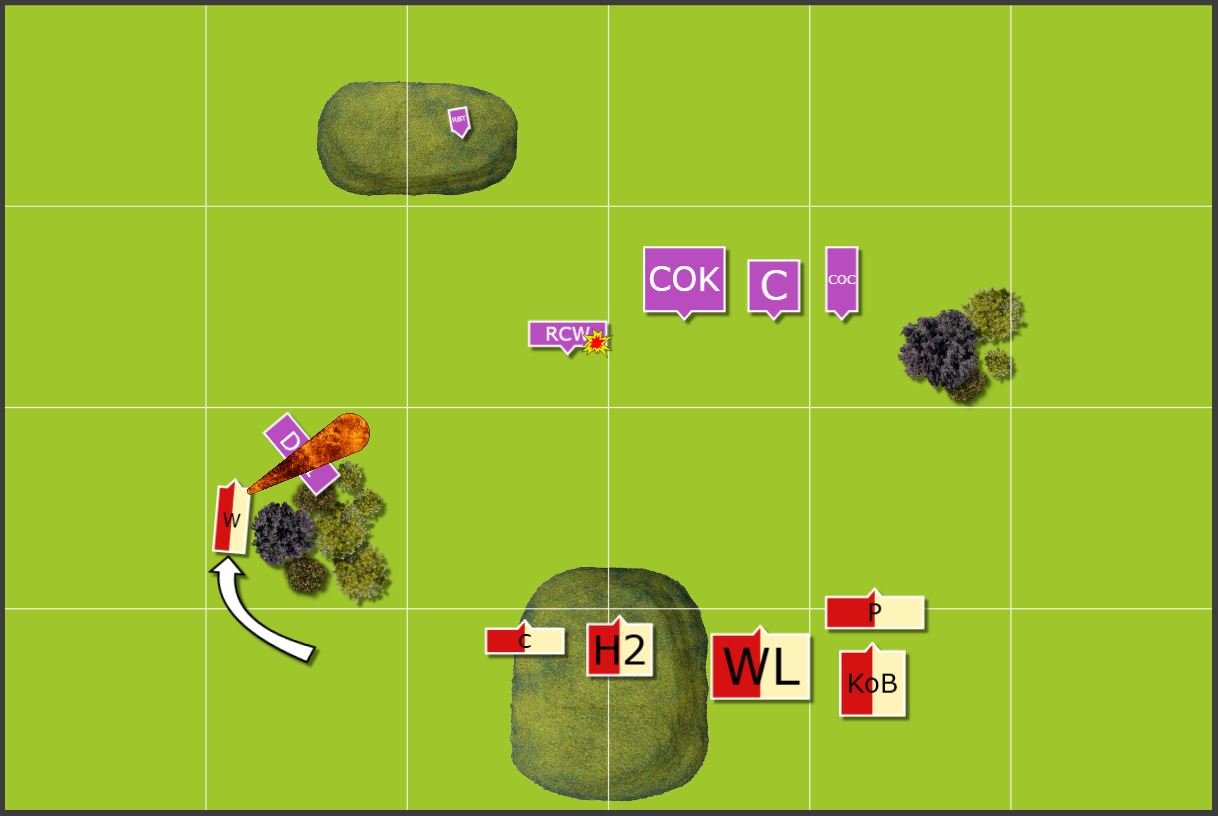
The army sits back, except for the War Wagon, which moves forward and the junior engineers on top are eager to demonstrate the devastating potential of their weaponry. The blunderbuss spews a hailstorm of bolts, musket balls and other shrapnel at the Dark Riders, the Hochland Long Rifle takes out another one.
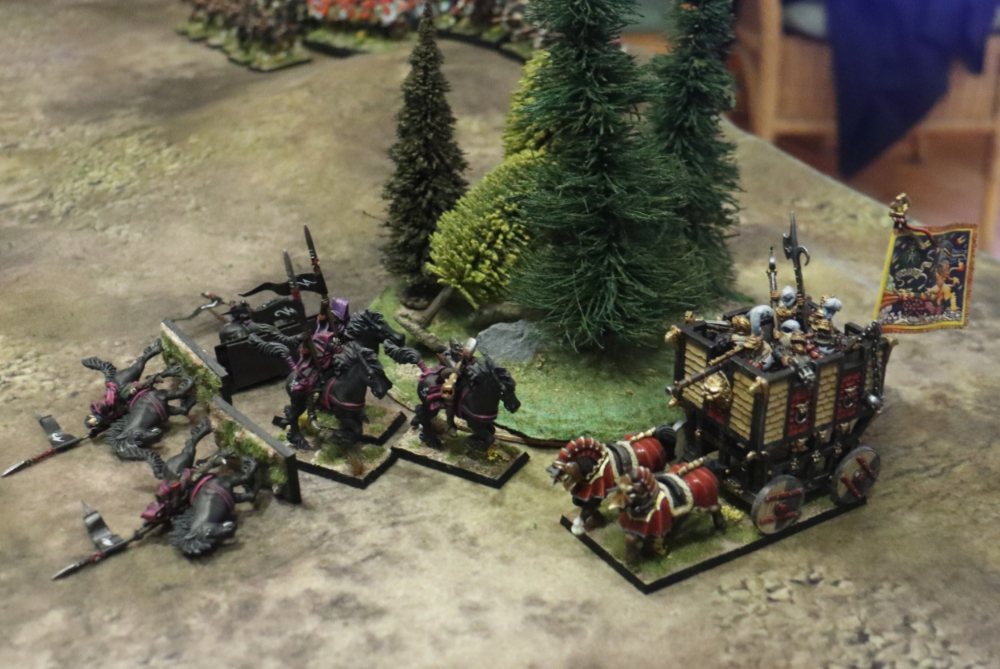
The Dark Riders pass their Ld-Check for panic, but develop a healthy respect for the imperial guns.
The crossbow men on the hill shoot at the Elven crossbow men, taking out one.
No Magic Phase during turn #1. This is the only optional rule for smaller games I used.
Turn 2
Dark Elves Turn 2:
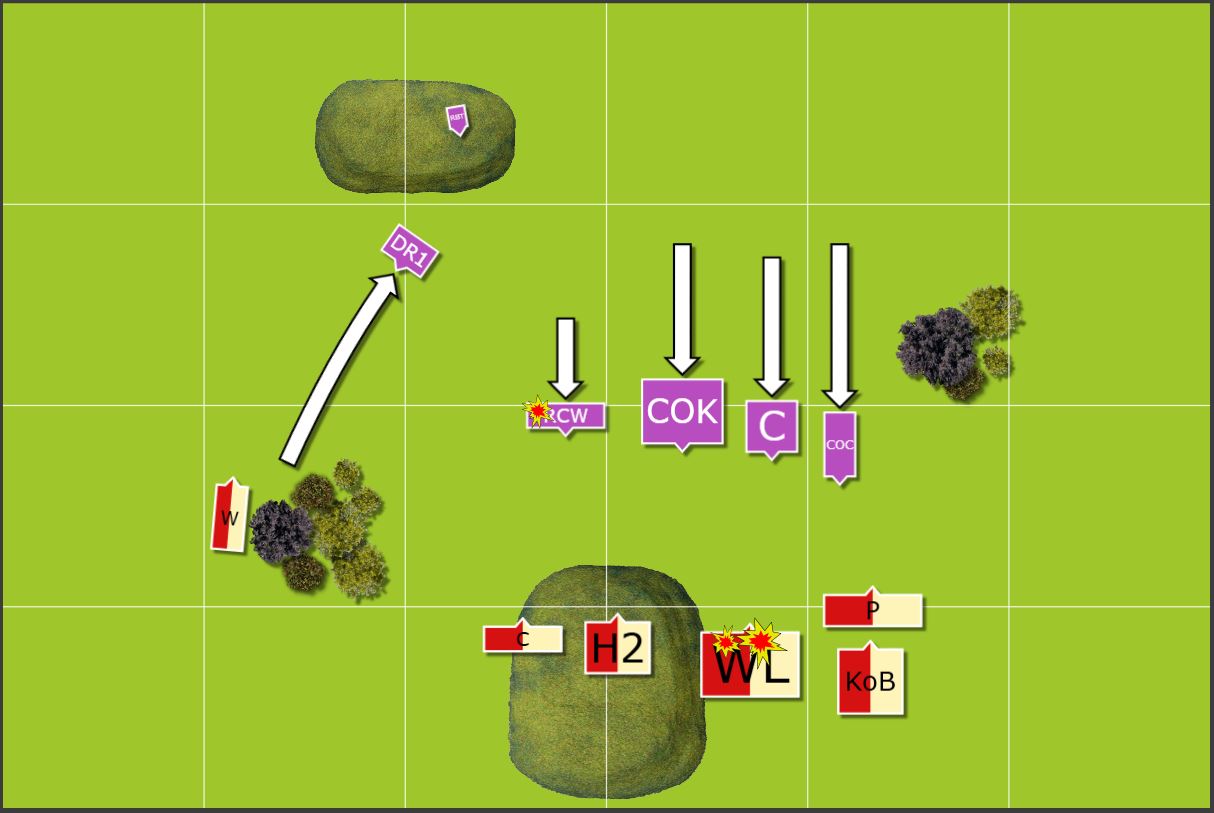
The Dark Riders retreat towards the hill, mainly to lure the war wagon away from the action.
Undeterred by light casualties at the flank, the main battle line advances. Once more, the Bolt Thrower fires a salvo at the Winged Lancers. This time, the crossbow Elves and the chariot crew join and shoot a hail of crossbow bolts at the enemy cavalry. A total of 3 halfling warriors fall off their giant chicken. Despite the nature of riders and mounts, they stoically hold.
First magic phase! The winds of magic are strong, and Tawsha, being the most powerful sorcerer on the table summons her first spell.
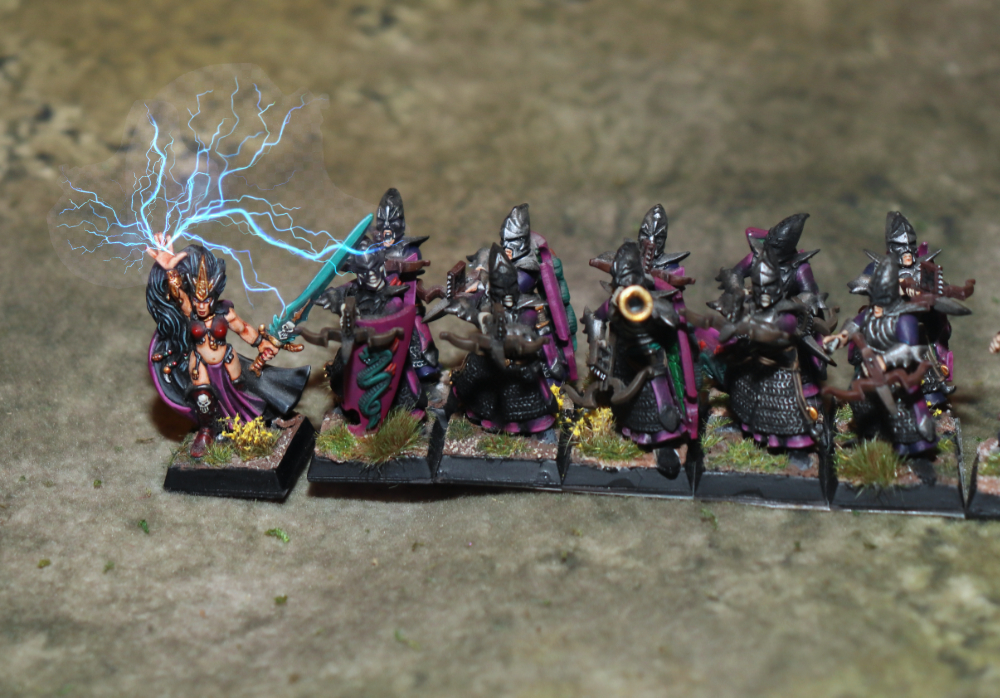
She tries to shut the pesky human wizard down right away with a deadly Deathspasm, but misses by a hare. The Gold Wizard retaliates with the only spell he knows, but it’s a powerful one.

He sends a Gleaming Arrow at Tawsha, causing one wound!
For her second spell, Tawsha throws Blade Wind towards the Winged Lancers, felling three ore of them. They hold their position once more, but the situation is getting tricky for them. They are by far the most expensive unit in the imperial battle line and just get shot up without getting to do much so far!
Empire Turn 2:

The War Wagon moves into the Dark Elves’ flank. Again, the blunderbuss mangles elven warriors and on top of everything else, the engineer with the Hochland Longrifle takes out Tawsha! This is too much for the elven Crossbowmen, they flee.
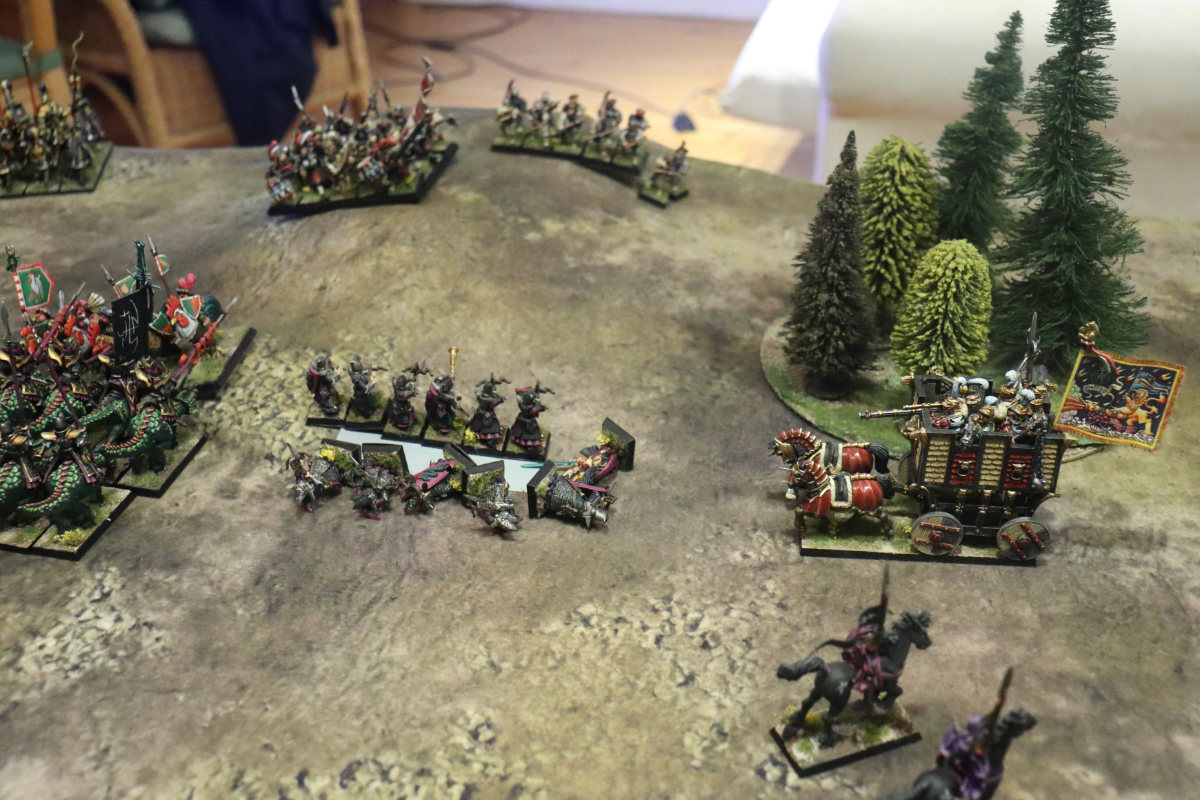
The Pistoliers move to the flank of the Cold One Chariot and unload their pistols at close range. They cause one wound to the heavy chariot.
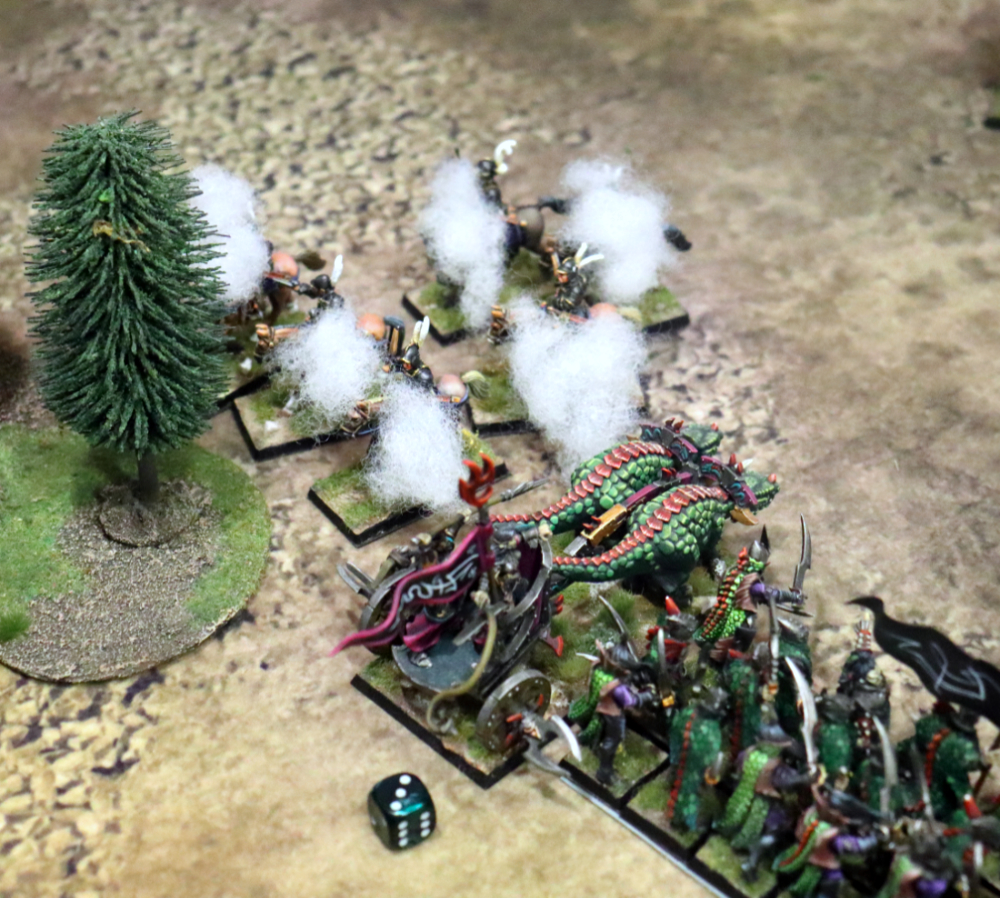
The enemy is close enough, time to get to fightin’! The remaining Winged Lancers commence a desperate charge towards the Cold One Knights.
They fight bravely, the Banner of Might helps mightily, they hit a lot, they wound a lot, but ultimately …
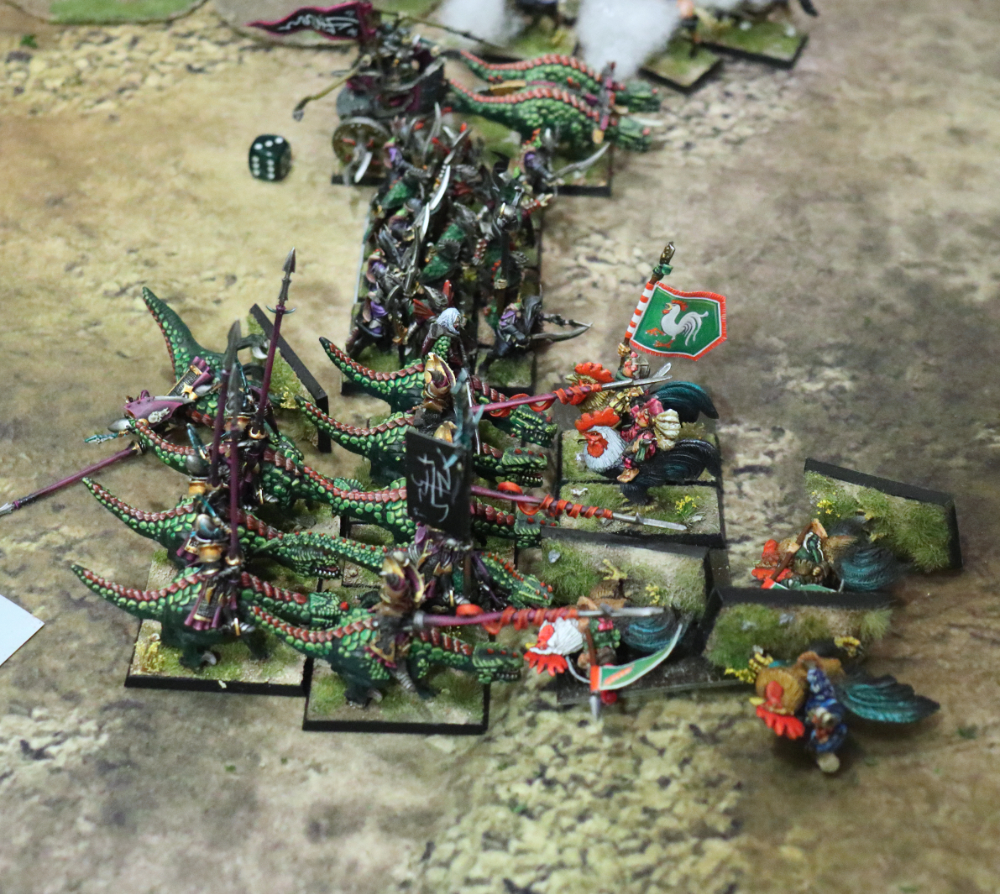
…the lances are no match for the thick, scaly skin of the Cold Ones. In turn, the giant lizards seem to have a taste for chicken, and where their masters don’t do all that much, the Cold Ones tear into the Winged Lancers. Only one Dark Elven noble falls, but the halflings get decimated and flee. The elven commander tries restrain his comrades from pursuing, but nobody stops a Cold One after just one piece of chicken. They ride down the fleeing halflings and run straight into the halberdiers block!
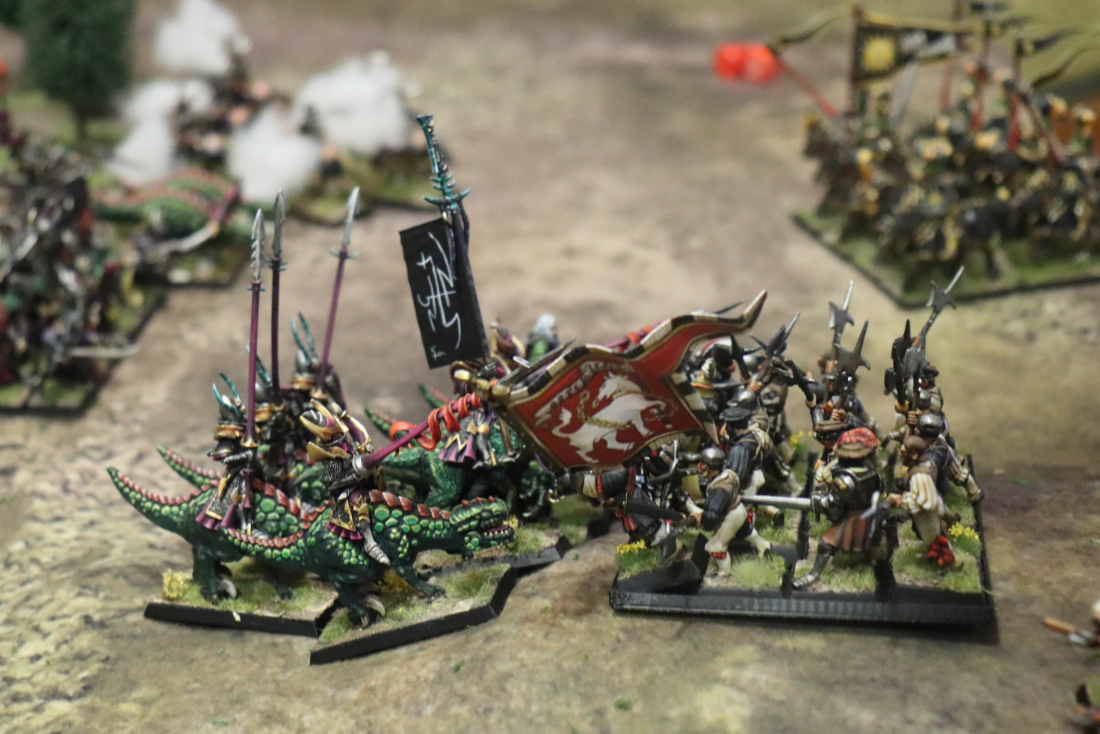
During the magic phase, the Gold Wizard tries to throw a Gleaming arrow at the Dark Elves commander who leads the Cold One Knights, but fumbles his words.
Turn 3
Dark Elves Turn 3:
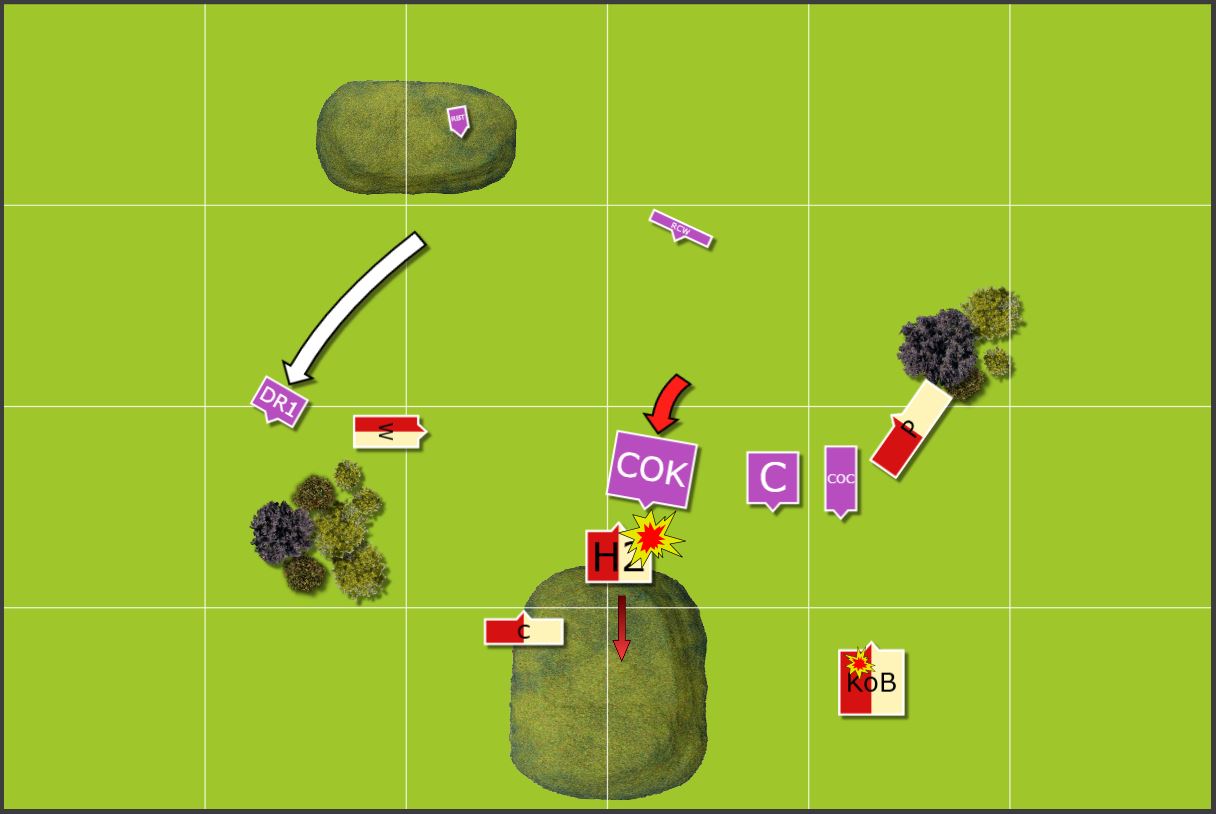
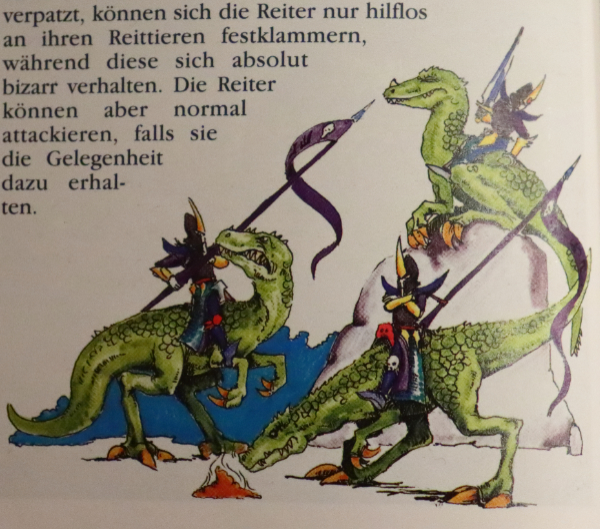
Seems like the Dark Elves are able to swing things around now. The chariot crew try to poke their Cold Ones into a frenzy to charge the knights right in front of them, but nope. The stupid lizards are too enticed with the smell of the smoke clouds from the Pistoliers’ black powder weapons. Maybe it reminds them of home. Who knows what goes on in the walnut-sized brains of theirs. So the chariot stands still for this turn. Annoying.
At least the remaining handful of crossbow elves rally.
The Dark Riders advance once more to make themselves a nuisance.
The Bolt Thrower finally can shoot at their favourite target – heavily armoured knights.
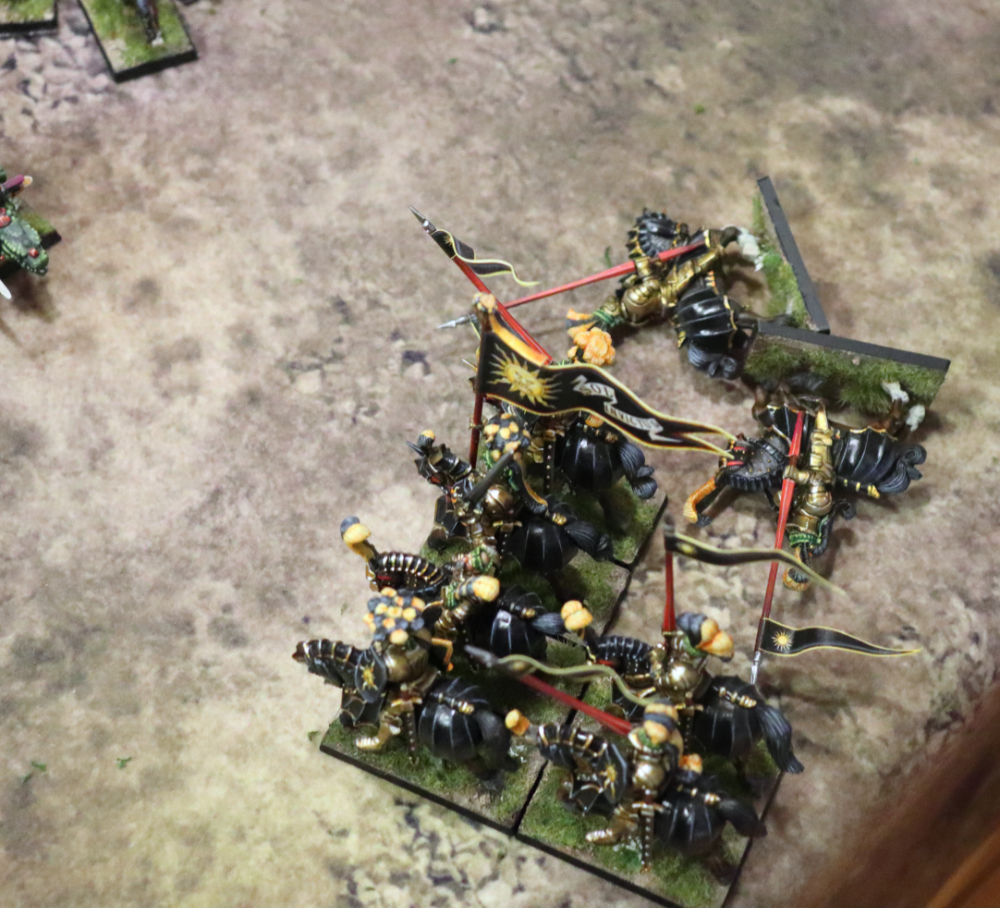
Two are taken out, the unit does not panic (barely. That was a bit of a tense moment, because the knights and the general running off into the sunset may well have spelled the end of the imperial army).
Time for close combat!
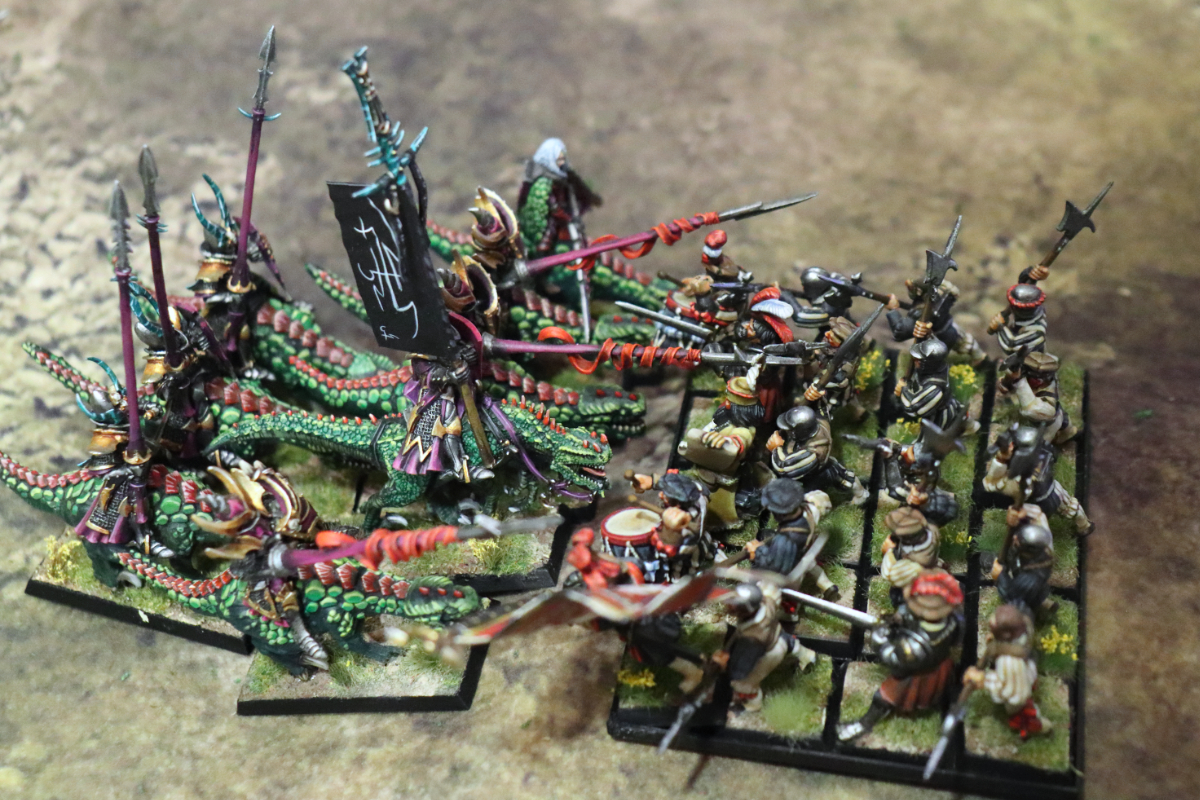
Despite charging the enemy up-hill, the Cold One Knights make short work of the halberdiers.
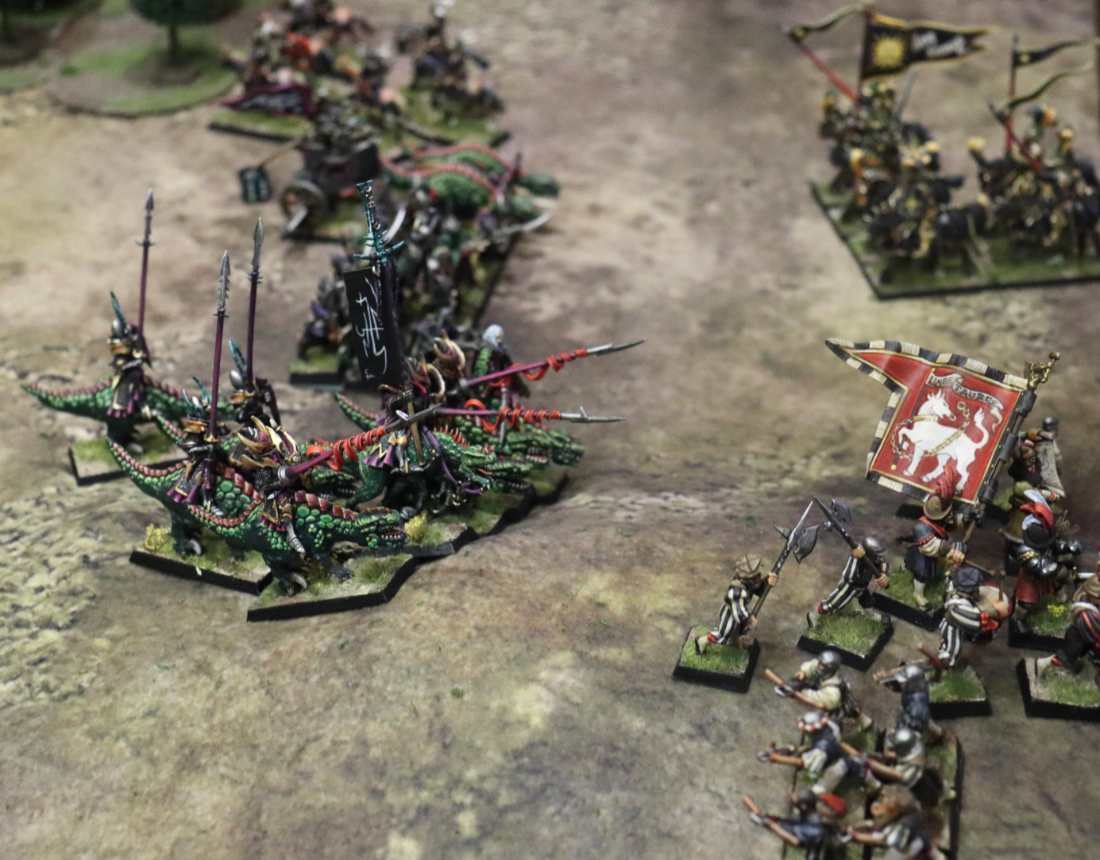
The few survivors (among them the Gold Wizard), run towards the table edge. The Dark Elves commander manages this time to keep his comrades from pursuing, because that may well have led them off the table.
No Magic Phase because the only remaining wizard is fleeing.
Empire Turn 3:

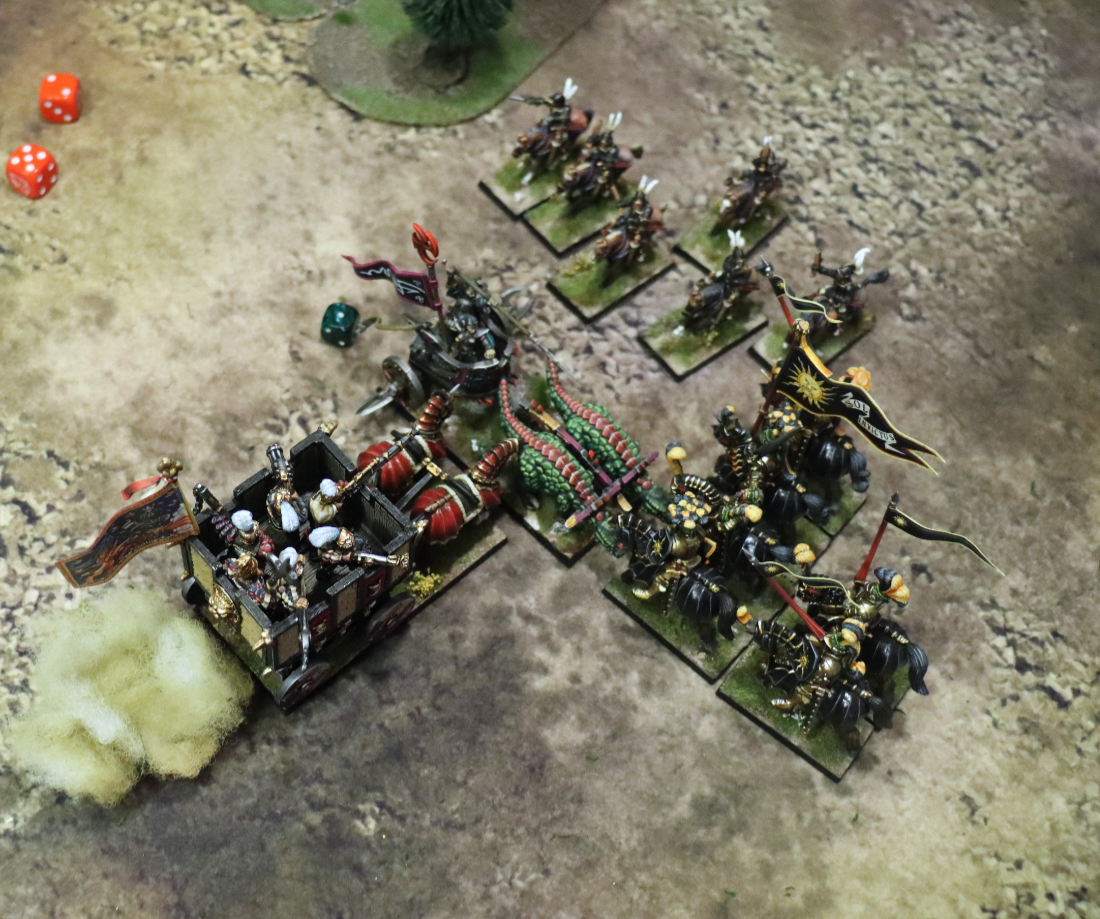
The Empire turns starts with the remaining few halberdiers rallying just before the table edge. Here’s an overview shot:
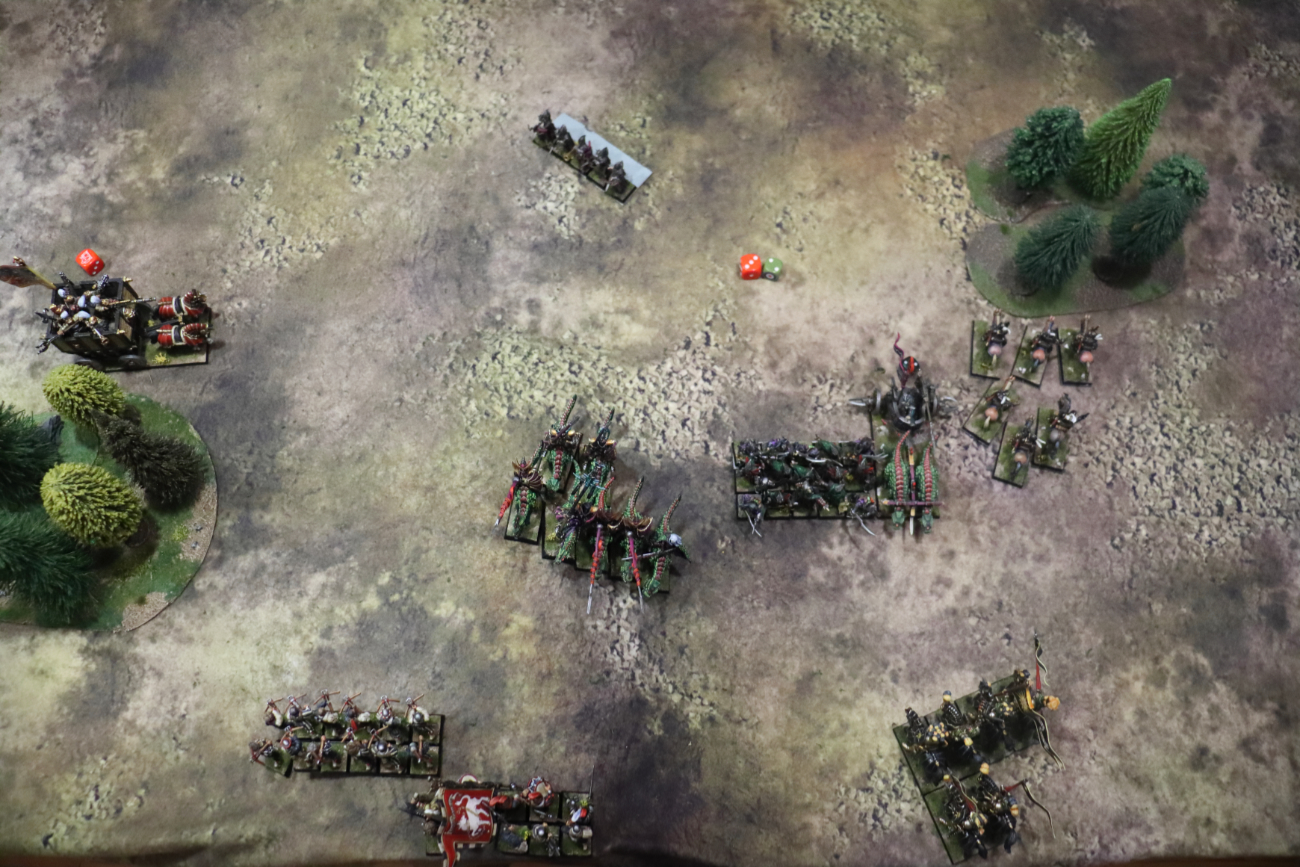
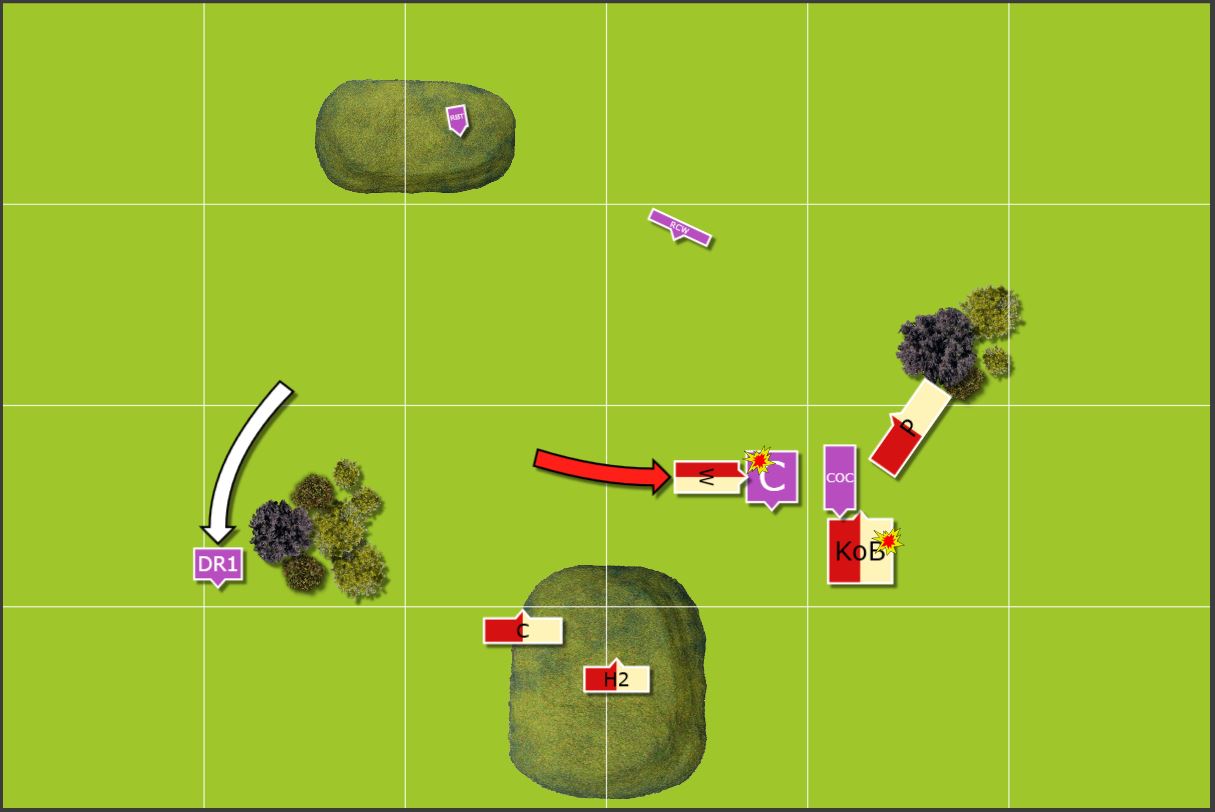
In an attempt to keep the Cold One Knights occupied, the War Wagon declares a charges into their flank. The Cold One Knights can’t really flee, because they would end up in front of the empire knights and possibly be wiped out.
The Knights of the Blazing Sun declare a charge against the Cold One Chariot, as do the Pistoliers. The latter don’t pass their Fear check and stay in place, so the knights charge the chariot in their own.
But first the War Wagon does its thing.
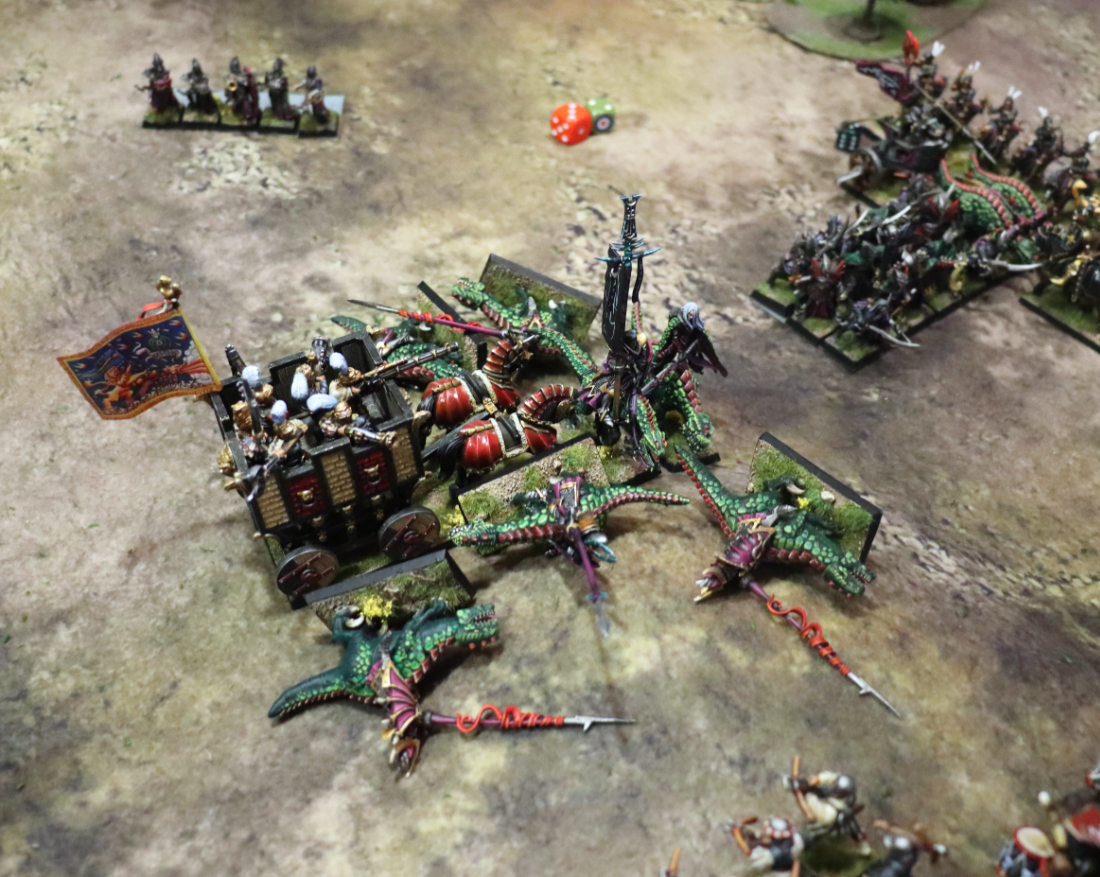
And boy, does it do it. The impact damage alone squishes five Cold One Knights. The standard bearer is taken out by getting bonked on the head by the ball and chain, and the elven commander is taken out by the very last attack, carried out by the Hochland Longrifle gunner.
The War Wagon overruns into the Corsairs’ flank, not only pinning them down, but also in the flank.
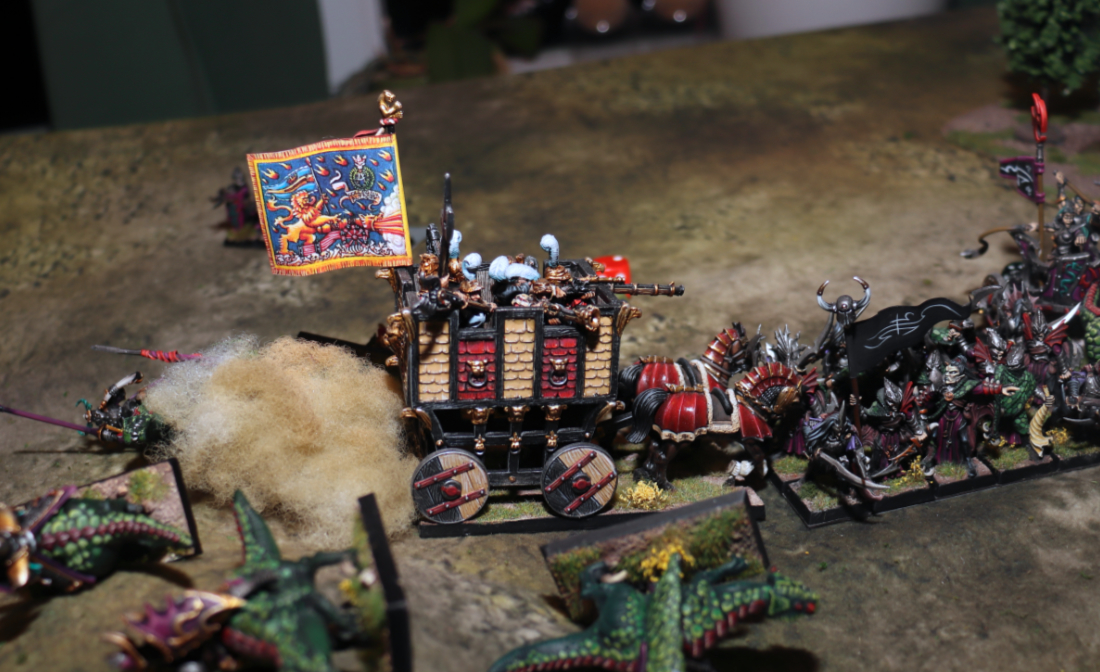
Overview:
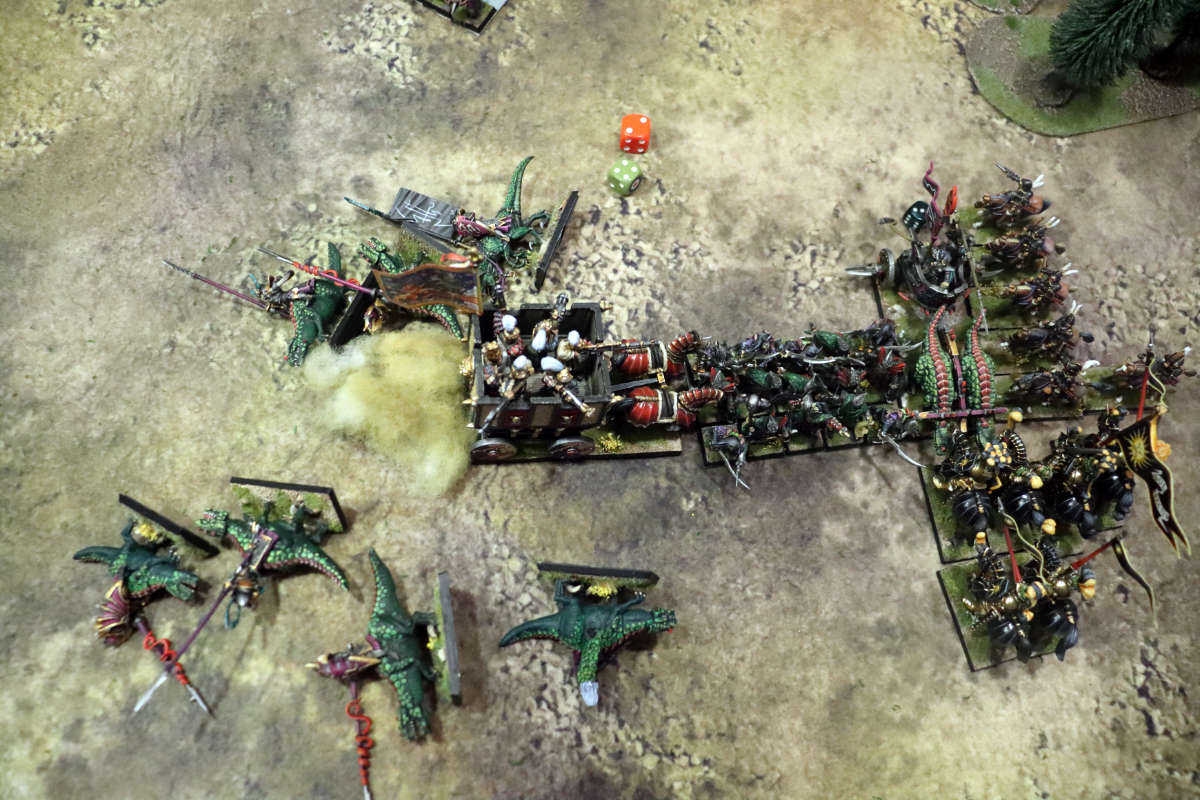
The knights cause no damage to the heavy chariot.
No Magic phase because the wizard just rallied.
Turn 4
Dark Elves Turn 4:
Tough times for the Dark Elves. The remaining three Dark Riders hide behind the forest. The Bolt Thrower fires at the battered halberdiers unit, hoping they can panic them off the table, but only kill one state trooper.
Close combat phase! The War Wagon takes out three Corsairs, one by impact hit, two more in close combat proper. The corsairs stay in the battle though.
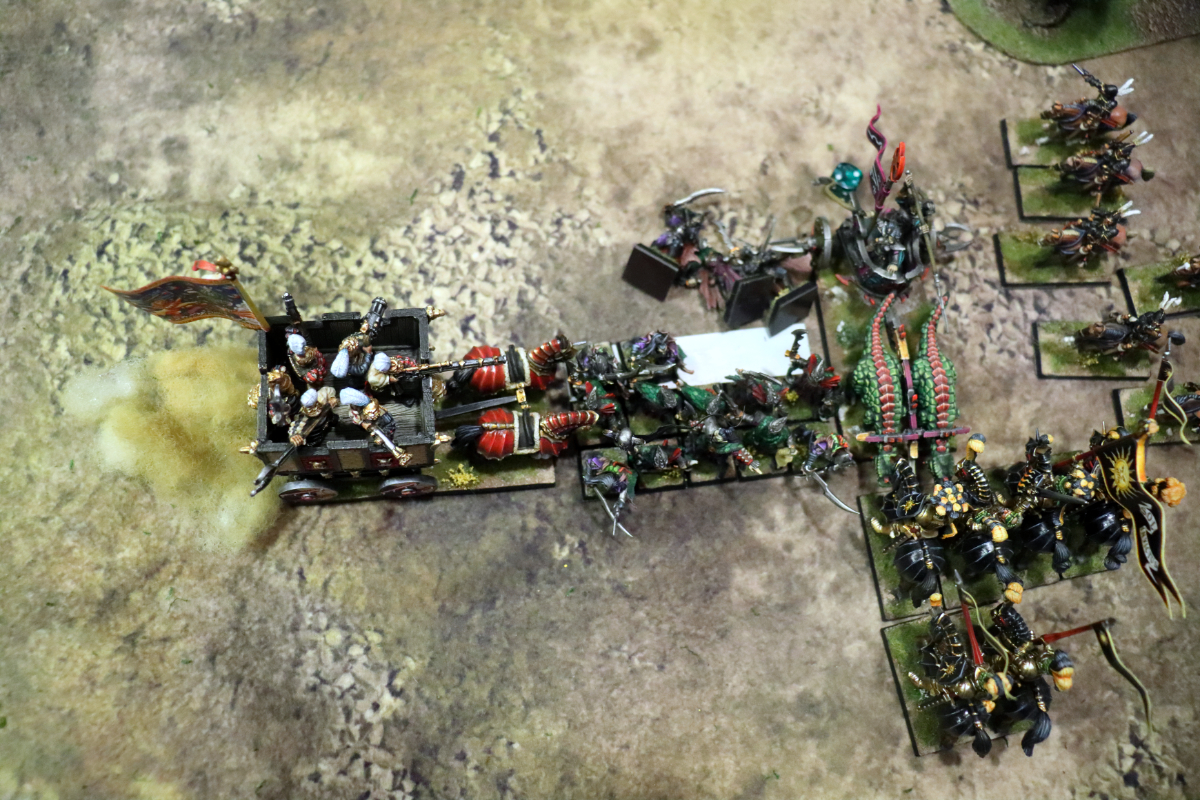
The Knights of the Blazing Sun take one casualty, cause one wound in return. Like their corsair comrades, the chariot crew also refuse to flee.
In the magic phase, the Gold Wizard fails to muster the required magical energy to sling another Gleaming Arrow.
Empire Turn 4:

Once more, the pistoliers are too afraid to charge the Cold One Chariot. (being skirmishers, they aren’t allowed to use their nearby general’s Ld!)
The crossbowmen on the hill turn to their side, just in case the Dark Riders stick their heads out from behind the forest. The remaining five halberdiers and the wizard start marching down the hill (mainly to get the war wagon between themselves and the Bolt Thrower).
Close combat comes to a near stalemate. The War Wagon takes a hit, but pass their break test. The Knights of the Blazing Sun don’t cause any damage, neither does the chariot crew or the Cold Ones. Still, the Cold One Chariot stubbornly refuses to flee.
During the magic phase, the wizard manages to muster another Gleaming Arrow and lobs it at the chariot, which takes another wound (now down to 1 wound!).
Turn 5
Dark Elves Turn 5:
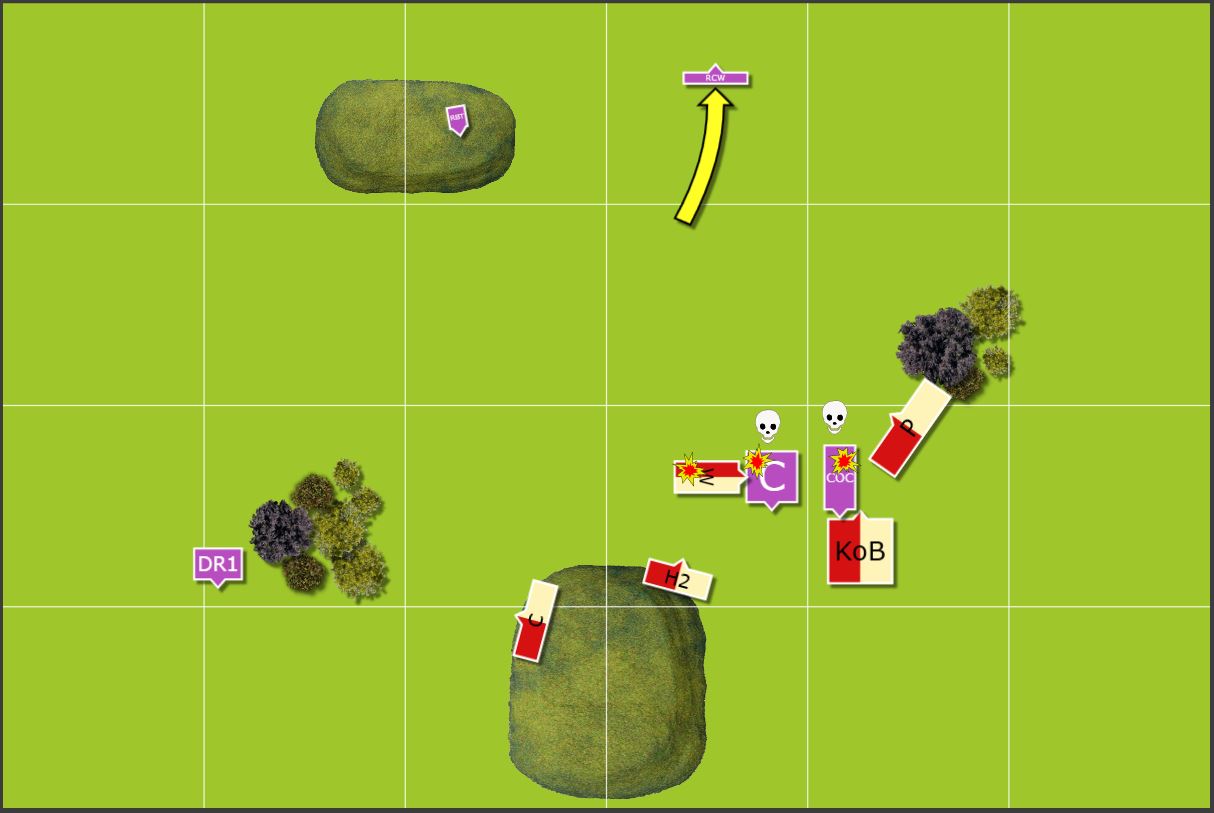
The Bolt Thrower shoots one more salvo at the halberdiers, but the crew miss every single shot.
Close Combat! The pressure finally gets too much for the Corsairs. They try to flee, are instantly caught by the War Wagon, run over, and the War Wagon smashes into the side of the chariot. Right before that though, the Knights of the Blazing Sun finally kill off the chariot.
The Dark Elf crossbowmen read the battle and decide not to partake any further.
The Winds of Magic seem to ebb away, no spellcasting this turn.
Empire Turn 5:
The rest is acacemic. The War Wagon advances towards the enemy deployment zone, the knights advance right next to it, keenly keeping the wagon between themselves and the Bolt Thrower. The halberdiers follow suit, covered by the Pistoliers.
Nothing happens in the magic phase; the wizard has no Line of Sight to any enemy units.
After the 5th turn I roll to see if there’s a 6th turn. There isn’t, the game is over.
Victory Points
Dark Elves: 274
Empire: 781
It’s a Major Victory for the Empire!
Aftermath
In this game I wanted to feature a few new units I’d painted since I last played, most of all of course the War Wagon. Incredibly iconic model, and such a fun thing overall. But also the Winged Lancers! I got a bunch of fun models for those, the rules are cool (I constantly forget that they’re fast cavalry too!)
Anyway, the war wagon did horrific damage during this game. Not the least due to really strong rolls against the Cold One Knights especially. That surely was the turning point of the game. In retrospect, they most likely would have been better off pursuing the halberdiers of the table and then return later on. Oh well.
This game mainly served to purpose of getting to know the rules again a bit and get a feel for how these units interact and so on. Overall, it was a very clean game, without any unclear or messy situations. Hope to get another game in again soon. It’s usually not my priority, but I’m kinda looking forward to seeing more Dark Elf magic in the future. And it would be a big, fat, filthy lie if I claimed I hadn’t looked into other armies as well. 😛
Anyway, hope you enjoyed this battle report and the pictures and whatnot. Let me know if you found anyhting I did glaringly wrong! 😀
Great stuff 🙂
…and I haven’t even posted the link to this article anywhere yet! 😀 Thanks very much for the comment. I appreciate it.
Reads like a lot of fun. I don’t really understand how you play solo? Are you not constantly spoiling your own plans? Maybe I misunderstood:D
Thanks for the comment! Yeah, that’s a bit of a problem. I try to play that sort of solo game (with rules which aren’t really ‘solo friendly’) evenly and ‘down the middle’. And I don’t really have complex plans, so that helps. Since I kept the table small, so just 24″ between armies. Not much maneuvering. I mainly think “what would make sense in this situation?” and play it out really.
Since I mostly play solo games to get acquainted with rules, it actually helps not having to bother with having to ‘play smart’ and such. It’s not as fun as playing with somebody else, but it’s useful for learning rules and in this case to get a feel for how units interact.