
…and we’re back! Campaign game #4.
As it happens, I forgot to write up the battle report for game #3. Pretty stupid. I might hand it in later, maybe never (and will always be very bitter about it). Either way, we won, there were no losses, everything went well in game#3.
******* The following text contains spoilers for the Scouring Sands Campaign *******
Mission 4
Tanit’s Talons ride again. Along with us, three hover APCs of the Alyina Mercantile League whom we escort to a negotiation with the clan Jade Falcon commander. The clan have been blocking a mountain pass for trade, which nobody is happy with.
As we arrive, Star Captain Conrad sender himself appears in his Thunderbolt II, his trademark bad mood on full display. Negotiations break down before they begin, and it boils down to this:
“This is Cpt.Lyndra Thanith. In the name of the Alyina Mercantile League, step aside!”
“No, for I shall destroy you once and for all, Tanit’s Talons!”
“Then you leave us no choice…”

“No, I don’t! For I shall destroy you once and for all! Ha-ha-ha!”
“Talons – Attack!”
The Scenario

This time we get to field almost our full force again. The full Command Lance is in action, the Fire Lance is brought to bear in full (for the first time), only the Scout Lance’s Phoenix Hawk takes a well deserved day off.
The whole negotiation thing didn’t work out and the Jade Falcons are blocking the mountain pass. What’s more is they seem to have prepared a nasty surprise: By means of dastardly hidden explosives, the Jade Falcons damage the hover APCs with the AML delegation inside. And it’s pretty likely that they have worse in store for us if we don’t get out of there.
We have the following options to win this scenario:
- Force Sender’s Thunderbolt II to withdraw (we can not fully destroy it in this scenario; only shoot it down to its last structure point. However, critical hits apply and will affect its abilities)
- Get at least one APC off the table and escape with at least a sizeable portion of our battlemechs
- Destroy at least 3 enemy mechs.
Any of the above will win us the game, we lose if all APCs are destroyed or if we take too long to achieve one of our goals.
The Game
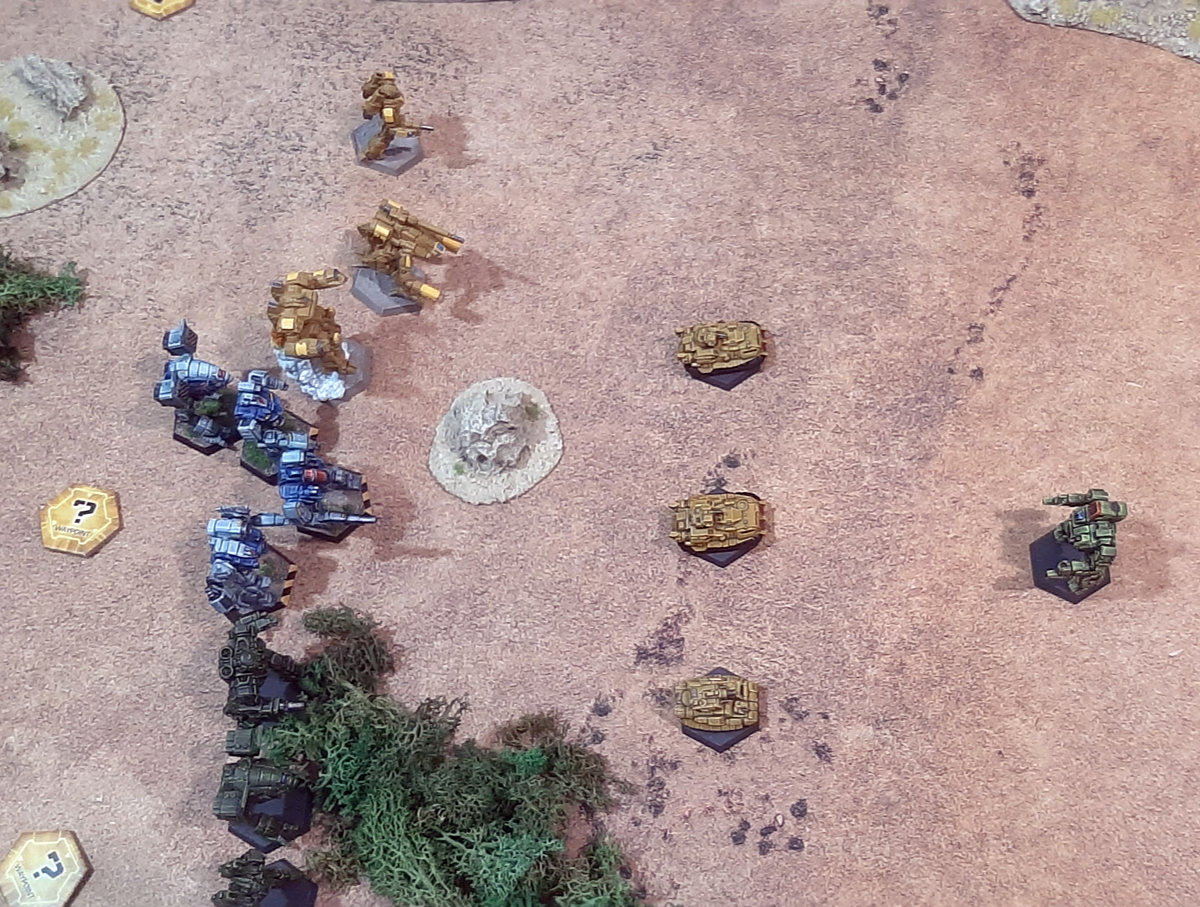
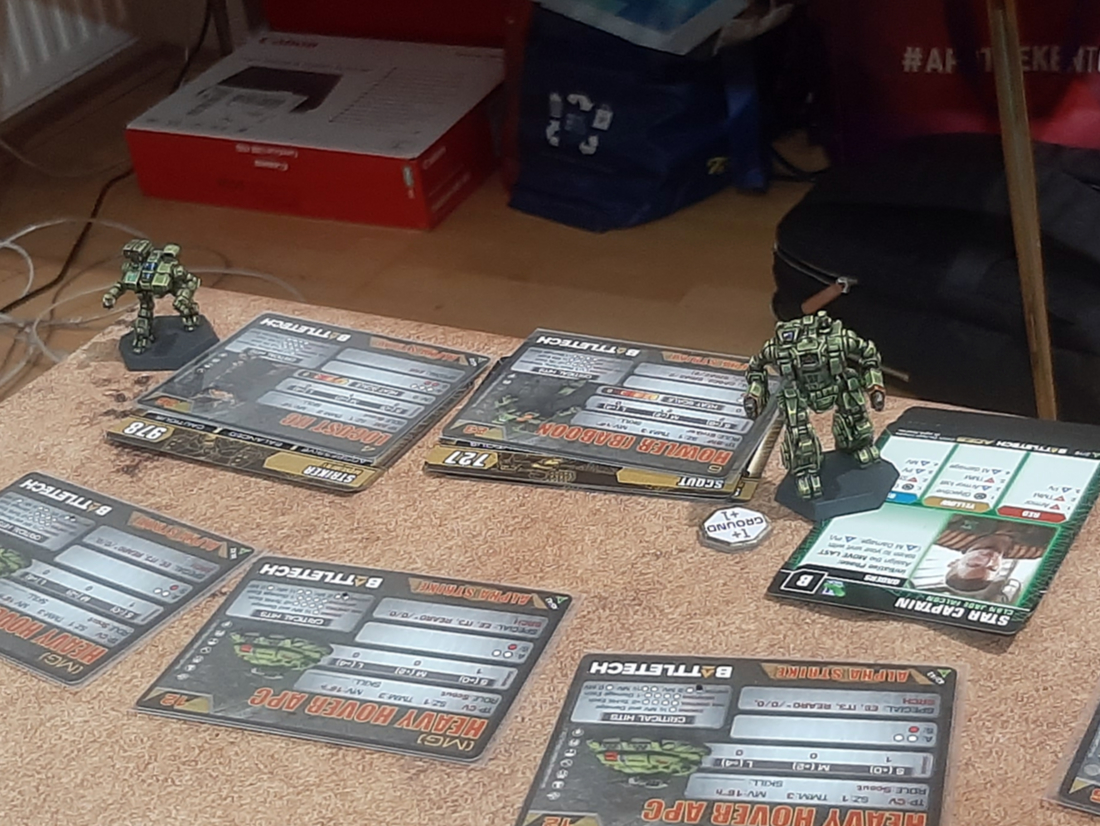
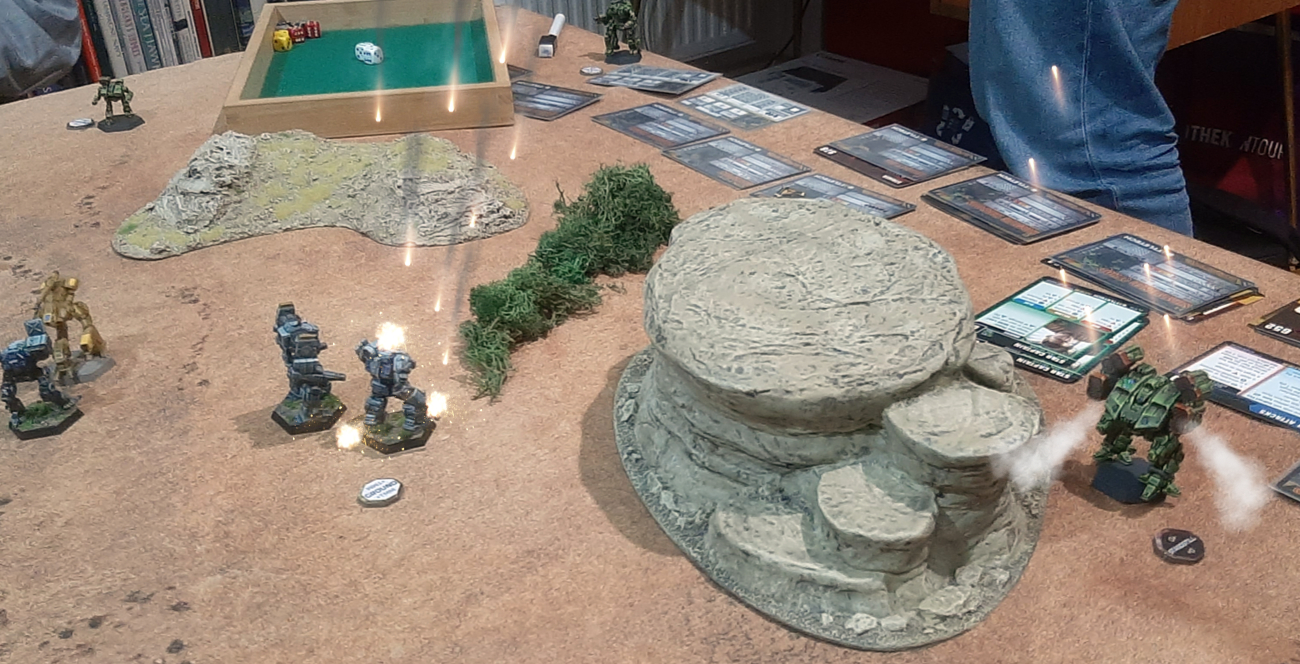
We deploy as per the deployment rules for this scenario (basically a tiny little line in the centre of the table):
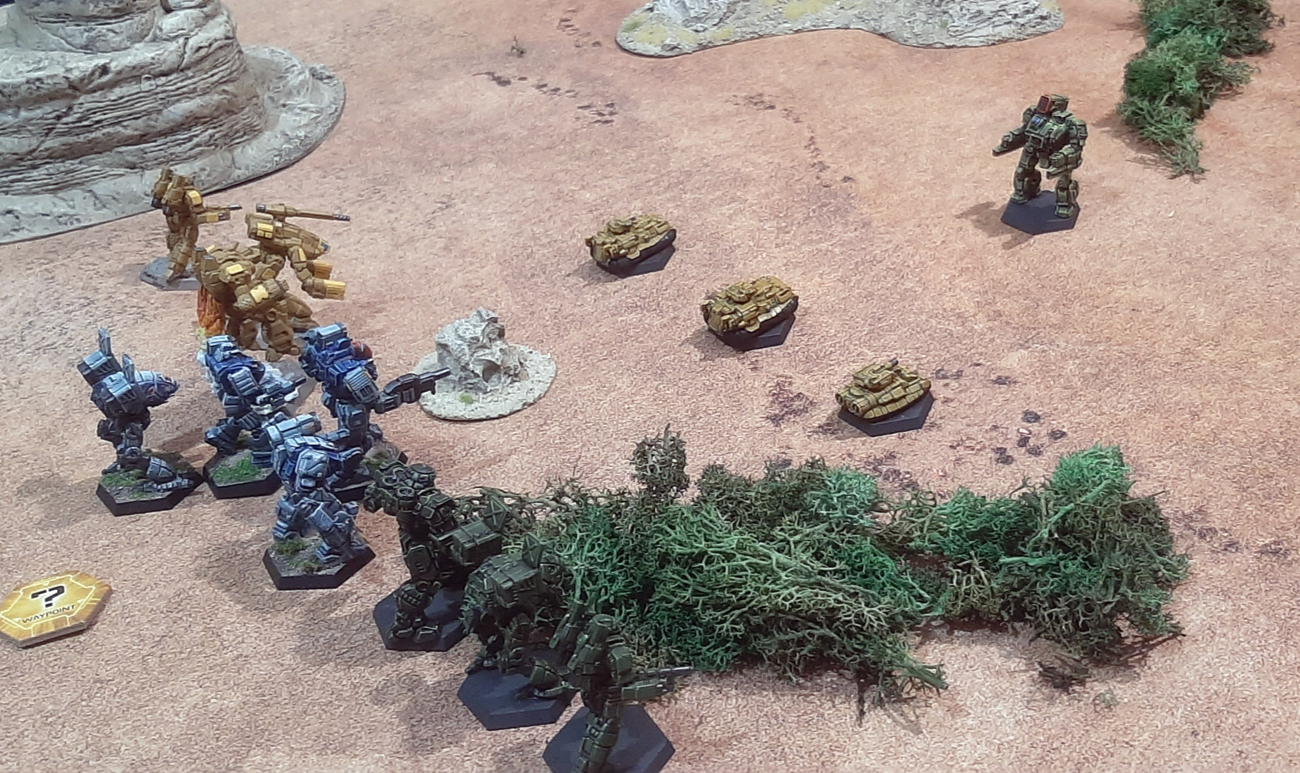
‘Lynx’ Tanit’s Command Lance is the sandy coloured ‘mechs (played by Cpt.Shandy), the dark green Scout Lance ‘mechs are Mohammed Lee’s (played by Virago), I play Priss Cadillac’s Fire Lance (blue and grey ‘mechs).
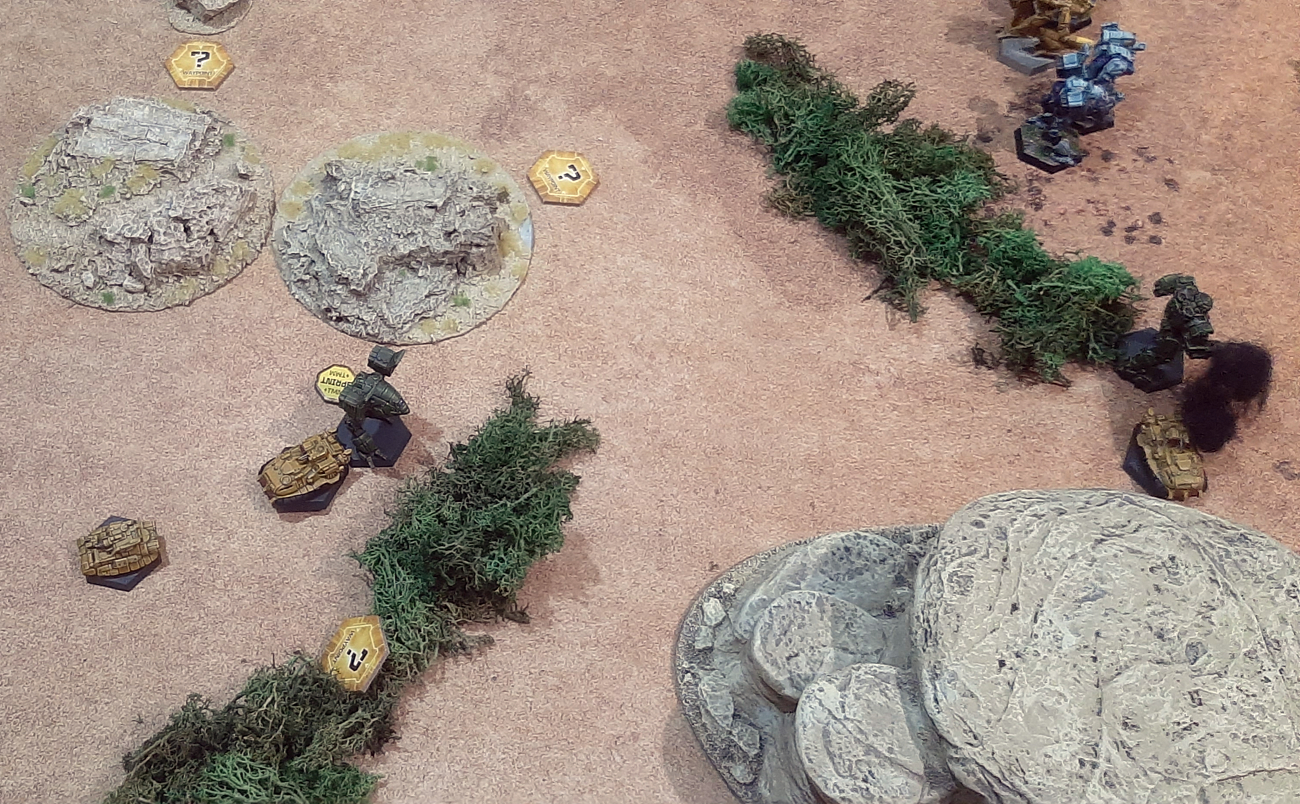
Since the situation doesn’t allow for very cunning plans, we decide to get the APCs out of there ASAP(C, ha!). The Scout Lance stays with them to cover their retreat.
The two other lances step up right in front of the enemy commander and fire everything they got at him.
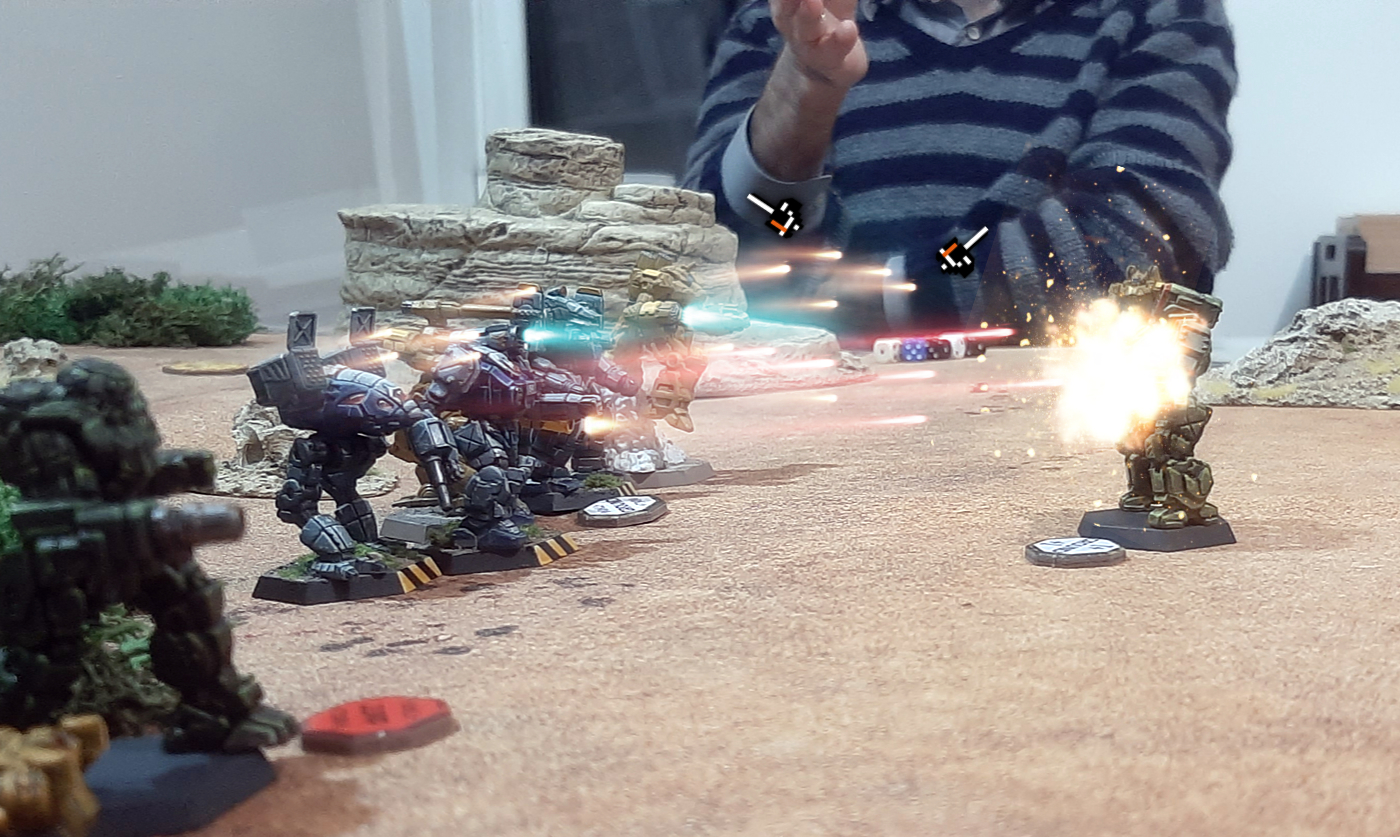
We know that we can’t destroy him right now; the goal is to force him to retreat and cause as much critical damage as possible as to hinder him from shooting at the APCs. Through the pelting he takes, he still fires a salvo at the closest of the APCs. Lt.Mohammed Lee throws himself in the line of fire and takes pretty horrific damage. However, a sneaky Jade Falcon Summoner ‘mech way back also gets a shot in, and destroys the APC outright.
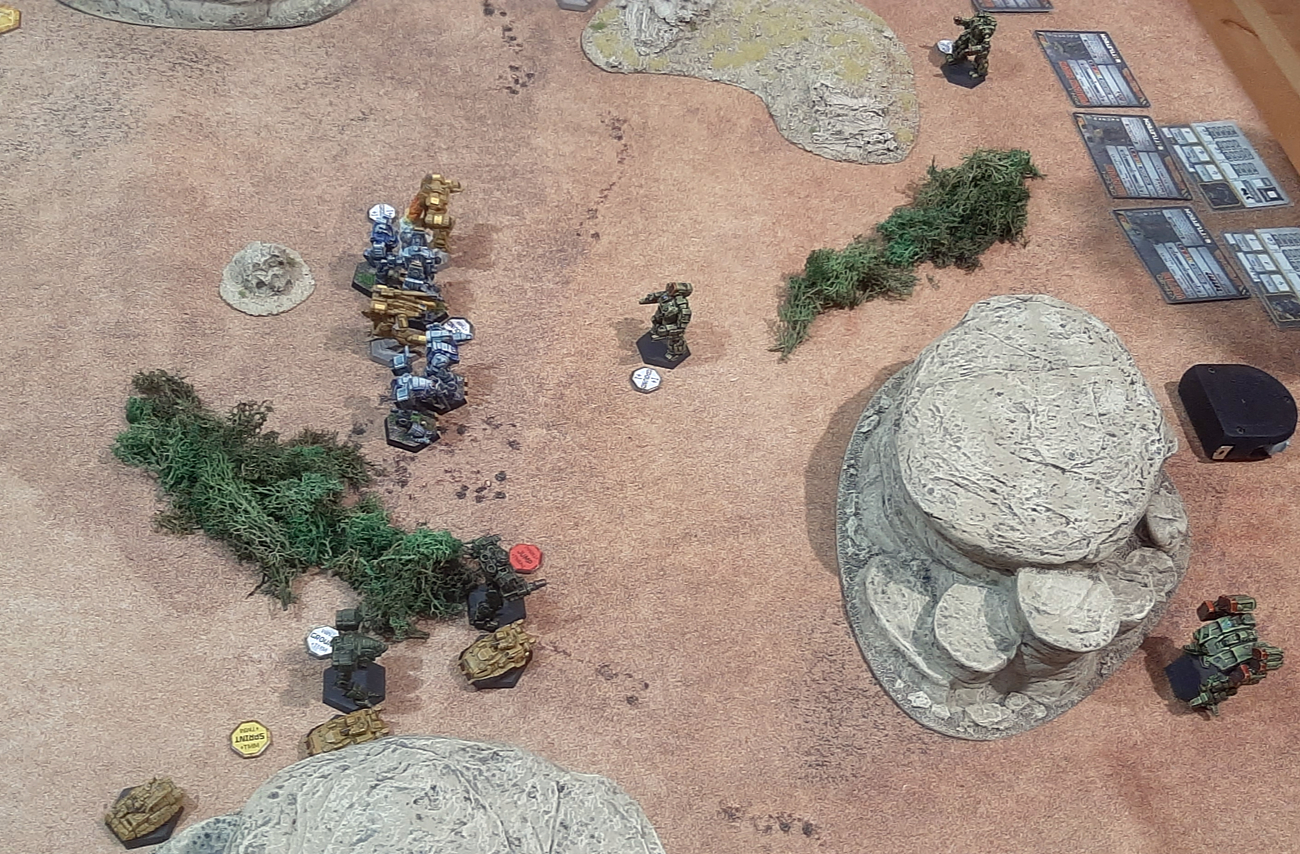
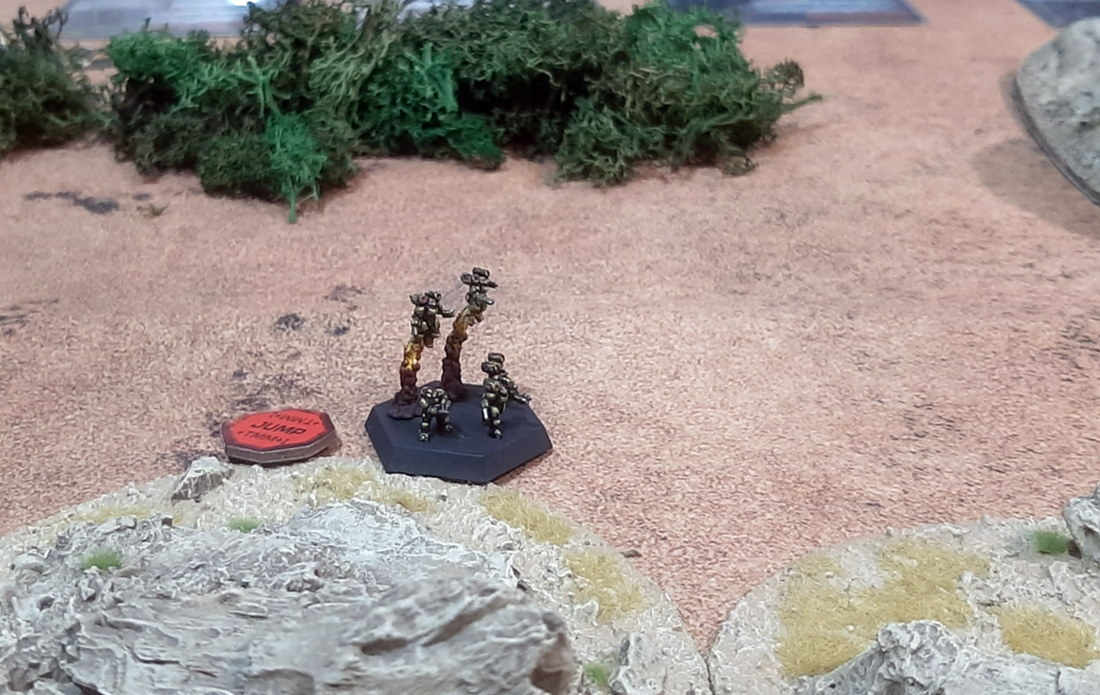
This whole thing really was a trap. Elementals jump out of their hiding spots to our rear.
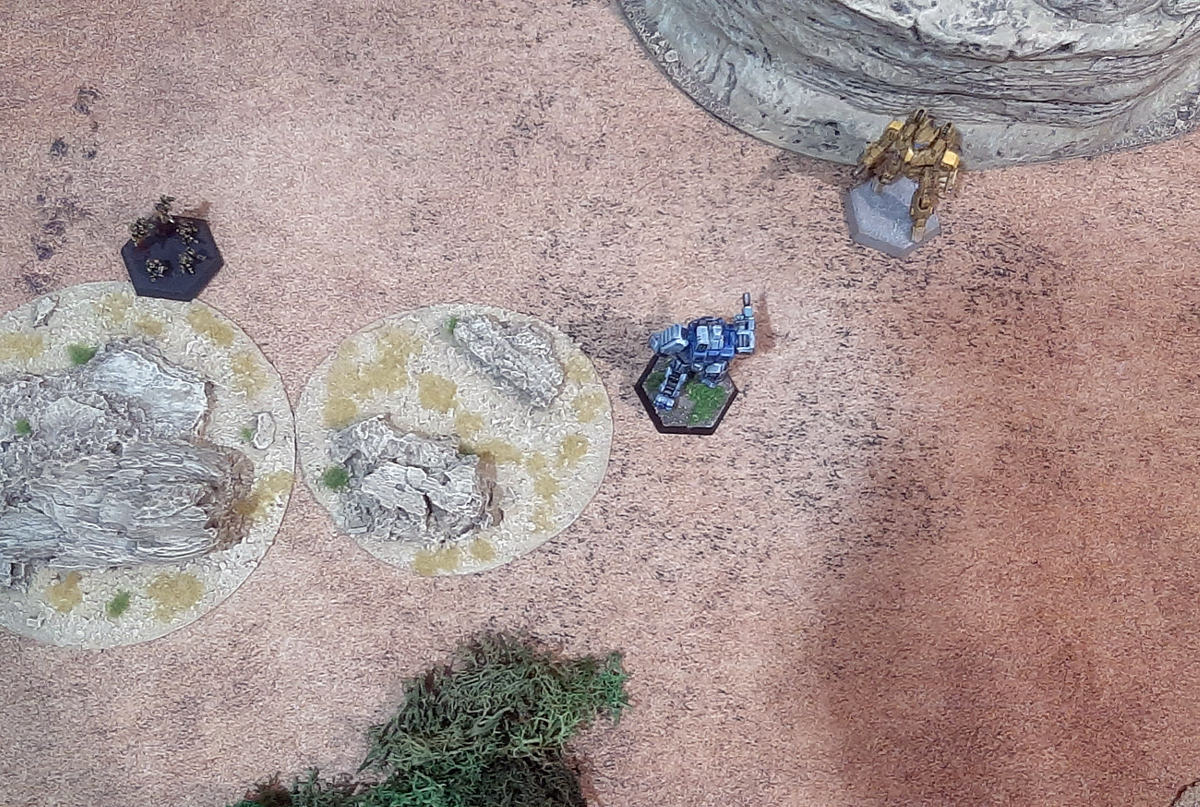
Two more clan ‘mechs arrive at the scene, luckily (literally; we had to roll on which corners they arrive) far away from our APCs. A Baboon and an up-gunned Locust

Since Lee’s Victor is badly battered, he has to play it more defensively; Delacroix’ Catapult proceeds to lead the convoi into safety.
…but can anyone be safe if a BANE is on the prowl!?
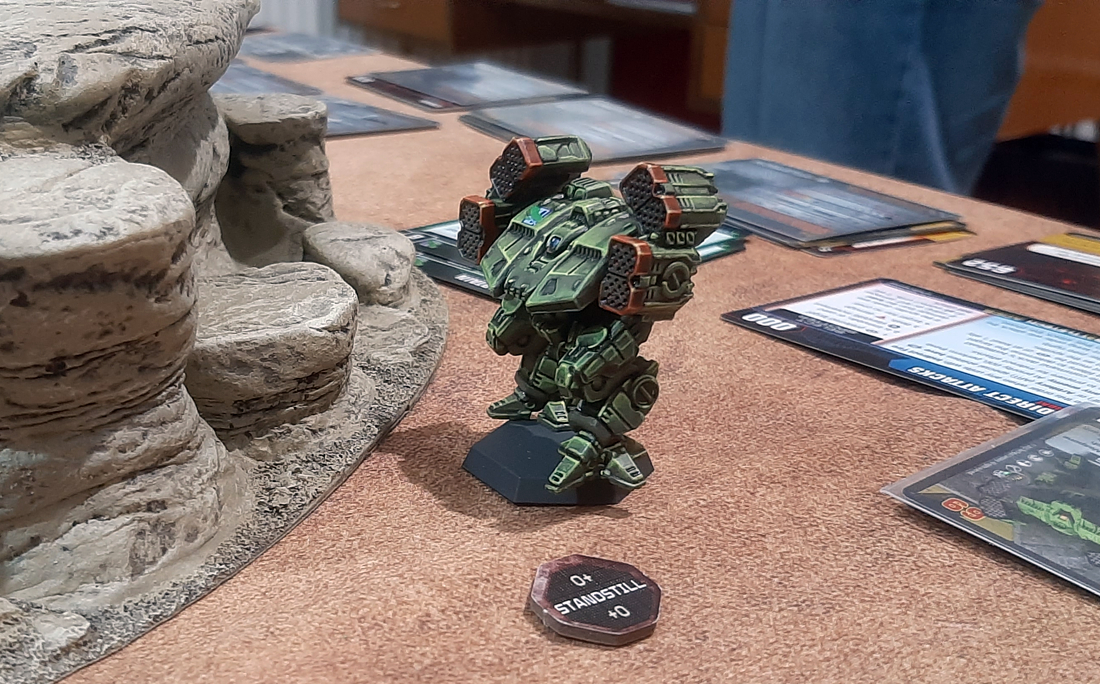
The battered Thunderbolt calls for indirect fire from the 100-tonner and Kai Masters’ Thunderbolt is the target!
On the one hand, there’s the closest opponent; on the other, Sender certainly won’t tolerate seeing the older version of its own Battlemech on the battlefield. By sheer luck, the mighty barrage causes surprisingly little damage.
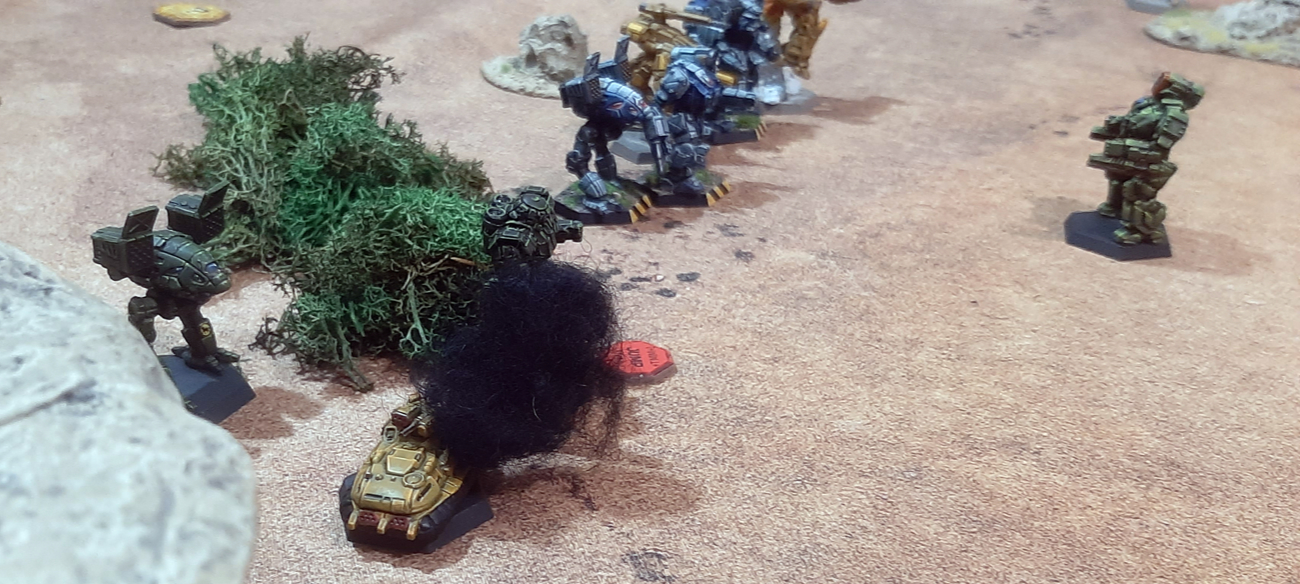
The Elementals are much less devastating than a proper battlemech, but left unchecked, they could do serious harm to our APCs. Zucchini’s Wolverine and Leekon’s Phoenix Hawk move in to take care of the super-human clan stormtroopers.
Right there, Zucchini’s Wolverine is ambushed by another group of Elementals and takes a critical hit!
Things are heating up, so we finally decide to fully withdraw, bonus points for taking out enemy battlemechs be damned. We manage to get the two remaining APCs off the table just as the badly damaged enemy commander has to withdraw.
Tanit’s Talons are victorious!
Aftermath and Thoughts
Once more, things went pretty well. Going at the Thunderbolt IIc with “everything but the kitchen sink”, as they say, is a given. Despite the fact that this guy (Pilot Skill 2!) is indestructable by means of plot armour, it’s very useful to cripple his ‘mech as much as possible. Throughout the game,we kept firing at him to cause more critical damage to his ‘mech’s systems to make his fire less effective. Also, shoo’ing him off the table seems to be the most attainable primary objective. We were lucky on some incoming fire (virago developed a skill in rolling badly when it comes to the clan mechs’ fire) and on the clan scout mechs not showing up in the corner we chose to evacuate through.
By now our named characters acquired enough experience points (called something else within the system, but it’s bascially experience points) to acquire pilot skill 3, which should be a major boon in future sorties.
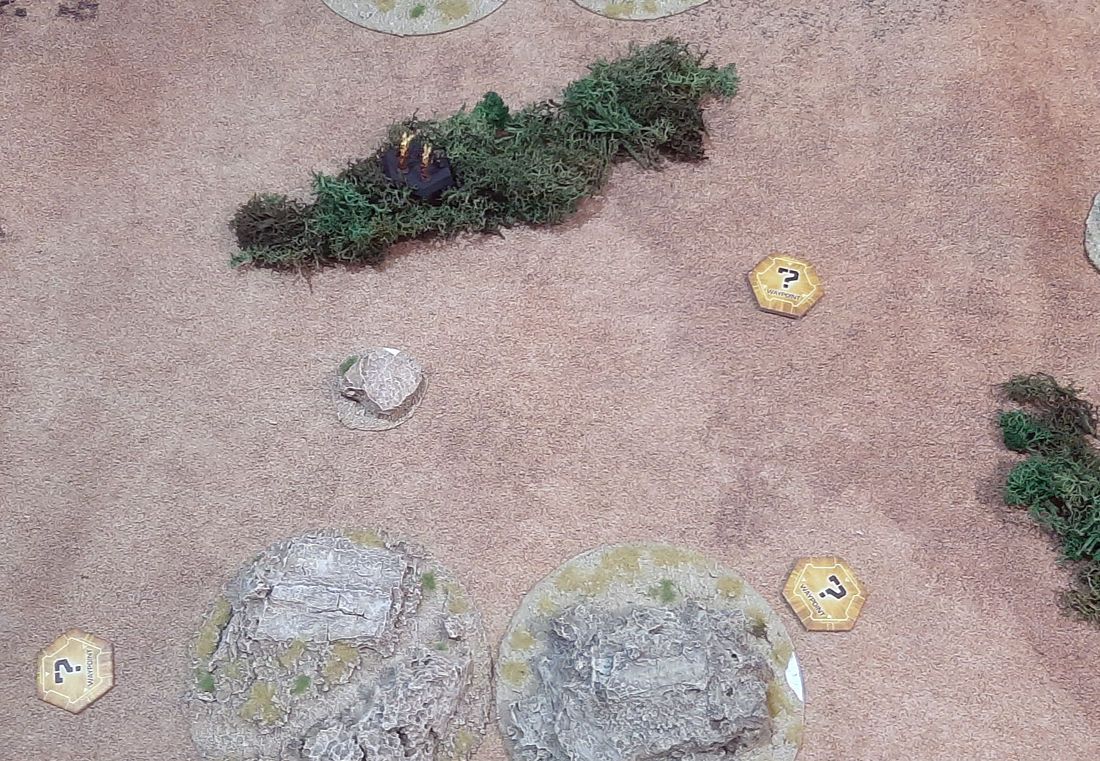
I keep being impressed with the scenario design here. Typically, this would be an extremely straightforward scenario in which the ambushed player isn’t given many choices. Despite that, the writers managed to build in some decision points. Choice of primary goals to pursue aside, it’s also up to the players to choose an axis of retreat for the APCs and mechs if necessary by being free to choose which of the little question mark chits are being turned up.

We also learned a bit about the behavior of the Bane and just got into the rules again. It’s been a few weeks since we last played after all.
Hope you enjoyed this little battle report and stay tuned for sortie 5!