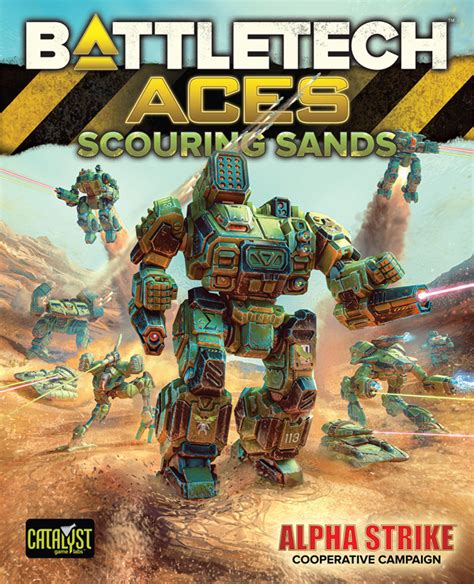
Well, we met and had our 7th and final campaign game!
******* The following text contains spoilers for the Scouring Sands Campaign *******
Sender has snapped. He whips the remains of the 18th Jade Falcon Regulars into a frenzy to attack the capital settlement and just destroy anything and everybody in their way. Tanit’s Talons are the only thing standing between them and the good people of Apolakkia.


The Scenario
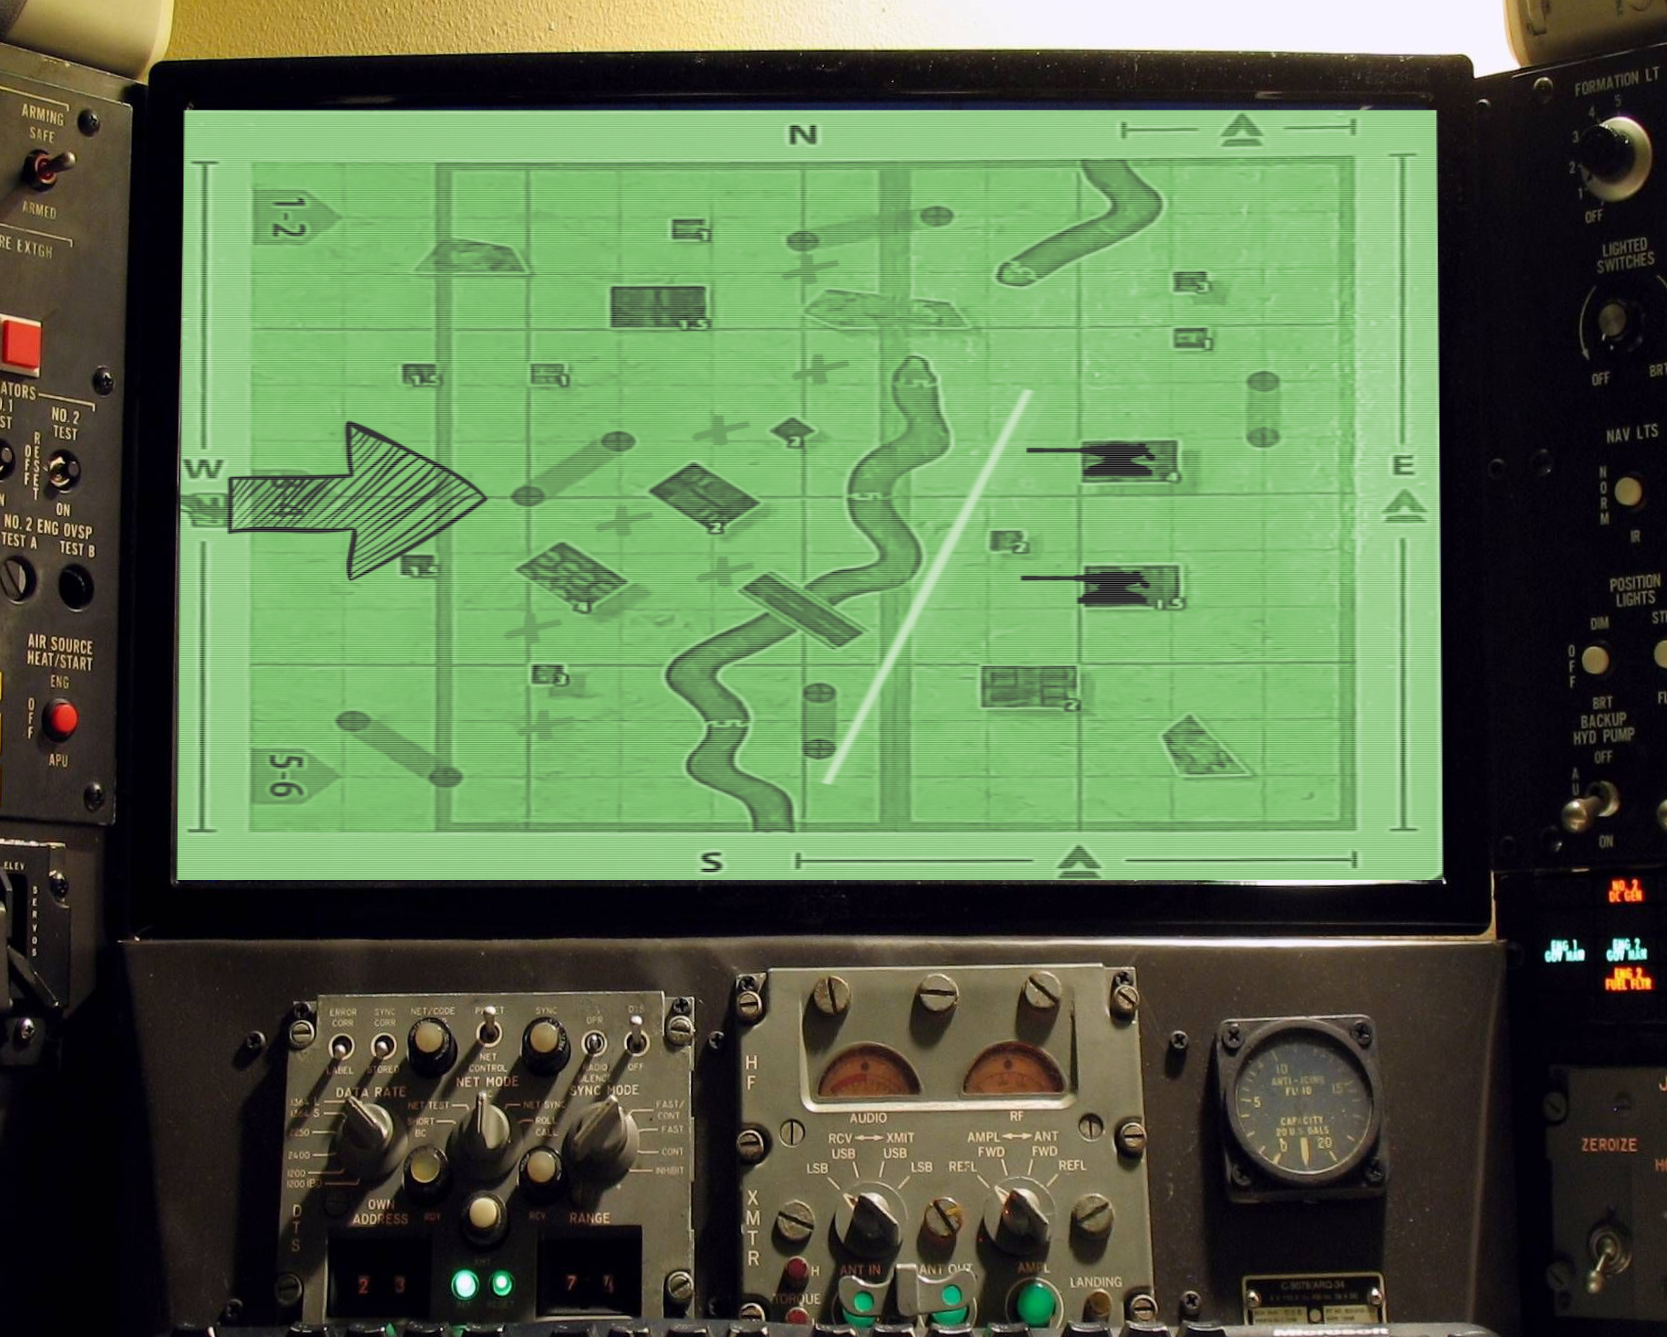
Tanit presents a map of the area of operations.
The Jade Falcons are expected to attack from the West. Since they abandoned any finesse in their approach they are easy to detect early on, leaving our heroes plenty of time to prepare. A dense mine field is prepared along the Western side of the river (denoted by little crosses). With the support of the local mercantile league they place two medium gun turrets atop some tall buildings too.
The Game
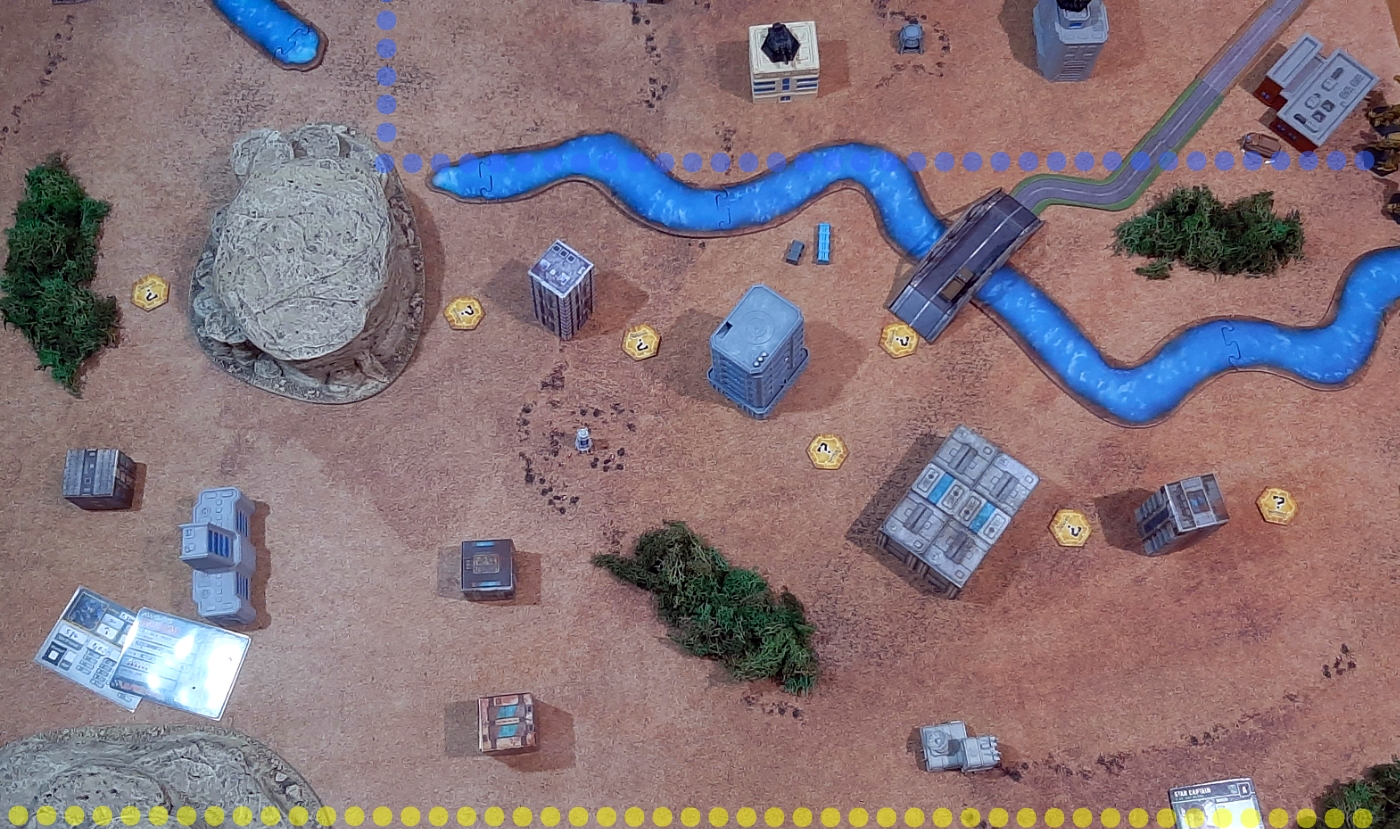
So we set up. Us within the area outlined in blue, the yellow table edge is where we expect the attack. We set up in our tried and true uncomplicated fashion.
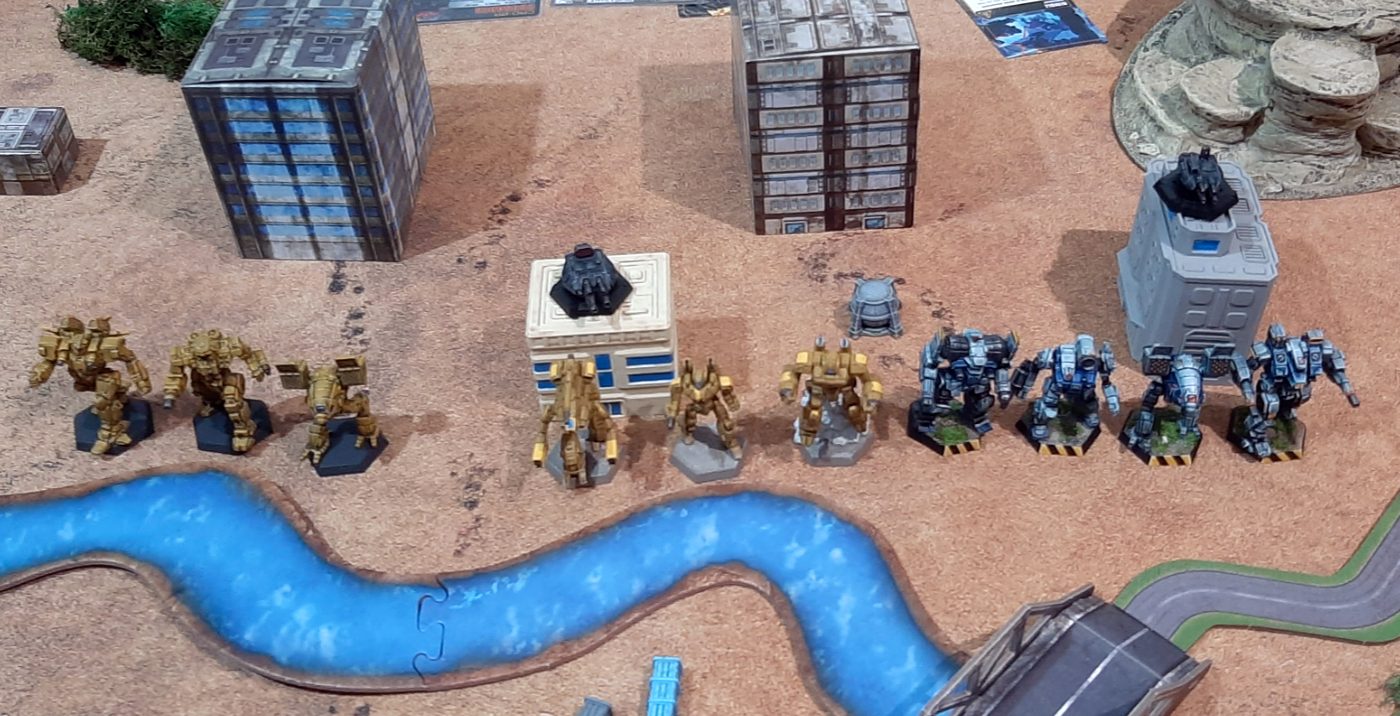
For the final game we deploy almost everything we got.
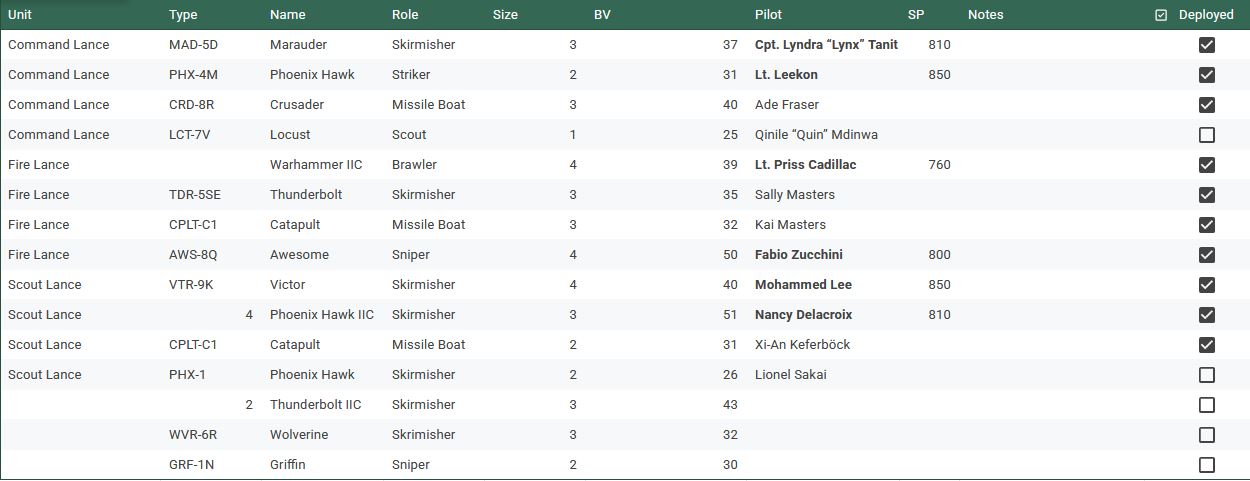
Lee’s Scout Lance takes position on the right flank. Delacroix is piloting her newly-acquired Phoenix Hawk IIC, next to her we got the lance leader Lee in his Victor. For fire support they brought Kieferböck’s Catapult. All of the battlemechs were repainted in Tanit’s Talons Dunkelgelb RAL 1024B.
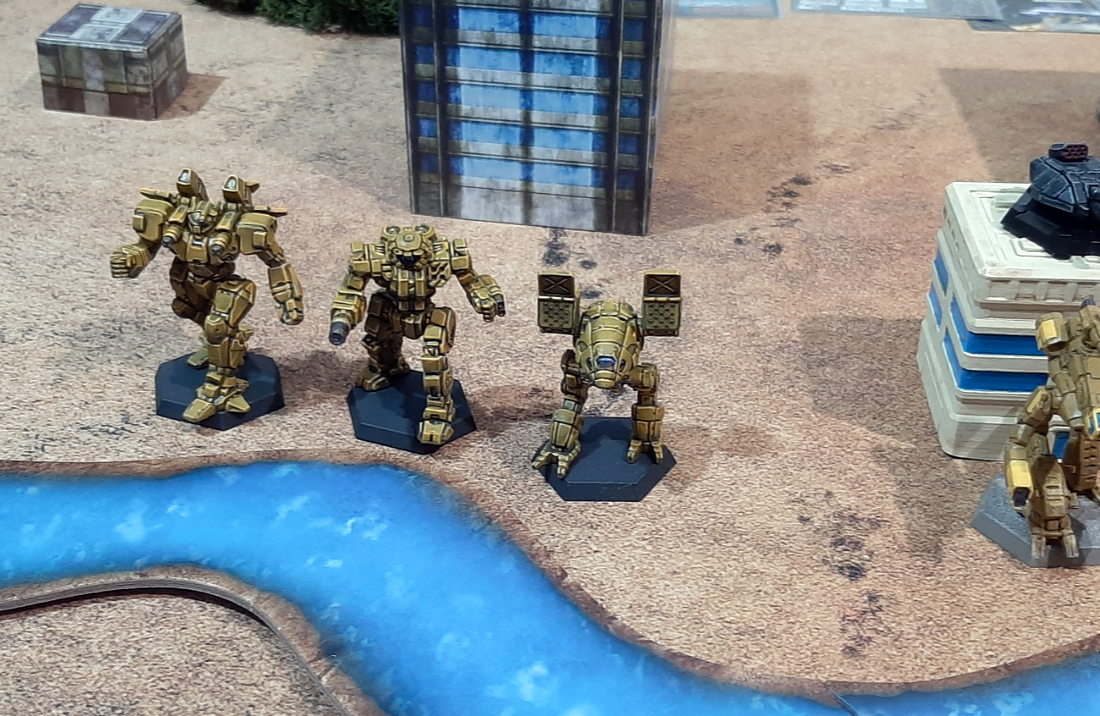
In the centre we have Tanit’s lance: Cpt.Tanit her Marauder, Lt.Leekon in his Phoenix Hawk and Fraser in his Crusader.
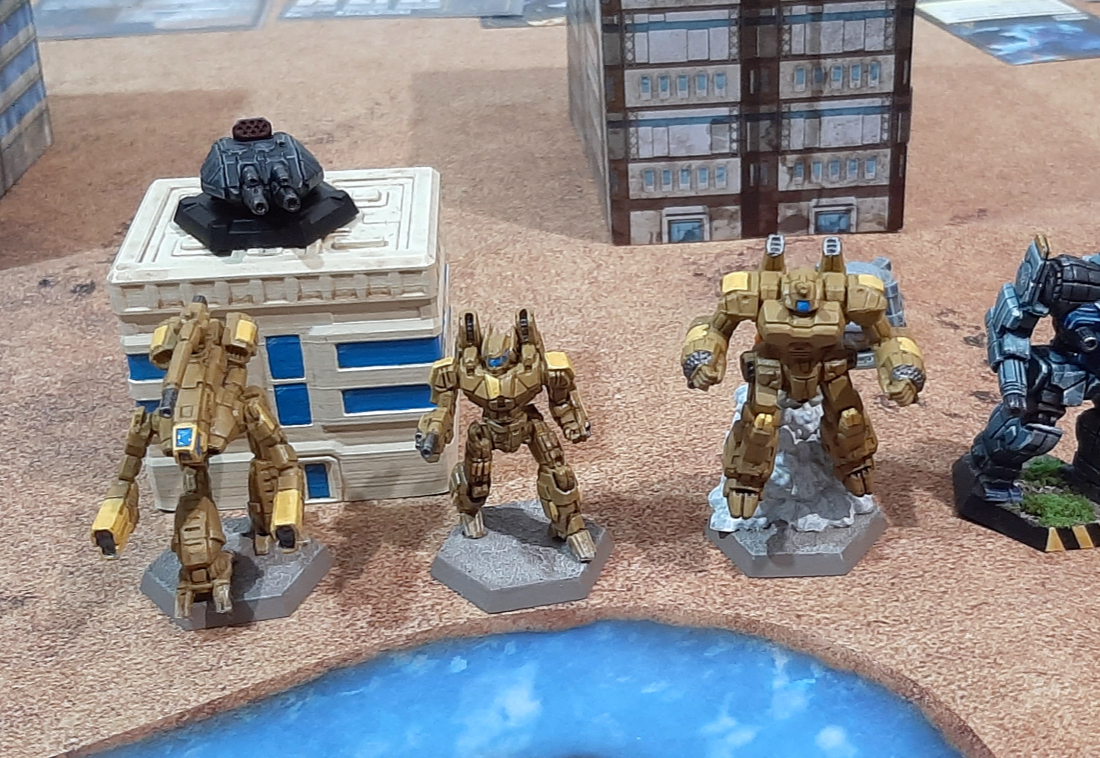
Cadillac’s Fire Lance didn’t get the memo about the uniform ‘mech colours.
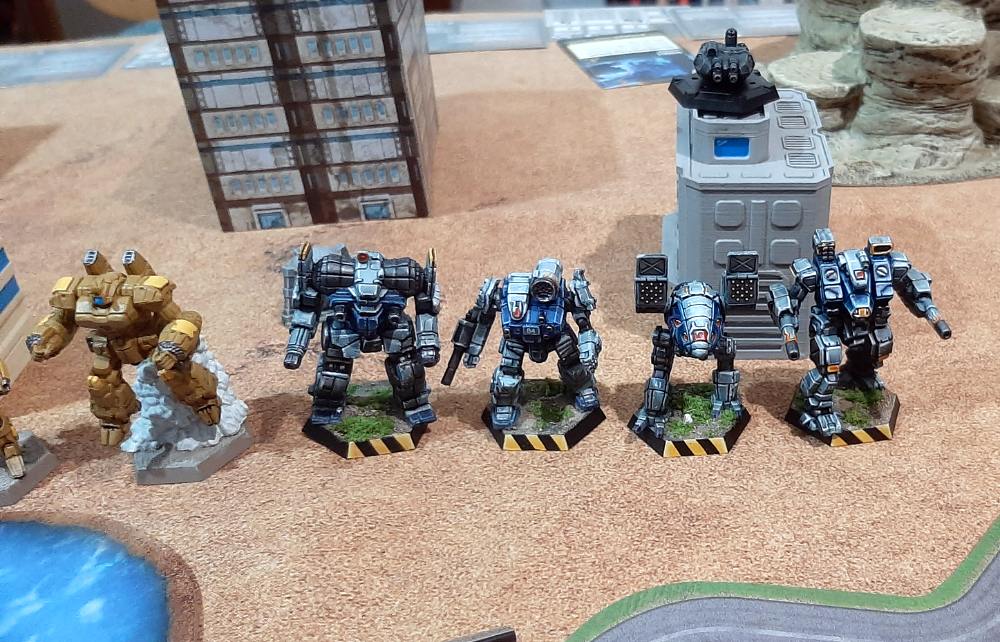
They bring four battlemechs to the field: Zucchini pilots the Awesome, Sally and Kai masters pilot their Thunderbolt and Catapult respectively, and Lt.Cadillac sits in her Warhammer IIC, way in the left flank.
They’re backed up by the medium gun turrets.
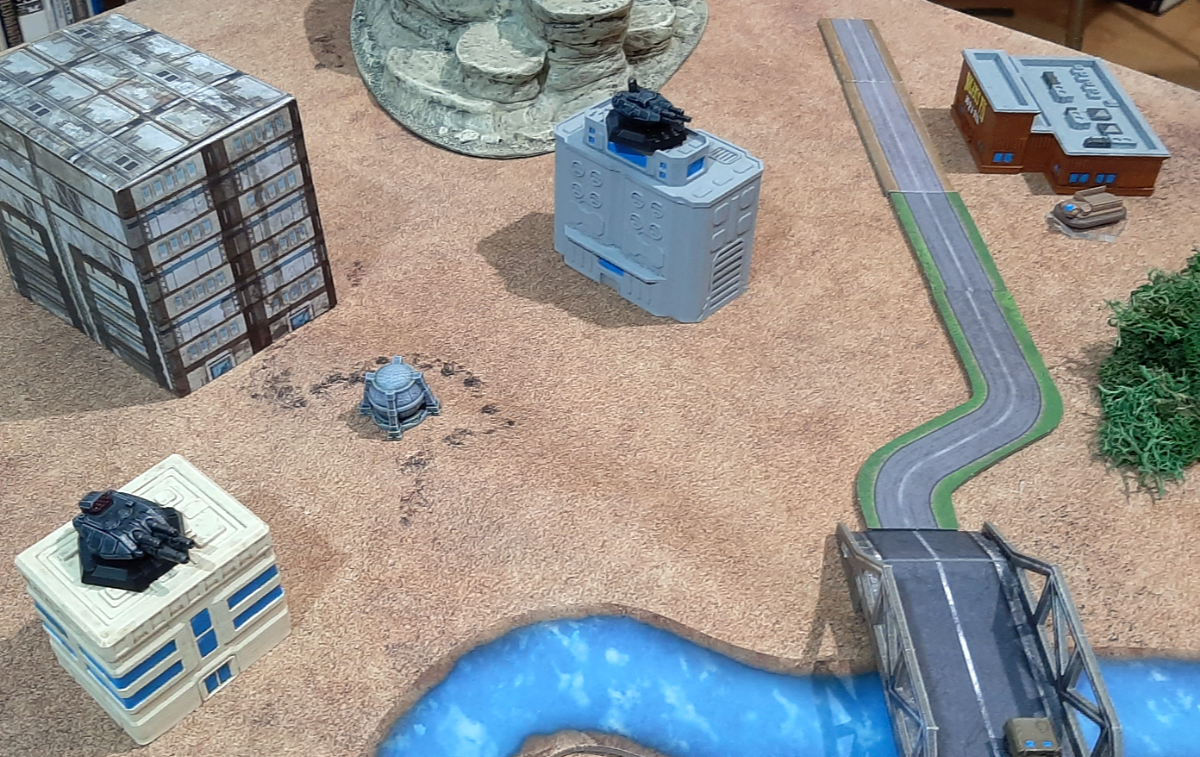
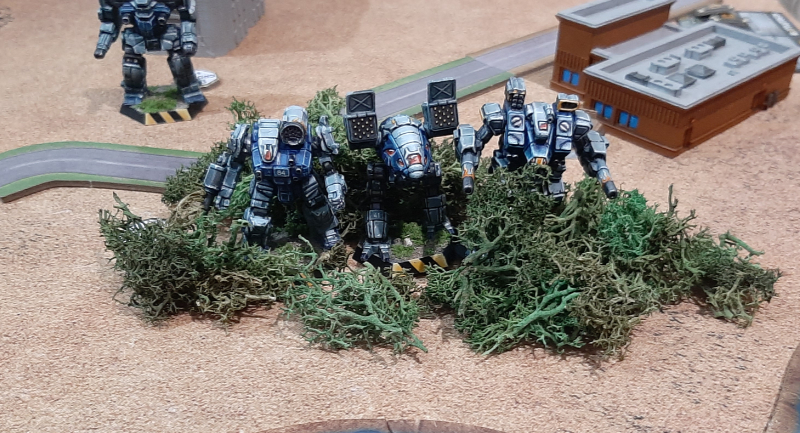
The first enemy battlemech charges toward the city; a Summoner H.
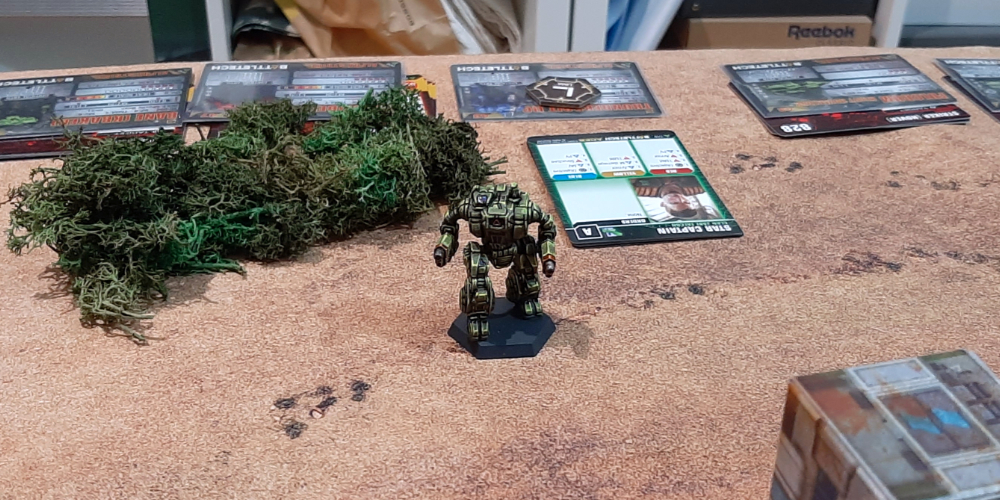
We don’t even let it approach the minefield and hammer it with fire.
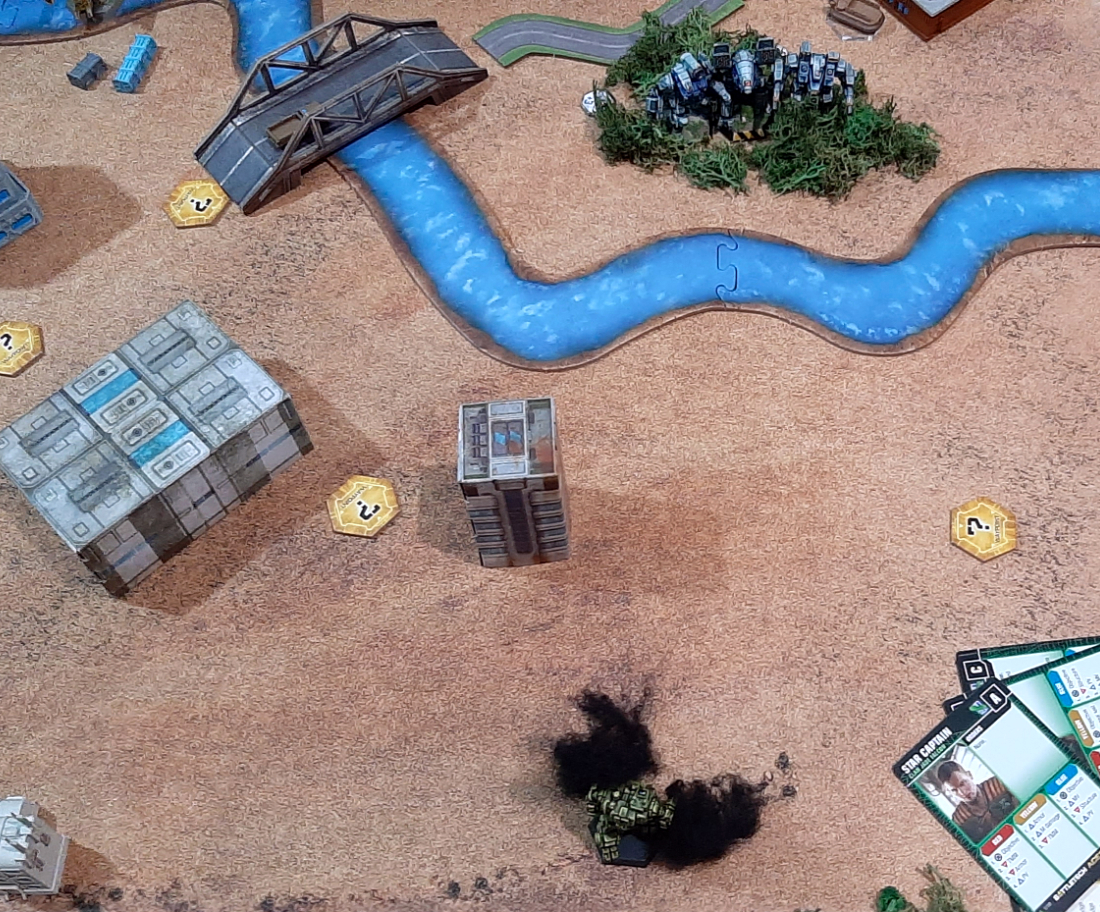
….from our fuzzy Position of Power(tm).
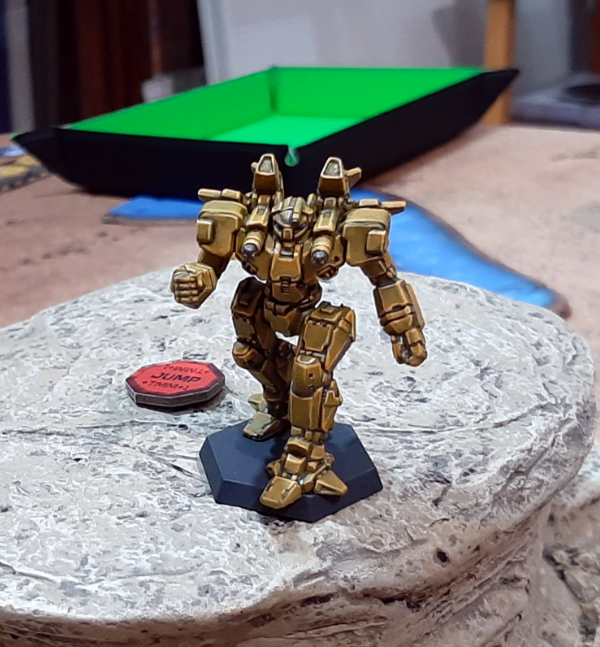
At the other flank, Delacroix gives the jump jets of her new Phoenix Hawk II a test run. The 80 tonner smoothly lands on top of the hill.
Clan troops apparently cover their far flanks with heavy hover tanks again. One Fulcrum left (which takes a shot at Delacroix’ exposed position, but fails to achieve much), …
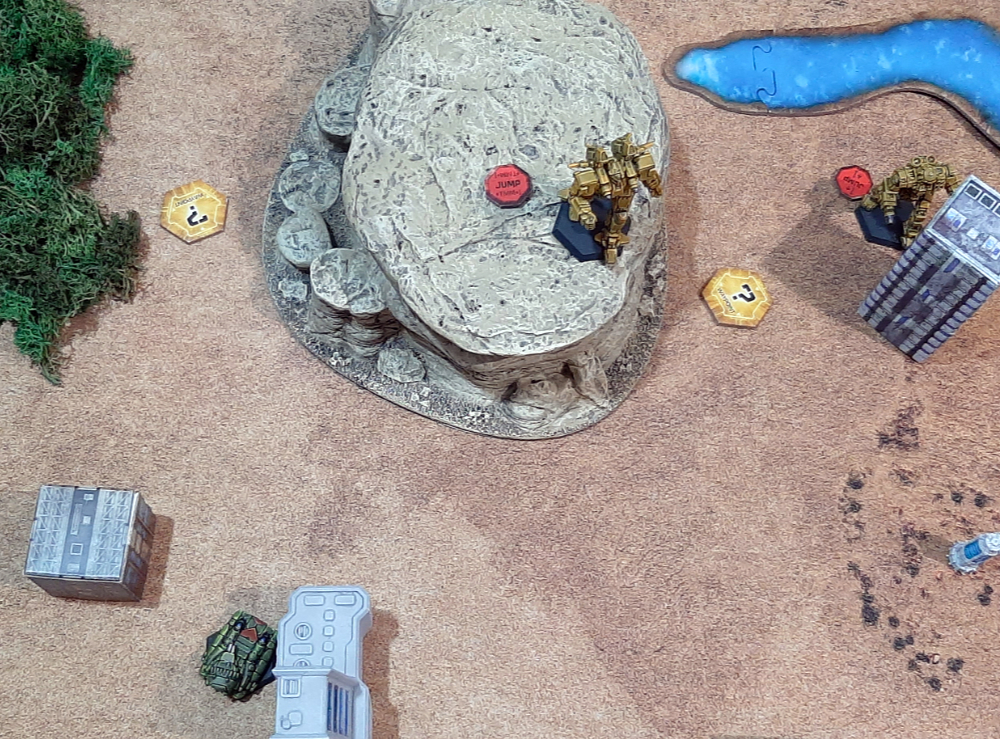
… one Fulcrum on the right.
The one on the left does a whole lot of zipping round and being a nuisance.
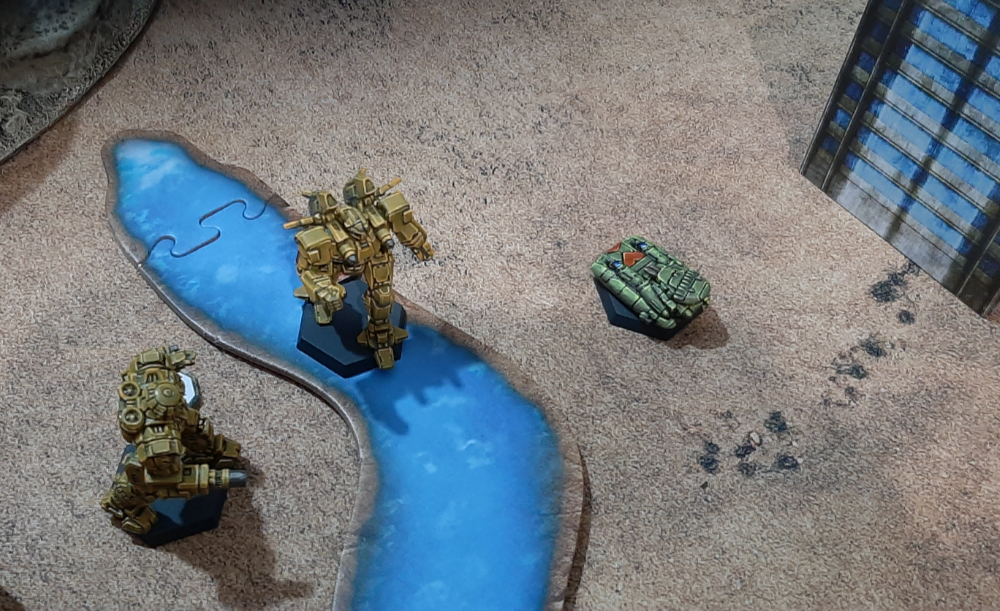
On top of that, a squad of Elementals infiltrated the area via the canal. They start pestering Delacroix’ Phoenix Hawk II who was in hot pursuit of the Fulcrum.
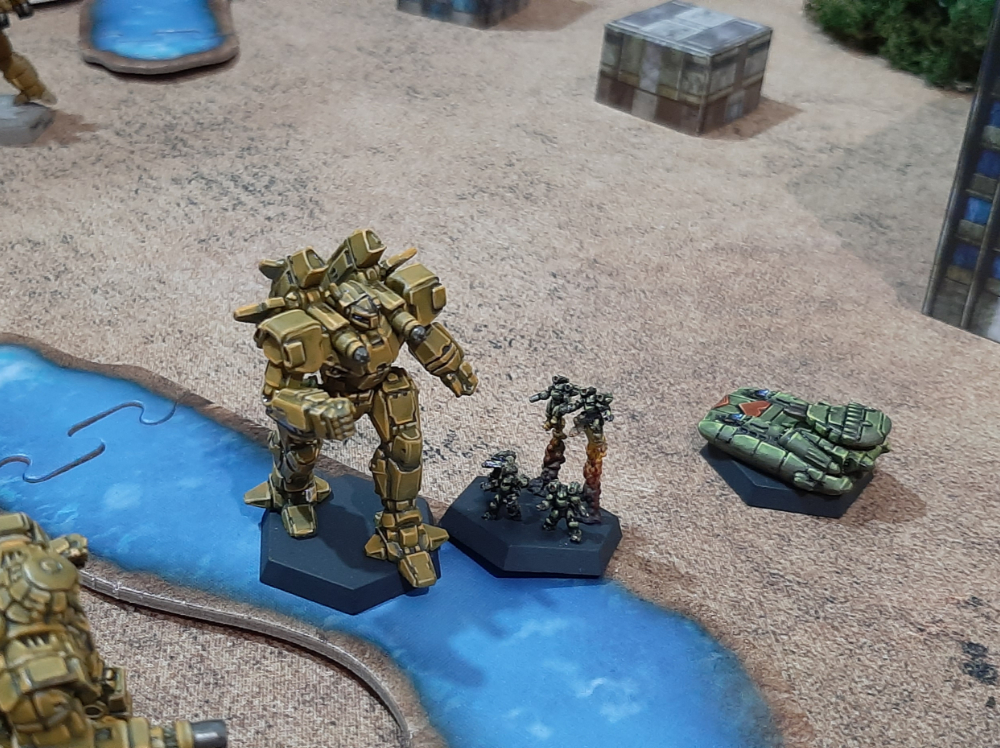
The other Fulcrum at the far right sits in cover, taking shots at our Fire Lance.
Clan troops grab the opportunity of us being somewhat occupied with these fast harassment troops and deploy in full force.
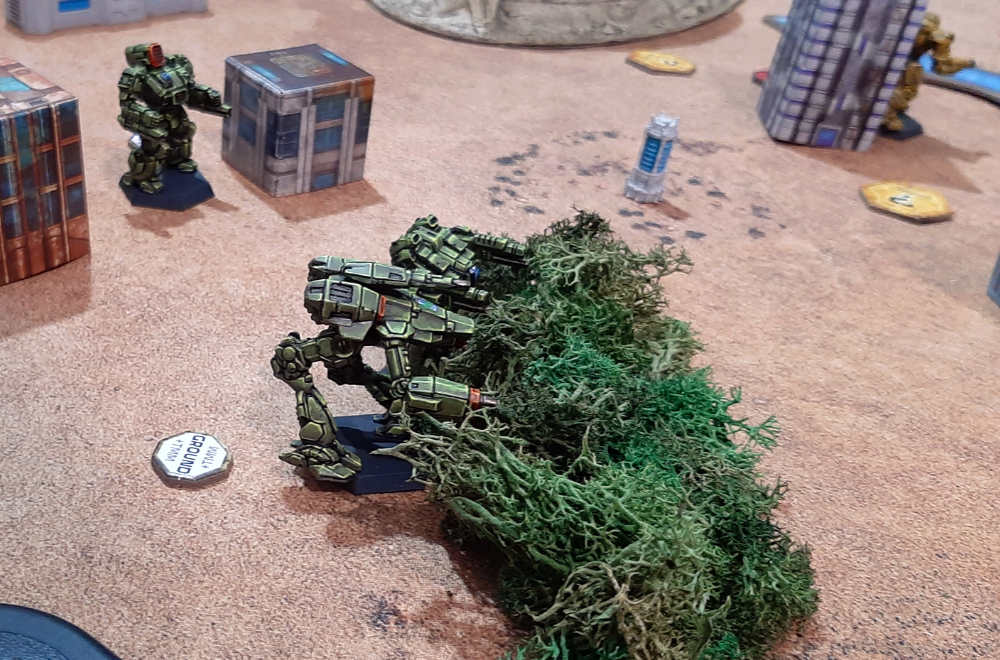
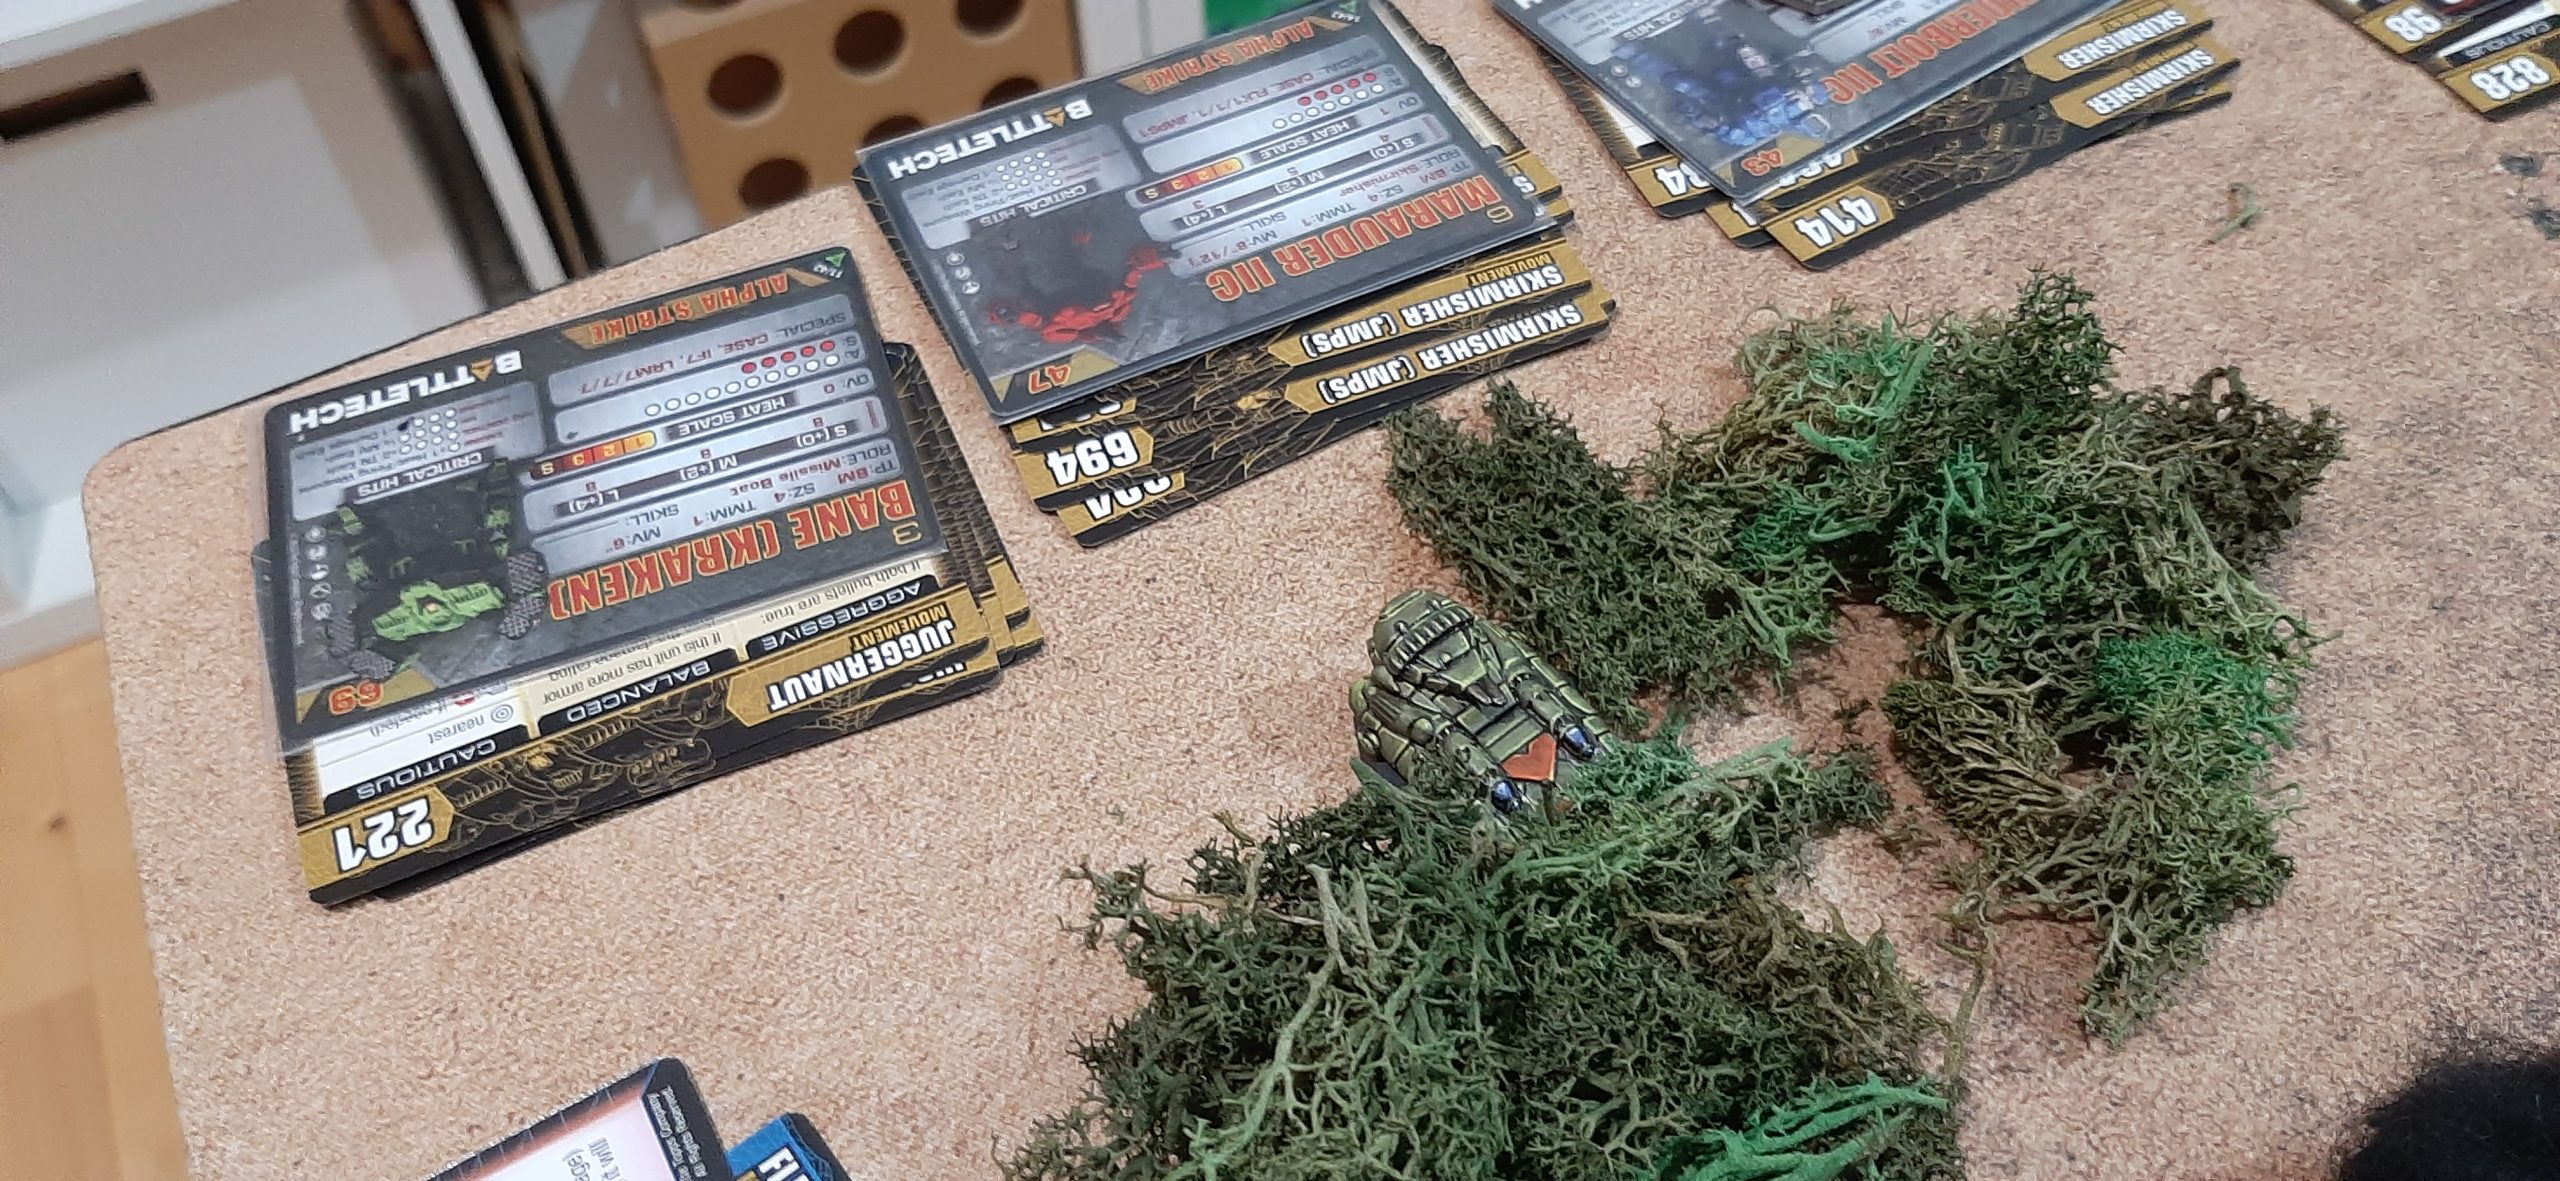
Among them, the mighty Bane!
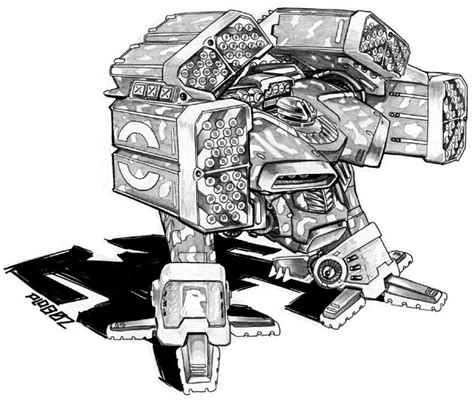
Seeing this dude show up is always so exciting that I forgot to take pictures. For many games, we’ve been itching to finally get a situation which allows us to take care of not all too much else but shoot up this monster. We ignore everything else, focus our fire at the Bane. Not even that machine can withstand such a barrage and the pilot is forced to withdraw off board.
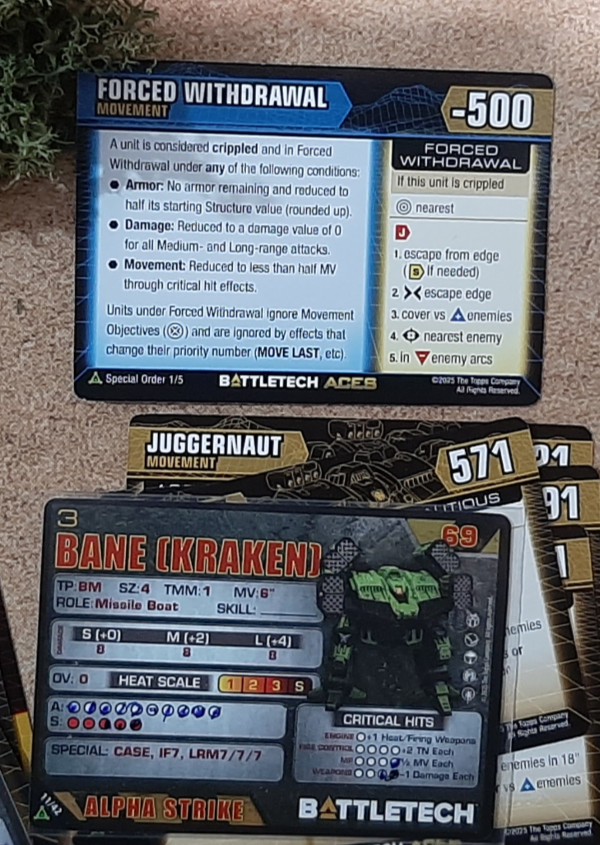
With that taken care of (as well as of most of the enemy harassing troops on our side of the canal)…
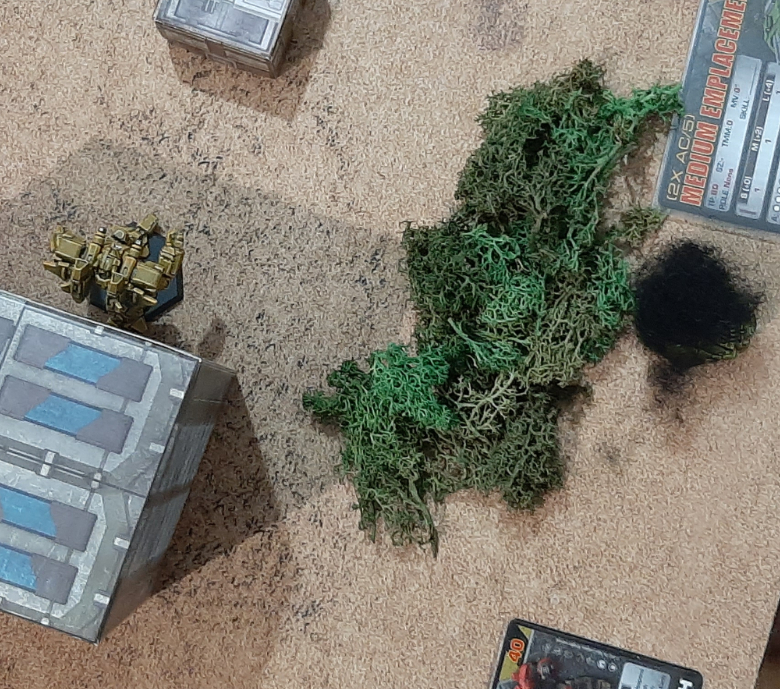
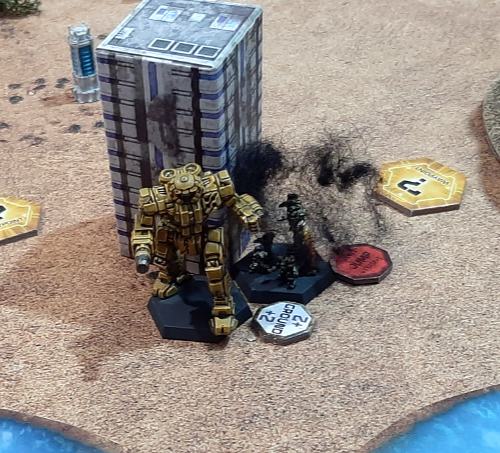
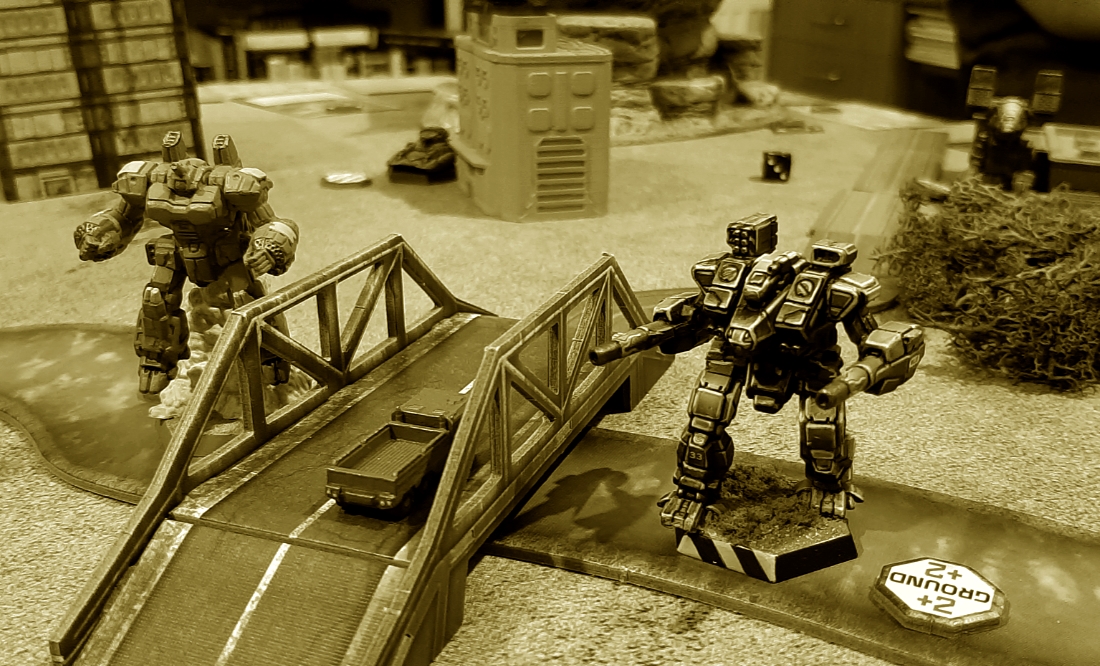
….our mechs cross over and take cover behind the buildings.
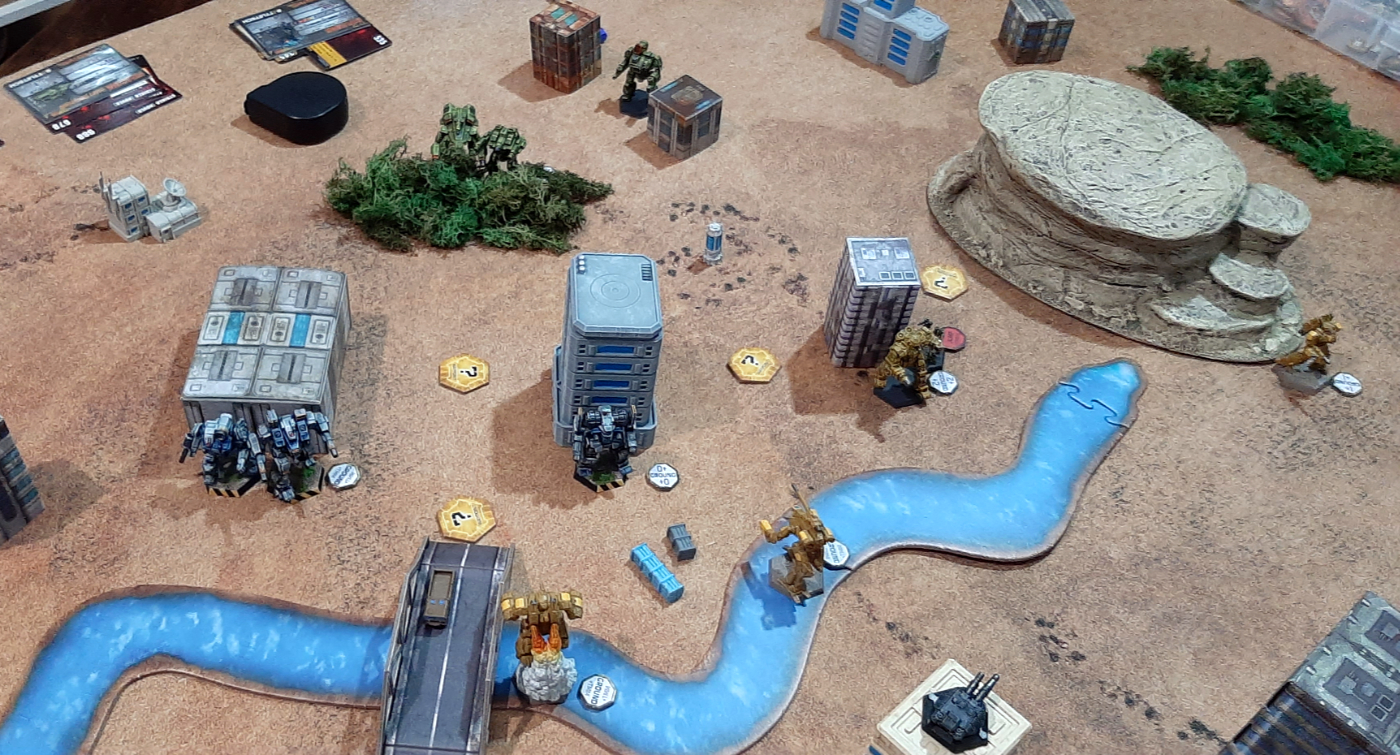
The main thing being that we either have to stay out of sight completely or far away from the buildings. Taking half-cover behind the buildings may result in stray shots hitting civilian structures, which is something we have to avoid at all costs.
The other Fulcrum, still at large, zips around our flank…
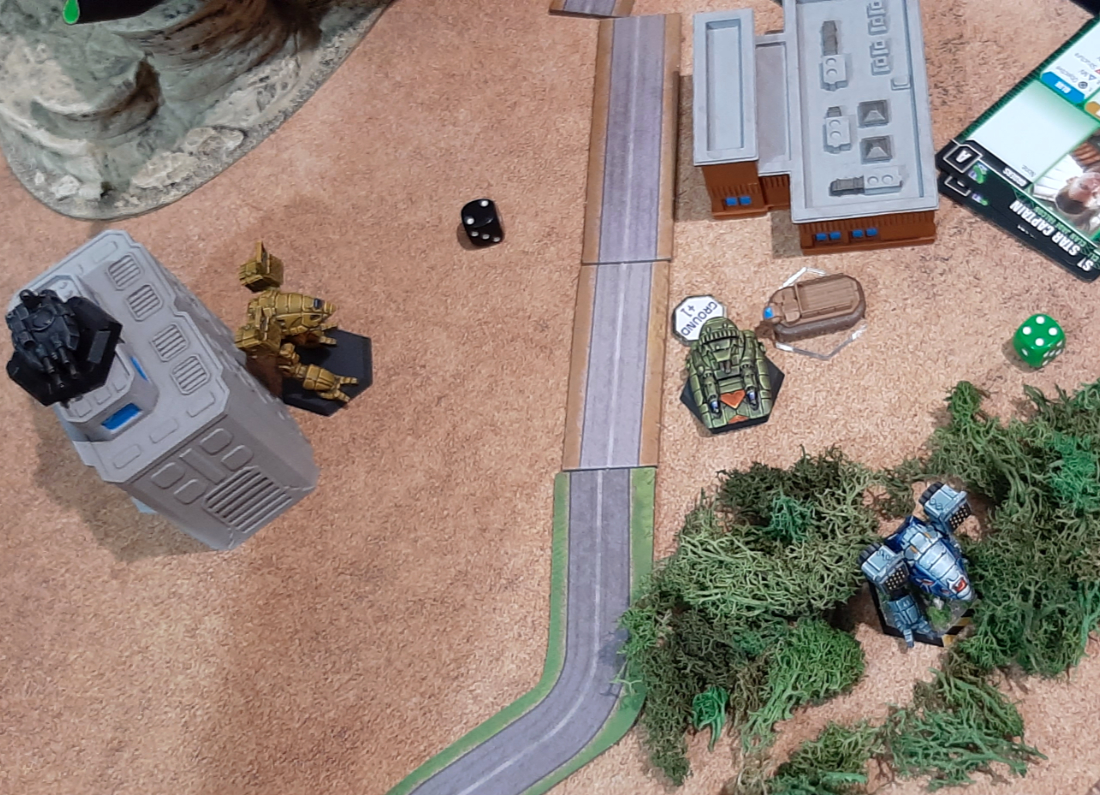
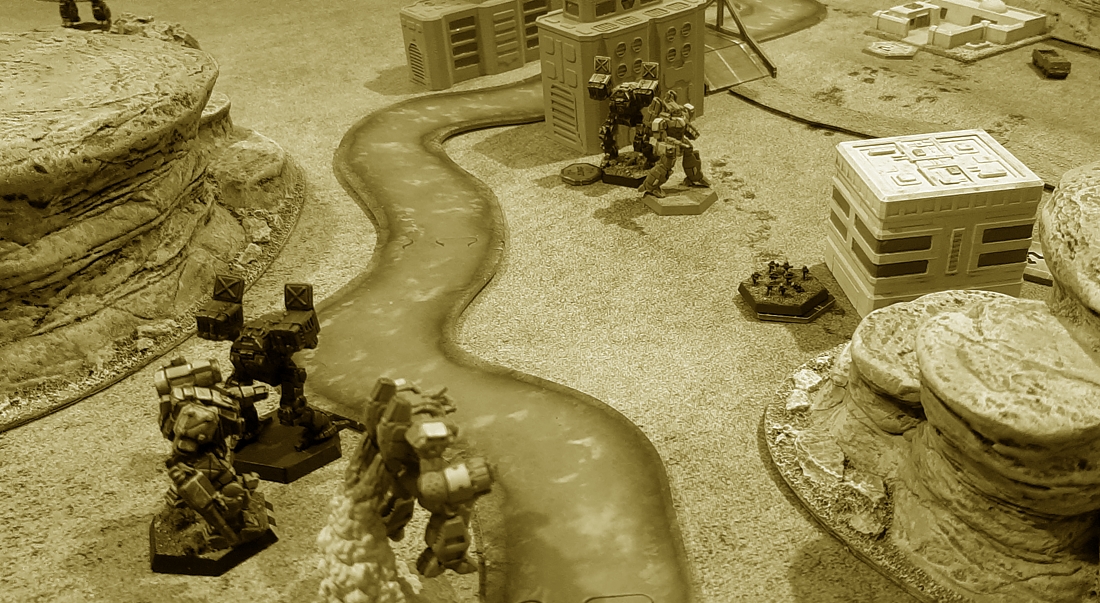
Kieferböck (sandy-coloured Catapult in the left) manages to get it off Masters’ (grey and blue Catapult in the lower right) back, but can’t take it out. Our heavy command mechs are just about to cross the river.
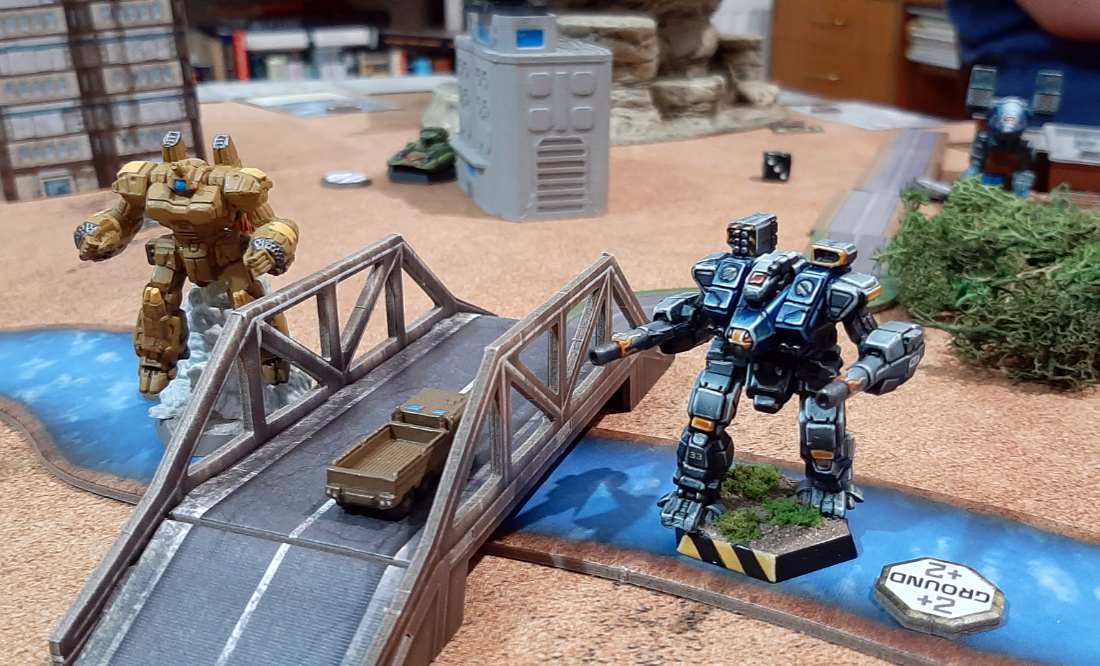
The Fulcrum sneaks up on Fraser’s Crusader…
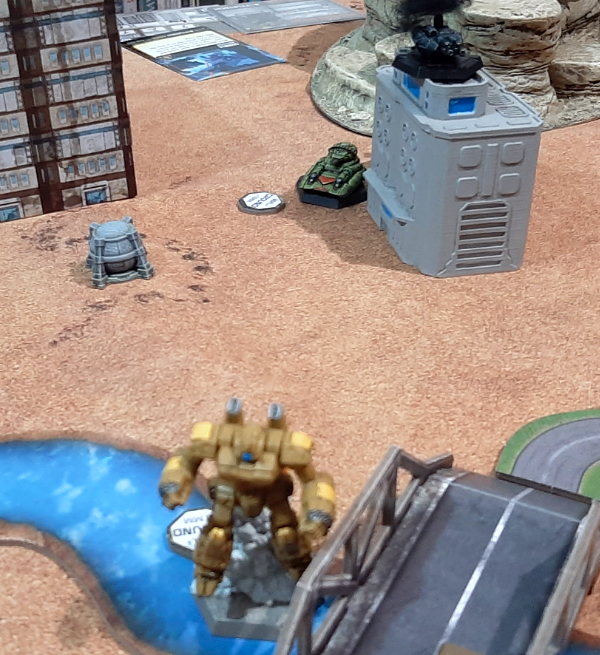
Right at the last moment, Kübelböck swoops in from behind the vehicle and it brews up!
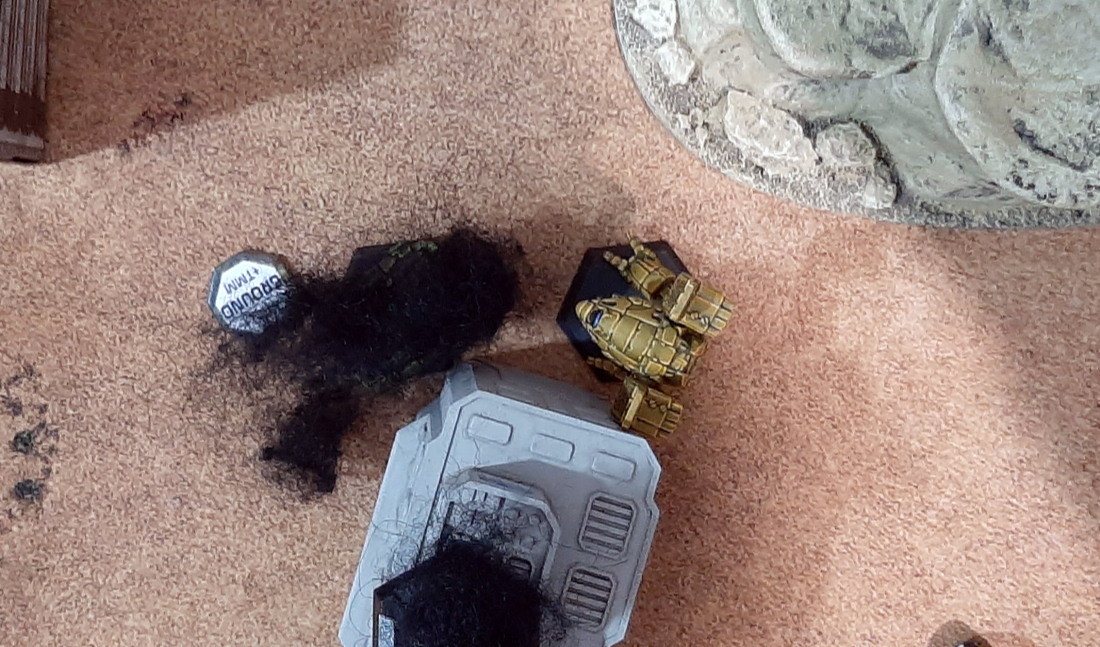
With renewed confidence (because our rears aren’t being harassed any more), Tanit’s Talons are on the offensive.
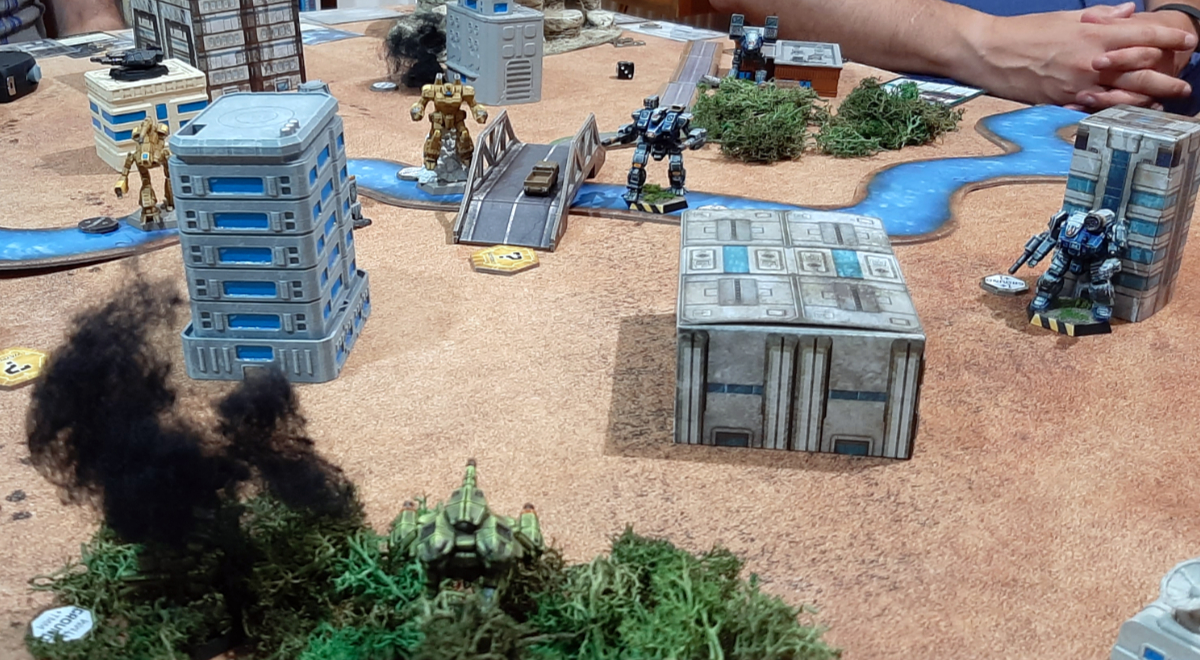
We throw everything we got at Sender’s Thunderbolt IIC and finally, FINALLY take our arch-enemy out for good.
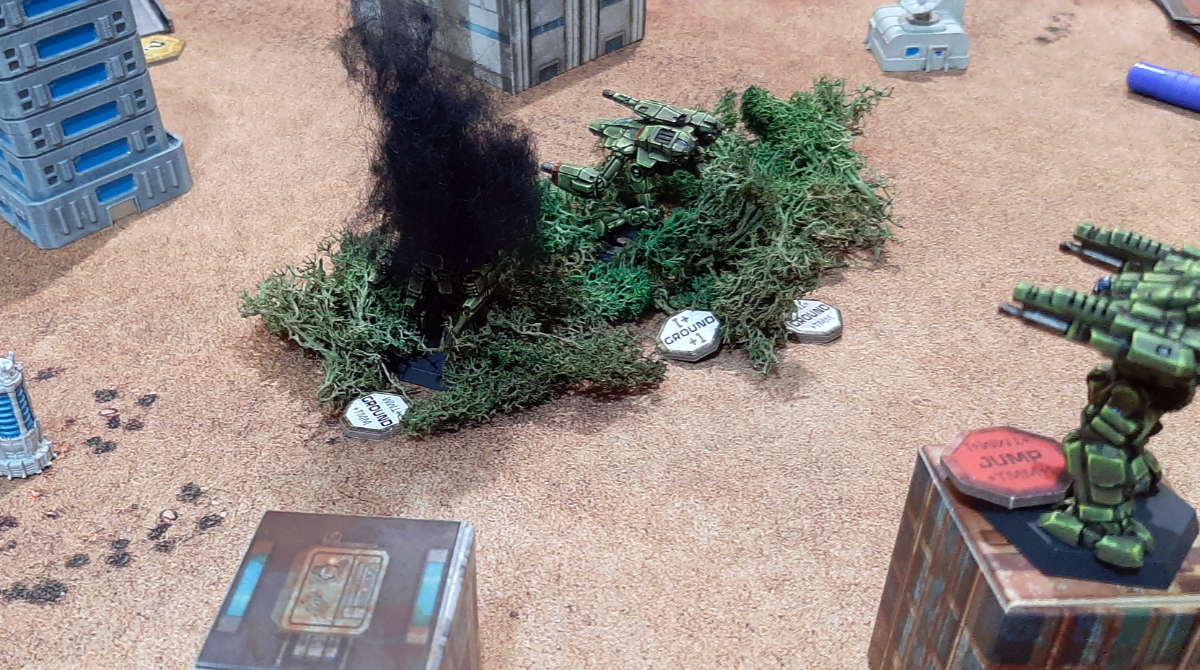
Quickly the rest of the opposition capitulate.
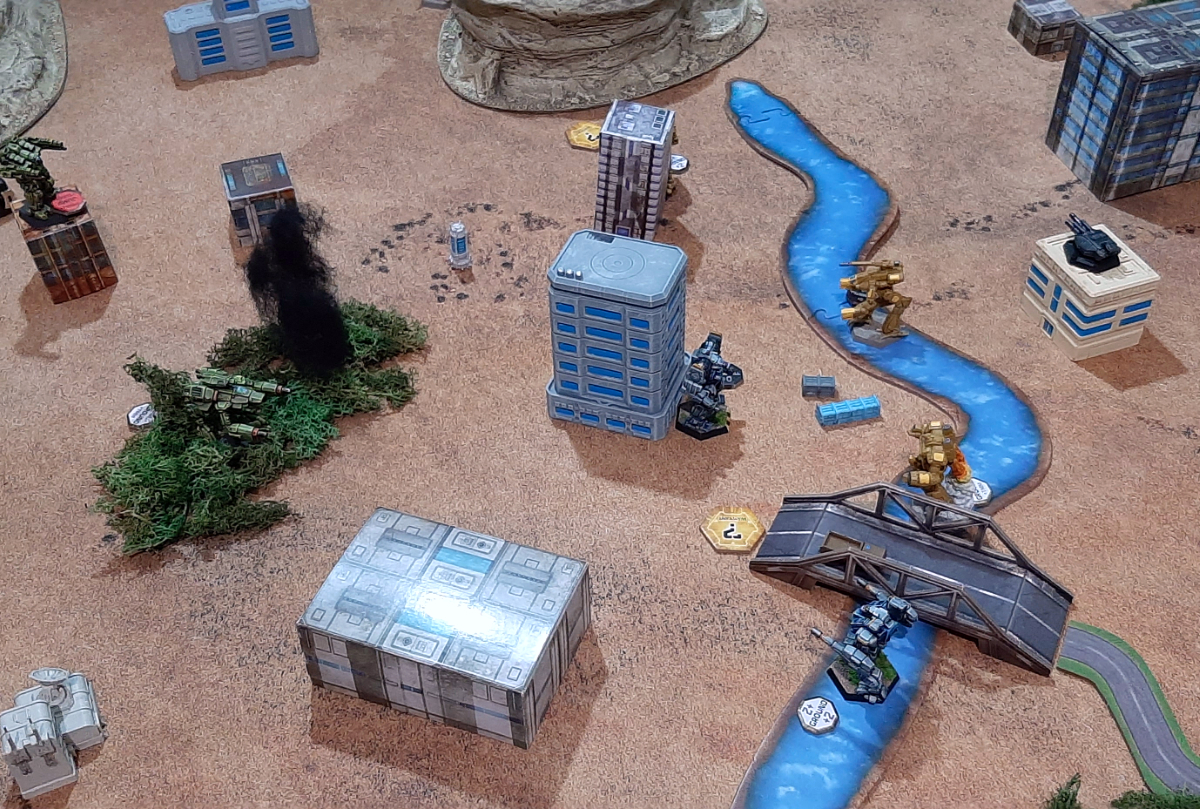
Conclusion
The Alyina Mercantile Guild surely is most pleased with Tanits Talons. Apolakkia is safe once more and can happily continue to produce high-quality land mines and artillery shells. Which seems to be their prime export articles, as we learned just before the final battle. Anyway. Hooray!

Everybody survived, we didn’t lose a single battlemech, even though the only original part onthe Awesome probably is the cassette deck since I totalled it twice.
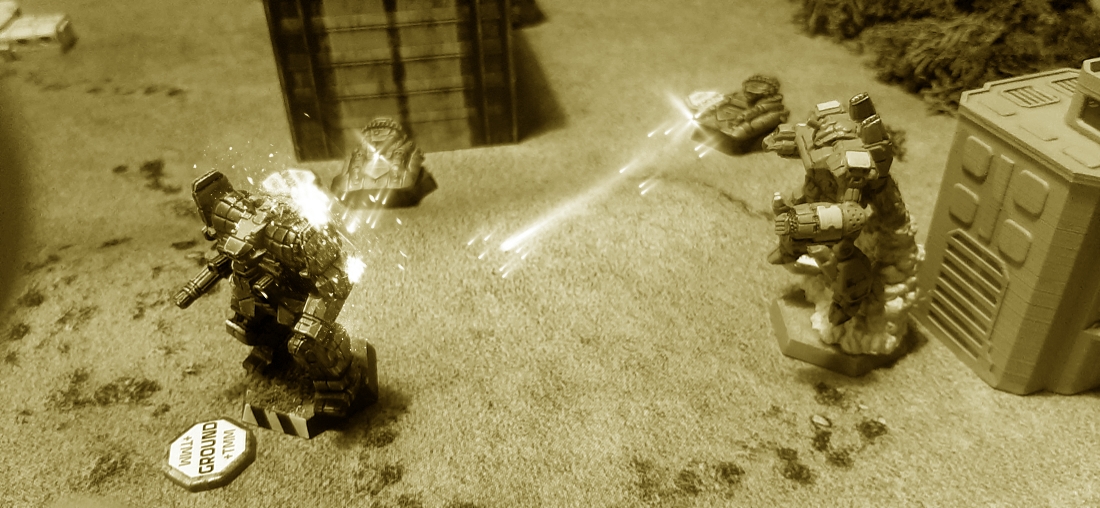
Same goes for my lance commander, Priss Cadillac. Cpt. Lyndra “Lynx” Tanit is very happy with her crew. Her second in command, Lt.Leekon and the scout lance commander Mohammed Lee were the MVPs of the campaign, having partaken (and survived!) every single sortie. They get the most experience points.
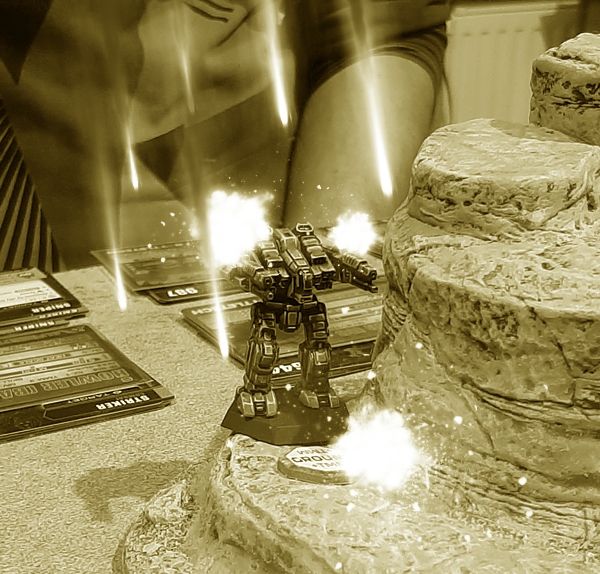
What an impressive game supplement Alpha Strike Aces is. Learning to read the enemy behavior (not as to outplay it, but to play it correctly in the first place!) isn’t easy. I can’t say that I fully grasped it by the end of the campaign; luckily Virago and Cpt.Shandy both own the Aces supplement and know how to play it.
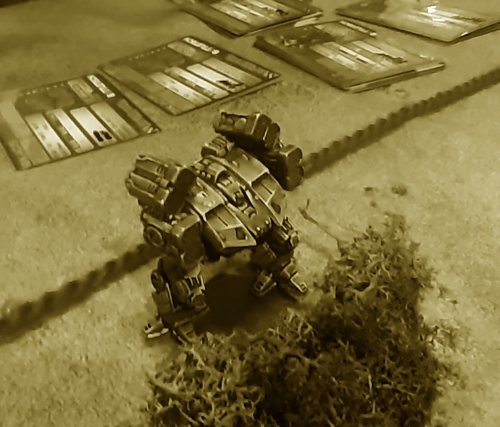
We didn’t get everything 100% correct. In one scenario we missed a line about enemy behavior, and maybe we didn’t play the Bane as horrible dangerous as it should be. Overall though I think we got it right most of the time.
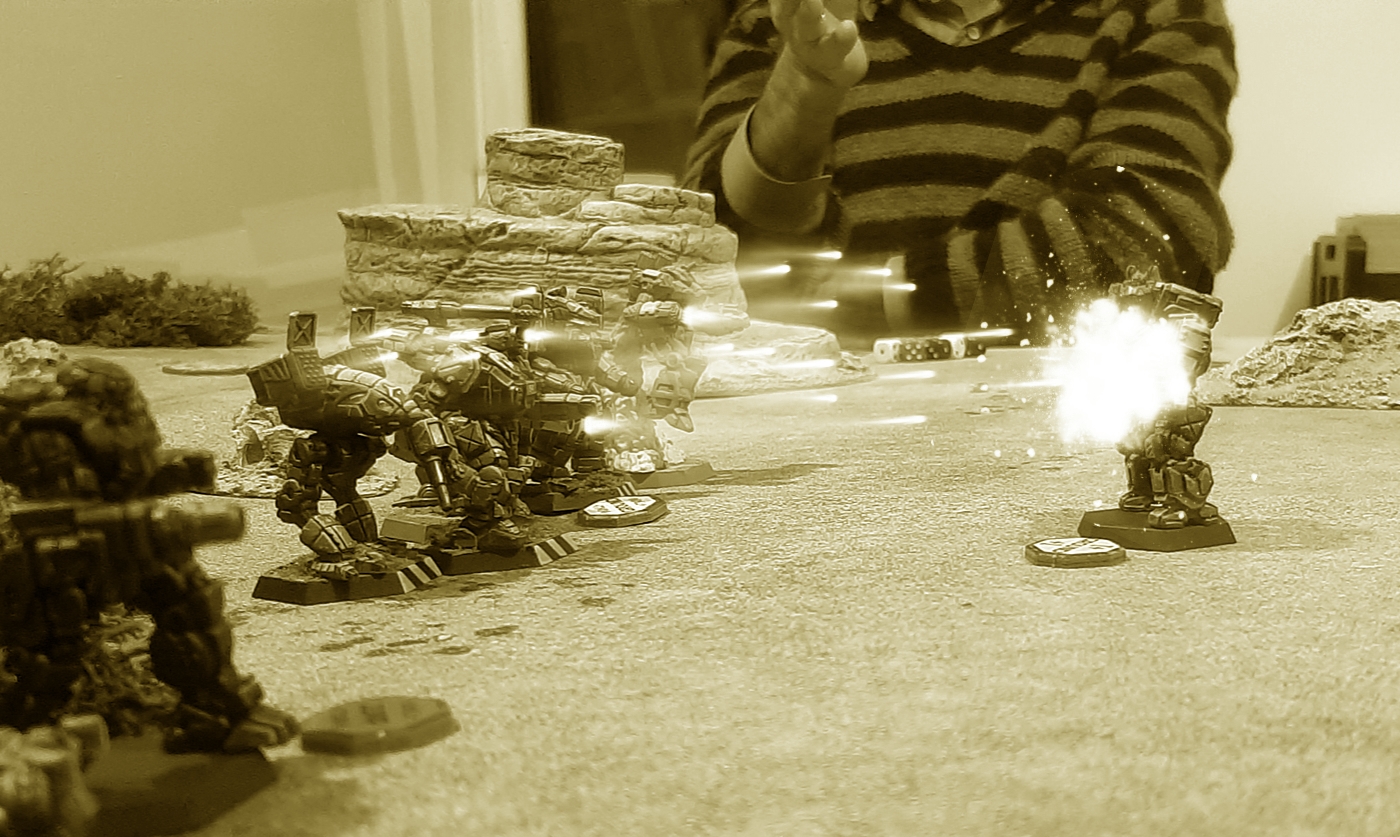
In terms of how we faced the enemy, we played it cautiously and tactically. To me it felt like we were atop the situation at most points during the games. In the first mission especially, the clan battlemechs are proper scary and we swiftly learned two things: Focus fire and stand with your back against a building.
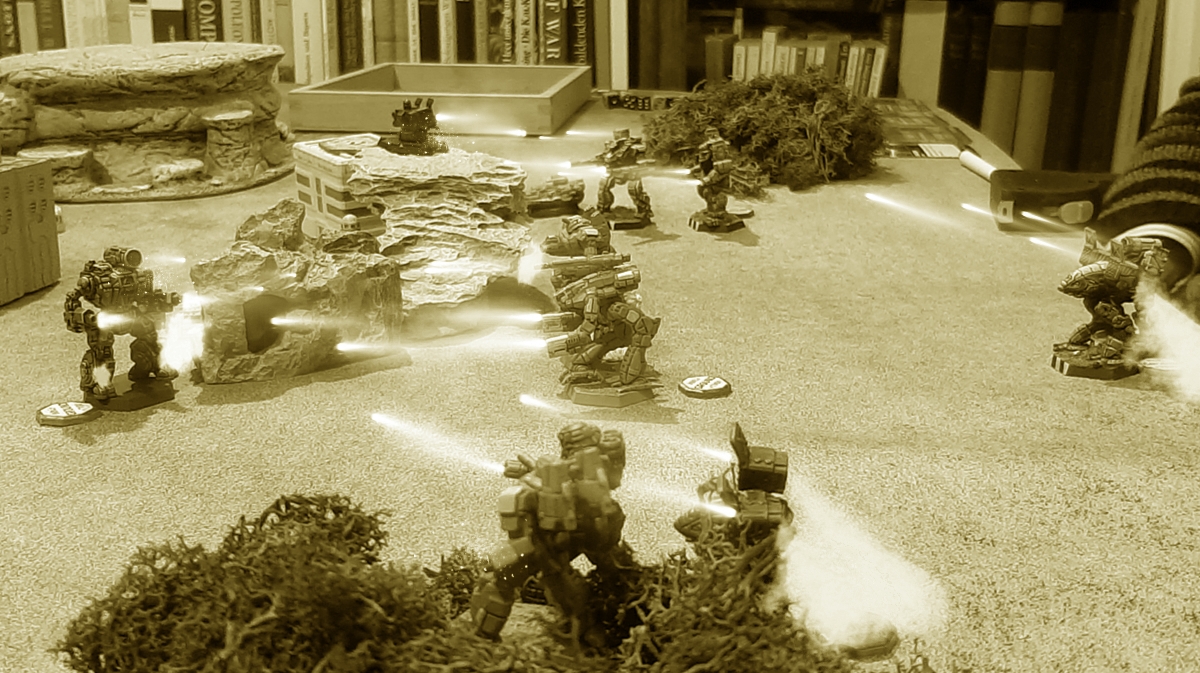
The real strength in Aces lies in the scenarios I think. Smart design there, with several events and such worked in with the waypoint system, letting the scenario designer place triggers for events in space (on the table) and in time (on the turn counter)!
The experience points and the special abilities named pilots can get feel a bit more like an afterthought than I assumed beforehand, since the primary goal in terms of experience points was to get to Pilot Skill 3. Edge points I only ever used for modifying a die roll and never upgraded. Maybe my pilot’s ability just wasn’t that useful. Cpt.Shandy and Virago seem to have used Edge mostly for modifying as well, but also for the abilities here and there.
Yeah, cool campaign. Very happy that I got to partake. We started in January, concluded in September (yeah, this report is super late. 😀 ). 7 Sorties we played, out of a total of 21 scenarios in the book. This, along with the choices you get to make between scenarios bodes well for re-playability, which is always an important part in any cooperative rules set. And at a very simplistic level, the option to spend points you acquire over the course of the campaign you get to spend on vehicles/mechs is pretty darned cool.
We don’t finish many campaigns we begin, but this one we did. I rather hate to say it, but there are certain advantages to having everything pre-fabricated in a very bite-size friendly format. By the way, I hear that converting the campaign to Classic BT works really well. So yay for CBT!
So yeah, I hope that you enjoyed the battle reports! I’m sure this isn’t the last we heard of Tanit’s Talons!