Heyhey, here we go again! Another exciting chapter in the colourful book of Tanit’s Talons’ titilating trips.
******* The following text contains spoilers for the Scouring Sands Campaign *******
Mission 5
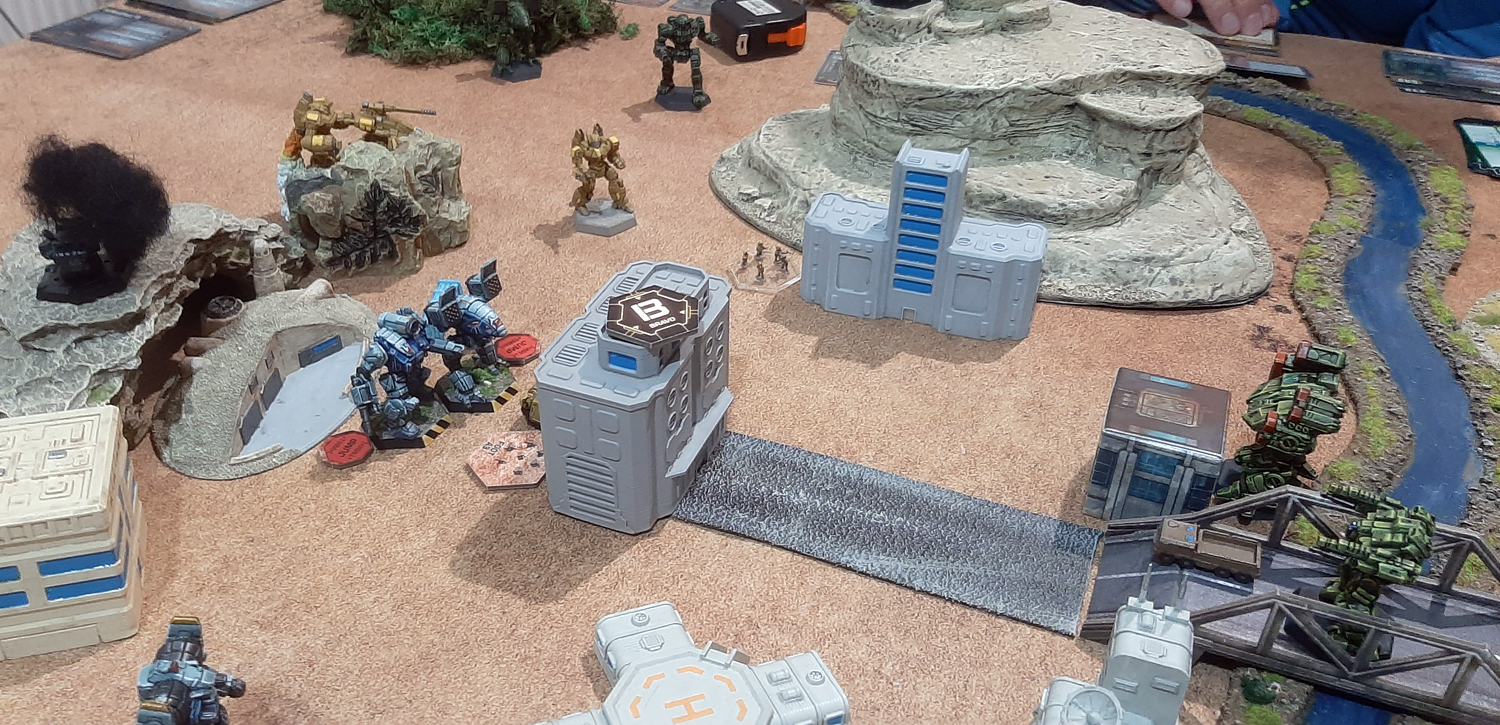
The enemy holed up in their main garrison; a defensible position surrounded by rocky hills and a river. Cpt. Tanit presents the battle plan:

After some consideration the three lance commanders agreed on an unsubtle, swift assault. A two-pronged attack from the East, because that’s the direction they L-East expect us. The garrison is expected to be heavily guarded by enemy battlemechs, medium gun emplacements on top of the surrounding hills and on top of that the Jade Falcons got two Thumper artillery guns deployed inside of their garrison.
The main objective is to conquer the enemy garrison and drive the enemy out. Secondary objectives are to destroy the defense guns on the hills and then locate and destroy the enemy artillery batteries within the base. Beforehand, local scouts undertook a recon operation.
The garrison was on alert already, so they only managed to scout the Western side of the river. Neither of the two possible locations turned out to be the artillery positions. (Cpt.Tanit crossed them out on the tactical map above).
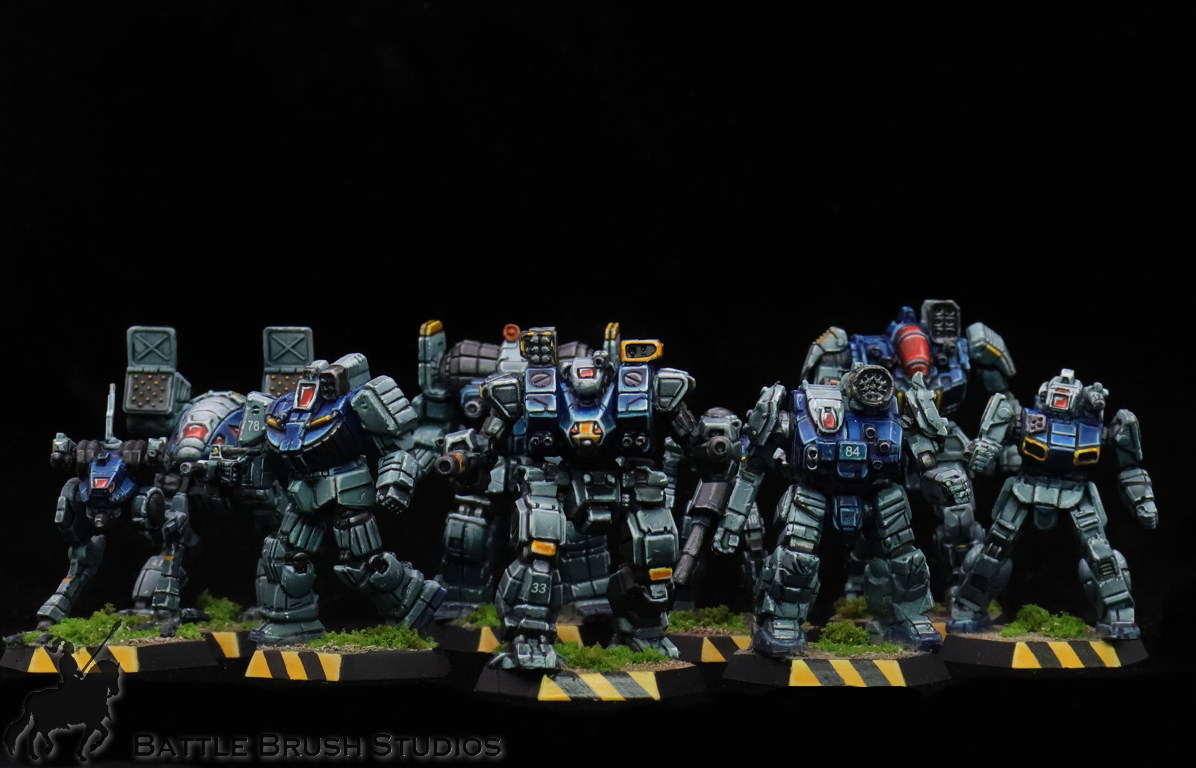
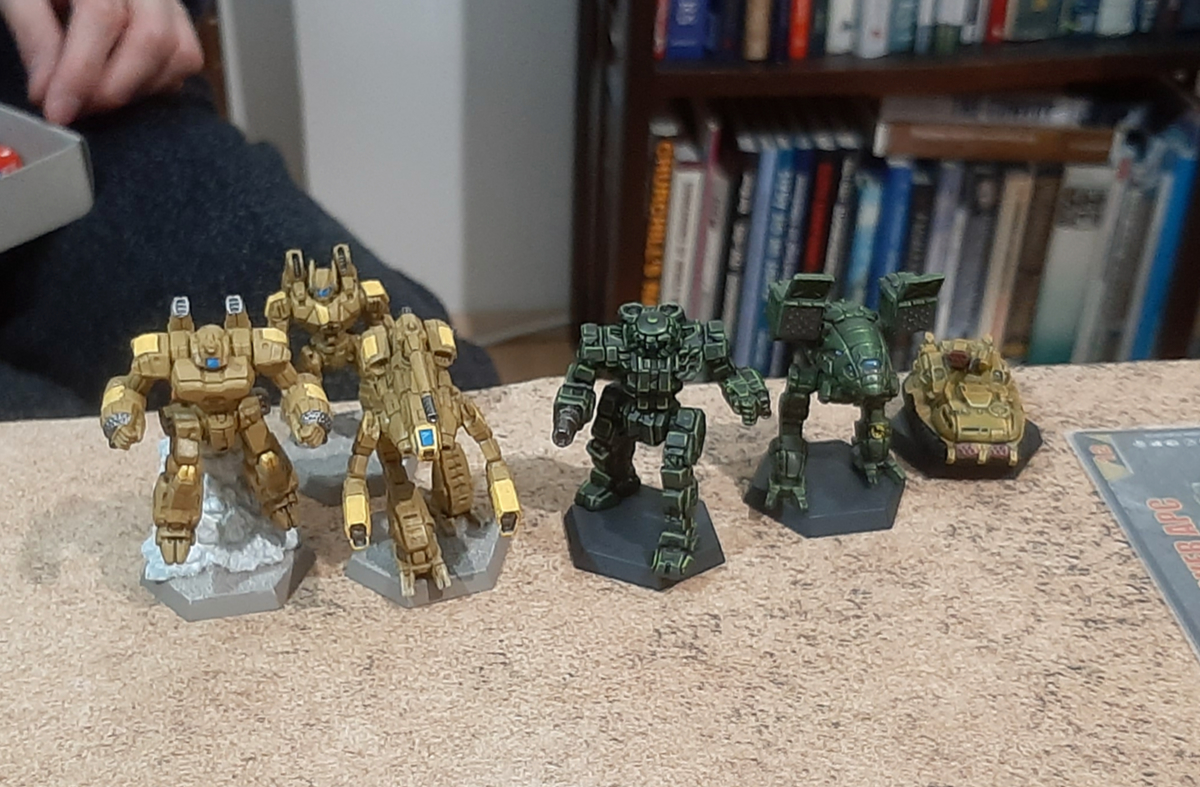
Cpt.Tanit orders the heaviest battlemechs to be used for the assault.
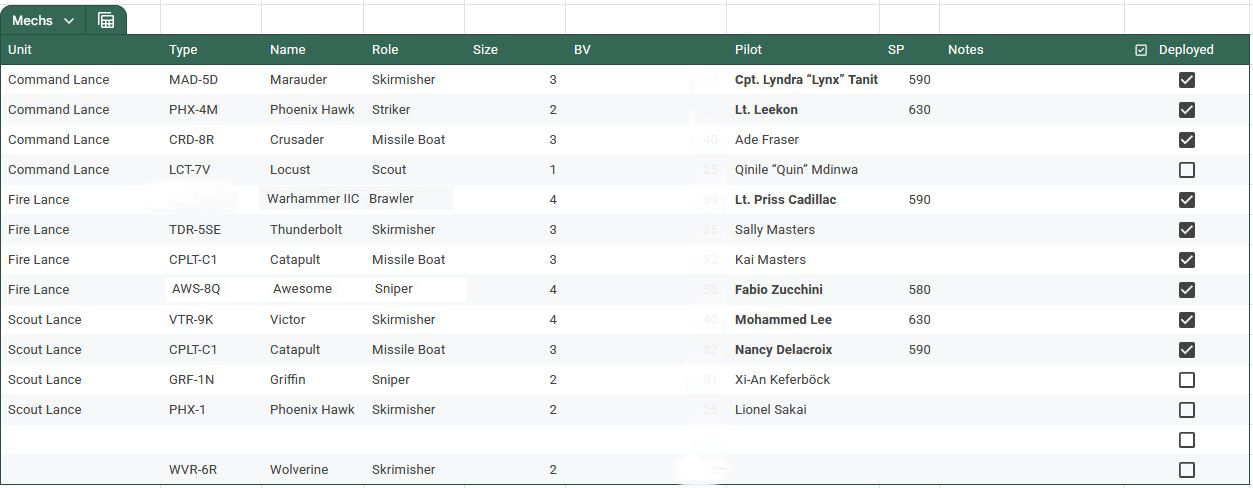
An excellent opportunity for Lt.Priss Cadillac to give her second-hand-but-as-good-as-new-condition Warhammer IIc battlemech a go in a combat situation. Fabio Zucchini leaves his trusty Wolverine at home and opts to take over Cadillac’s heavy Awesome for this assault.
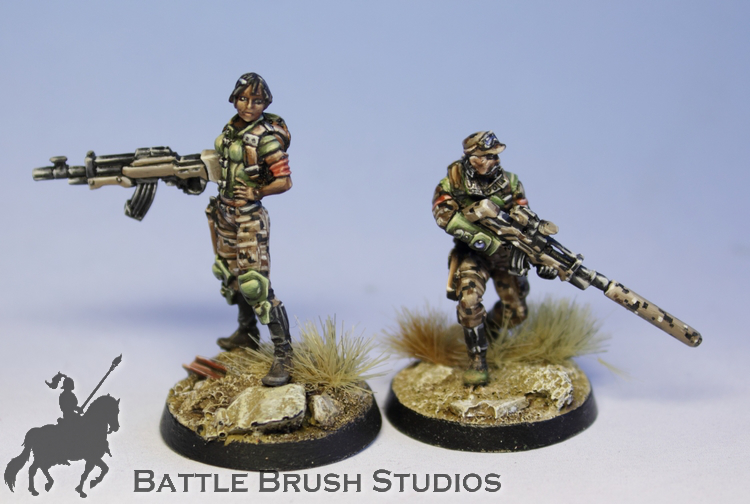
Further local armed forces join the Talons in the shape of two heavy hover APCs, transporting militia infantry.
The Game
The Jade Falcons garrison is guarded by a bunch of heavies as well – all tuned-up clan tech enhanced heavy battlemechs (and a Locust). Medium Guns on top of the hills around them.
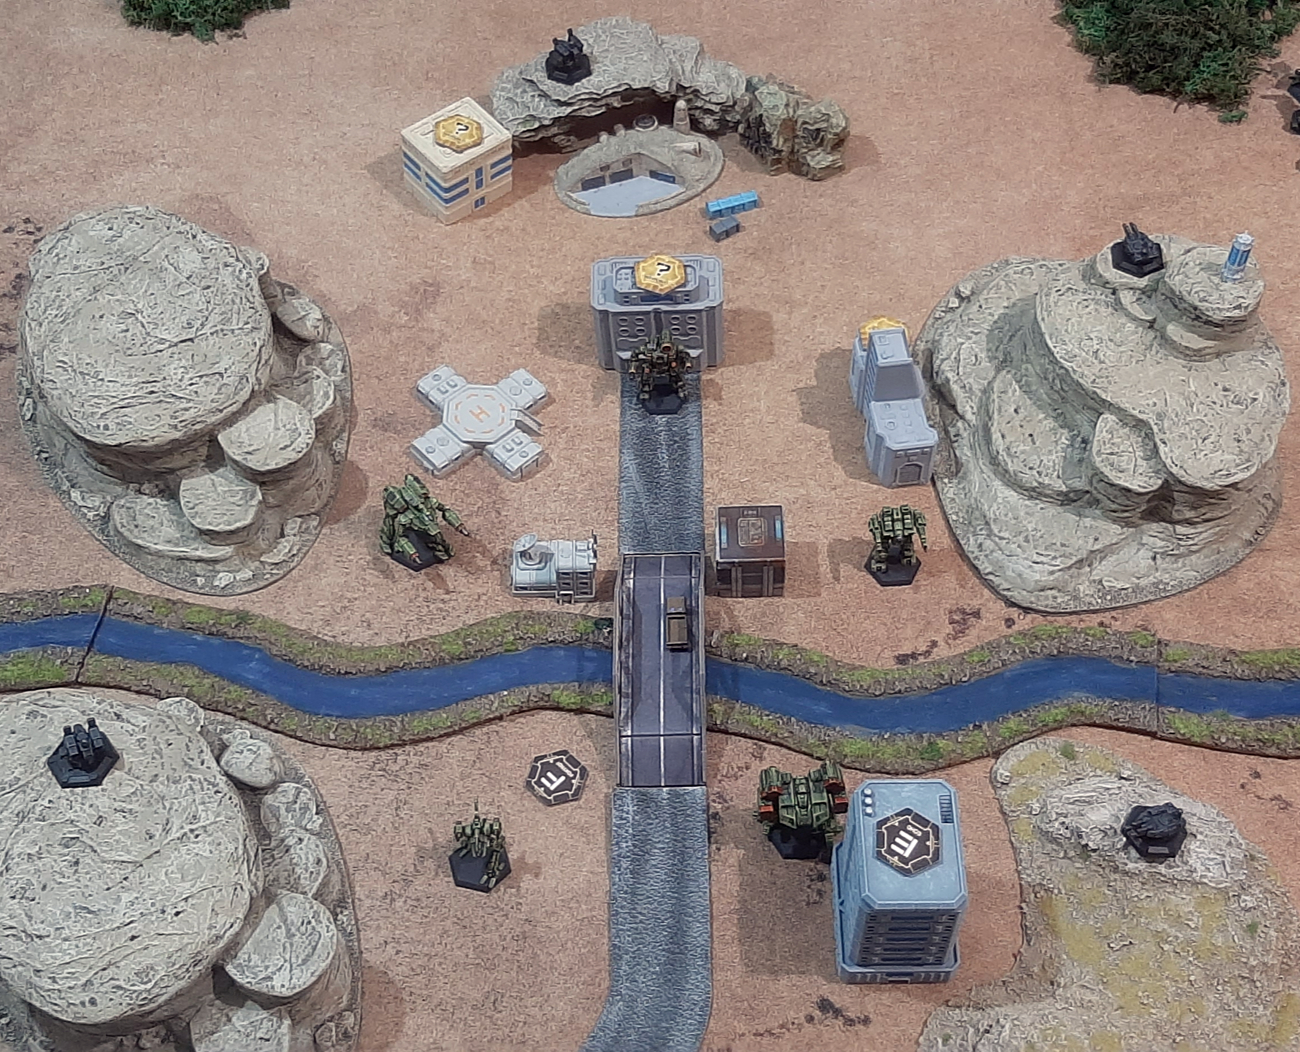
Each of the remaining face-down keypoint tokens may hide an artillery position. And right at the centre, there’s Star Captain Sender again, in his Summoner battlemech.
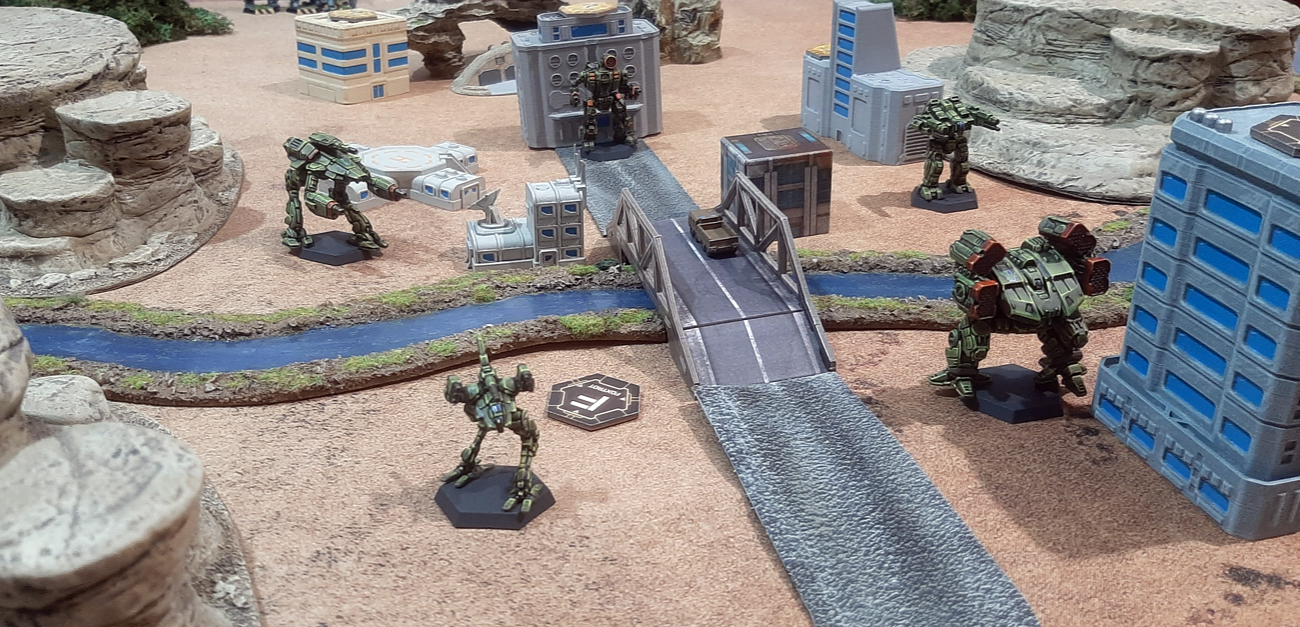
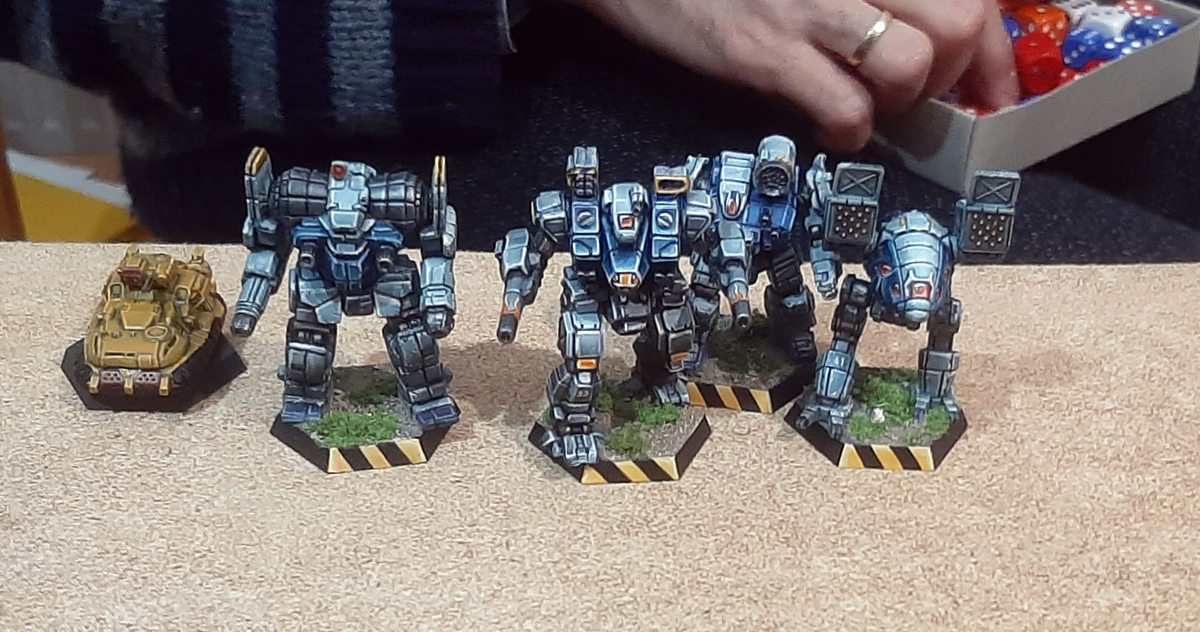
We deploy in two groups – Cpt.’Lynx’ Tanit in her Marauder, Lt.Leekon’s Phoenix Hawk and Ade Fraser’s Crusader of the Command Lance on the left flank. They are accompanied by Mohammed Lee’s trusty Victor and Delacroix’ Catapult. They also got one of the APCs with them. They form the attack group on our left.
At the right flank we got Lt.Cadillac’s Warhammer IIc, Zucchini in the Awesome and the two Masters siblings, Kai and Sally, piloting their Thunderbolt and Catapult respectively. They got the other APC with them.
The assault commences.
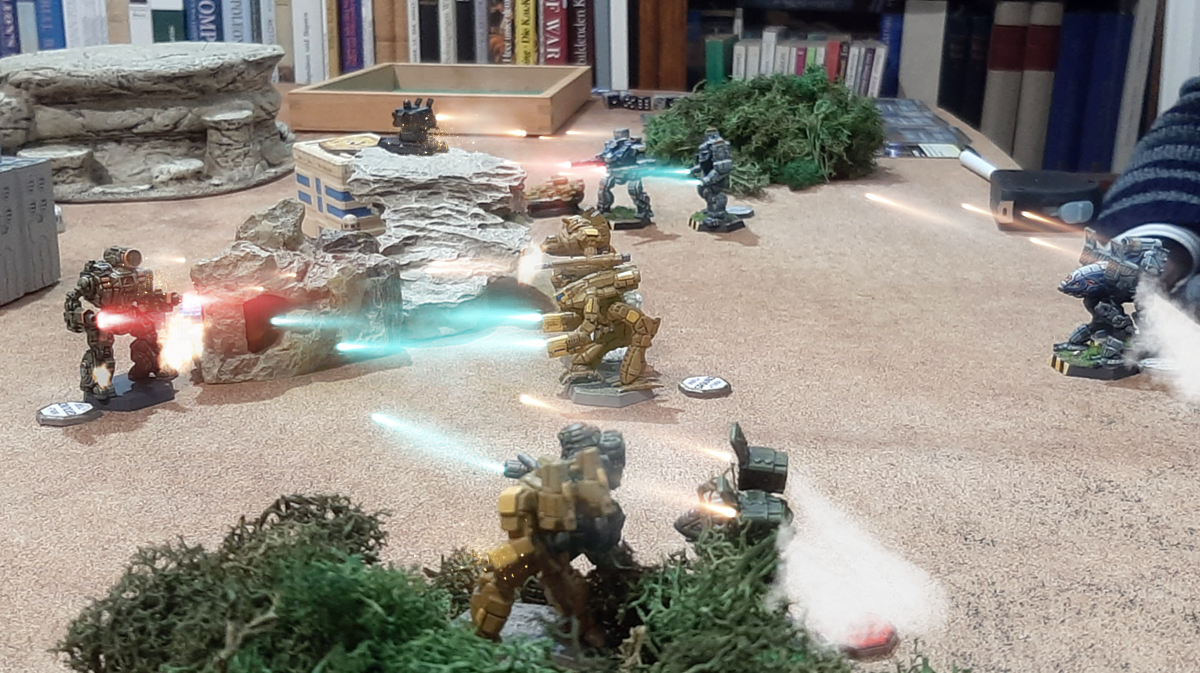
The main focus is to take out the defence turrets on the hills, then get into the base, locate and take out the artillery. The enemy battlemechs take defensive stance following the attack from the unexpected direction, but our archfoe Sender moves directly towards us. An opportunity. Cpt.Tanit orders to focus fire on the enemy commander. Sally and Kai Masters split off from the right flank group to support fire.
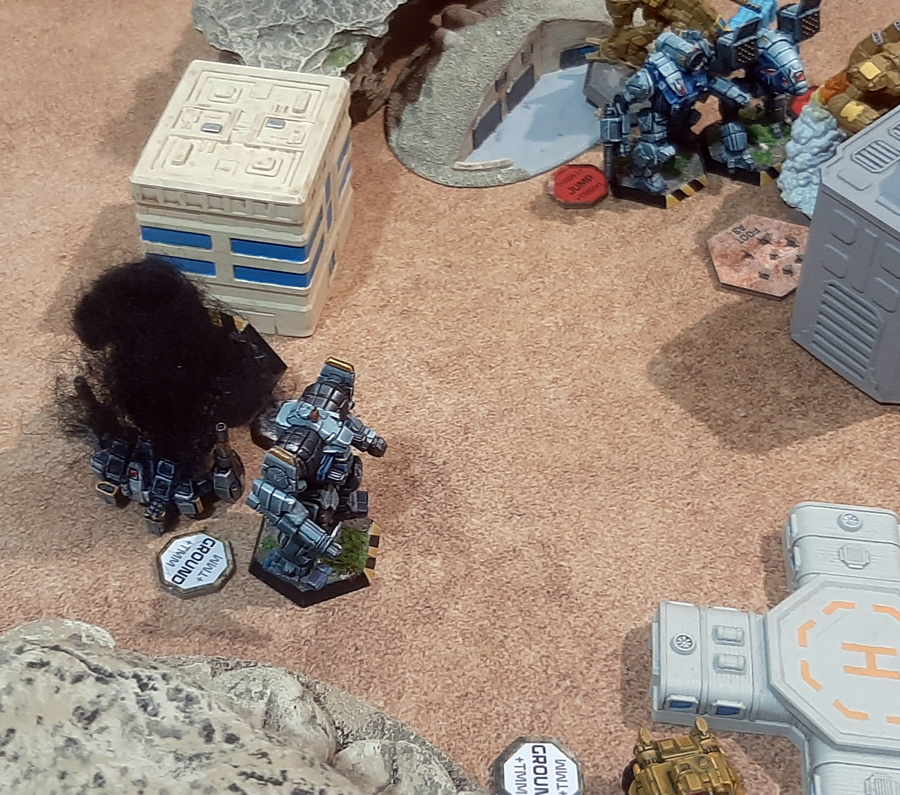
Lt.Cadillac and Zucchini trust in their heavy mechs and advance on their own. They take out one of the defence guns.
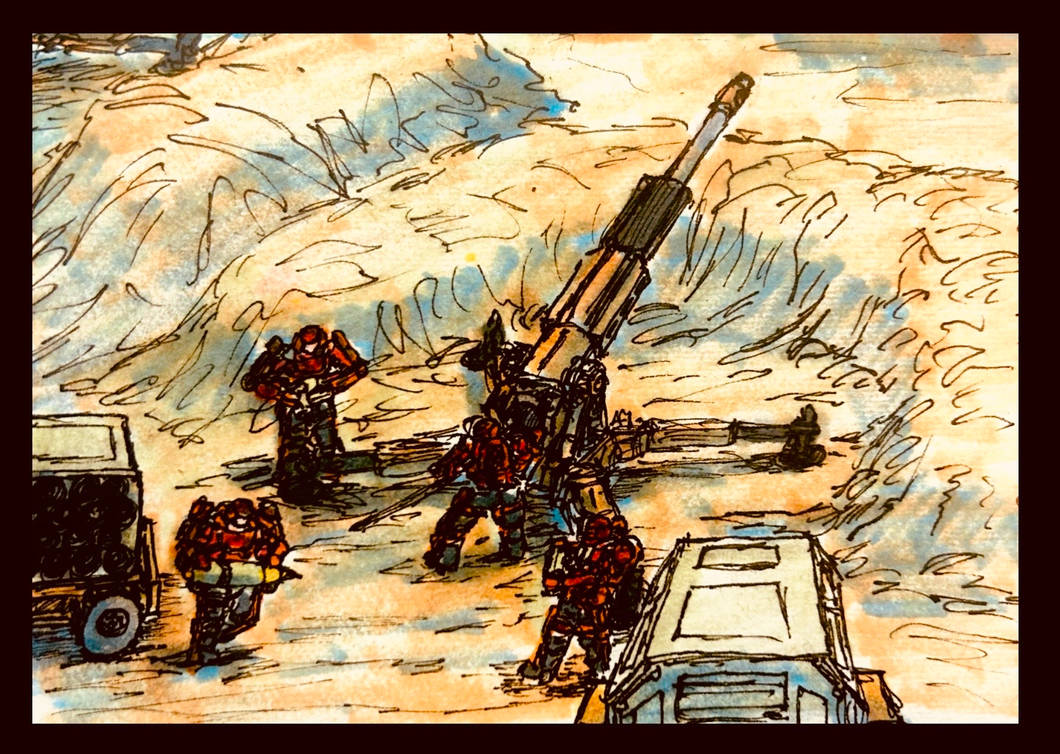
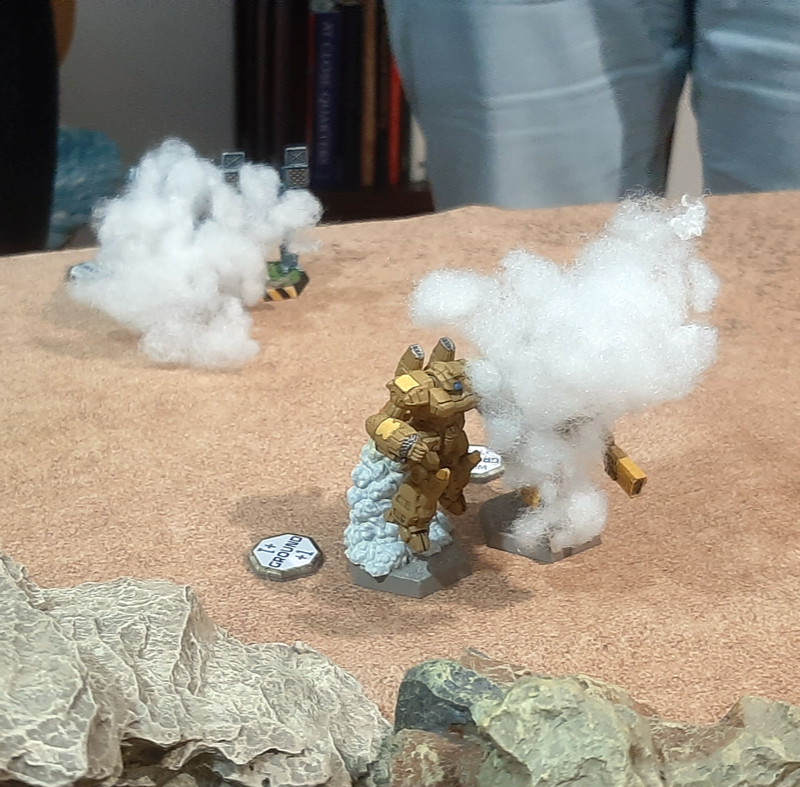
The enemy starts to return fire, as Thumper artillery shells our advancing battlemechs.
Heavy enemy mechs move out to meet ours, but even the Marauder IIc can not match the Warhammer II’s firepower.

Important moments: The commander of the occupying force has to pull back behind the buildings, local forces hot on his heels to exploit the enemy’s weakness.
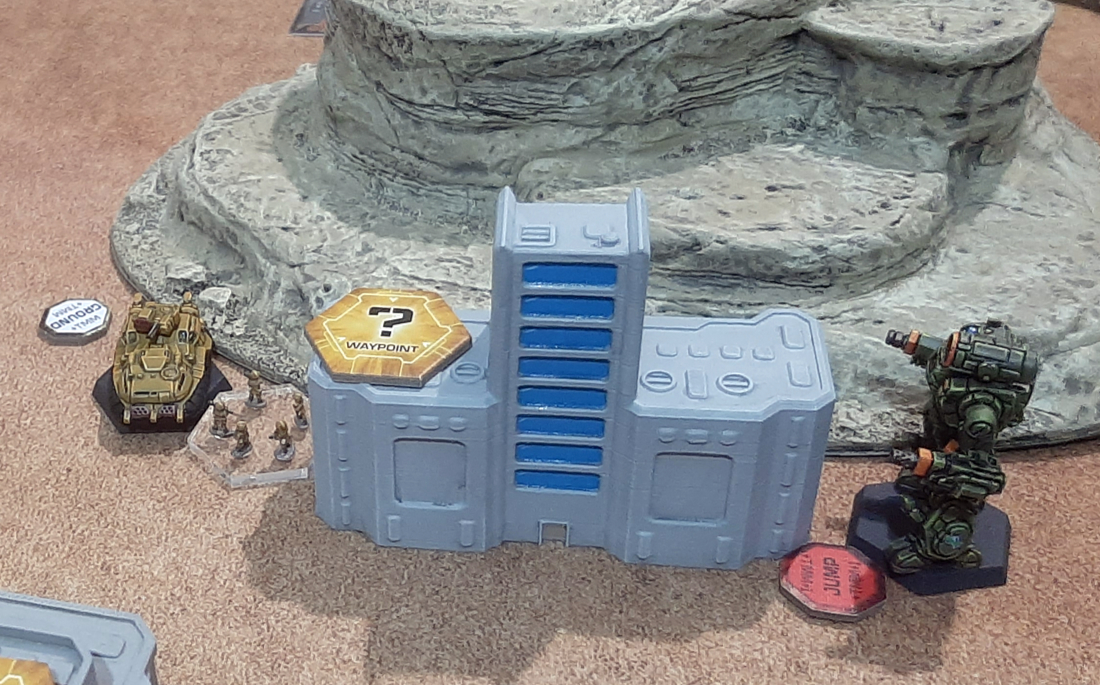
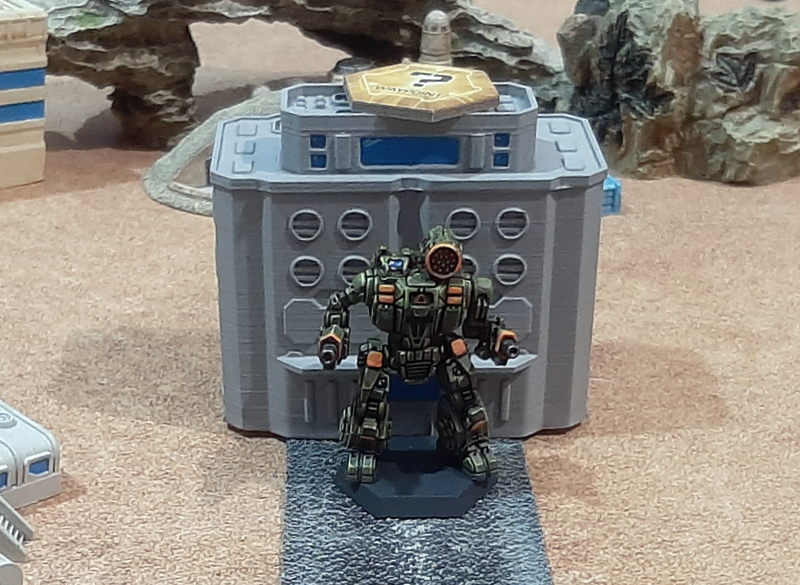
More light infantry pours into the enemy garrison and finds one of the two artillery positions. A sudden counter-attack, carried out by an up-gunned Locust, is swiftly dealt with, courtsey of Lt.Leekon and Lee. We lose one of the APCs though.
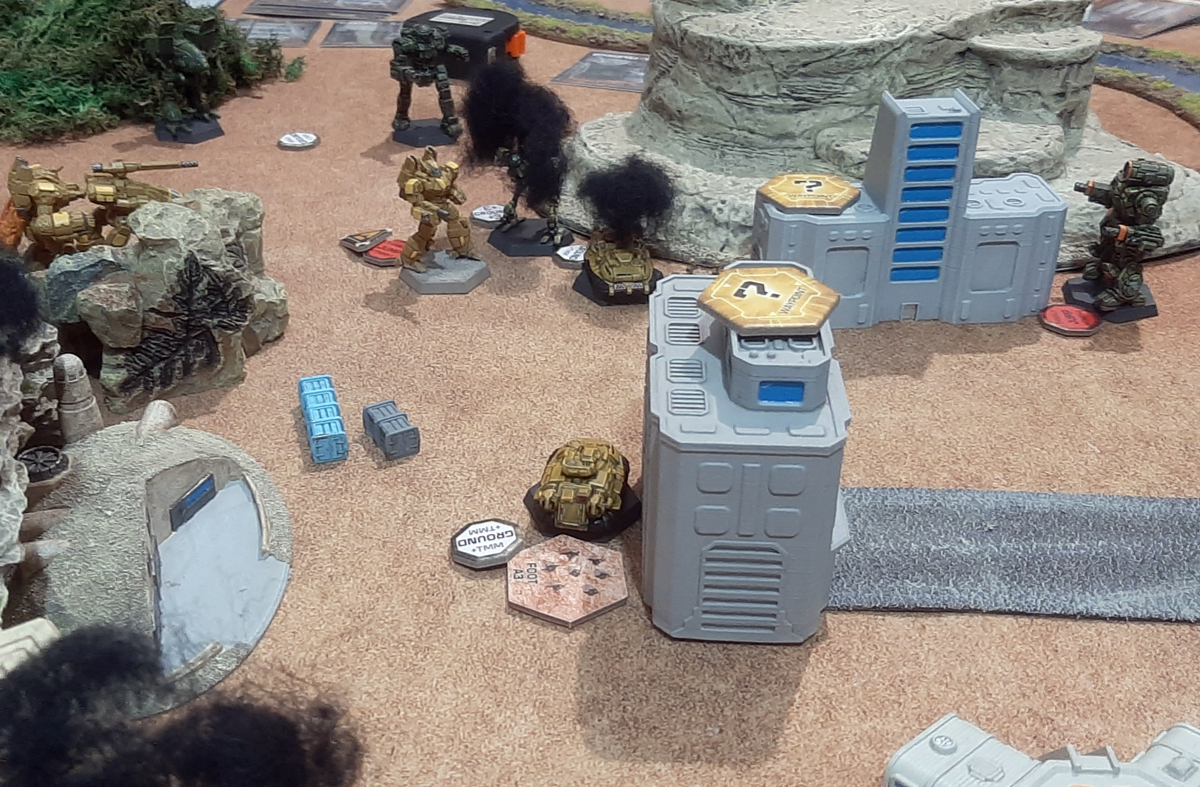
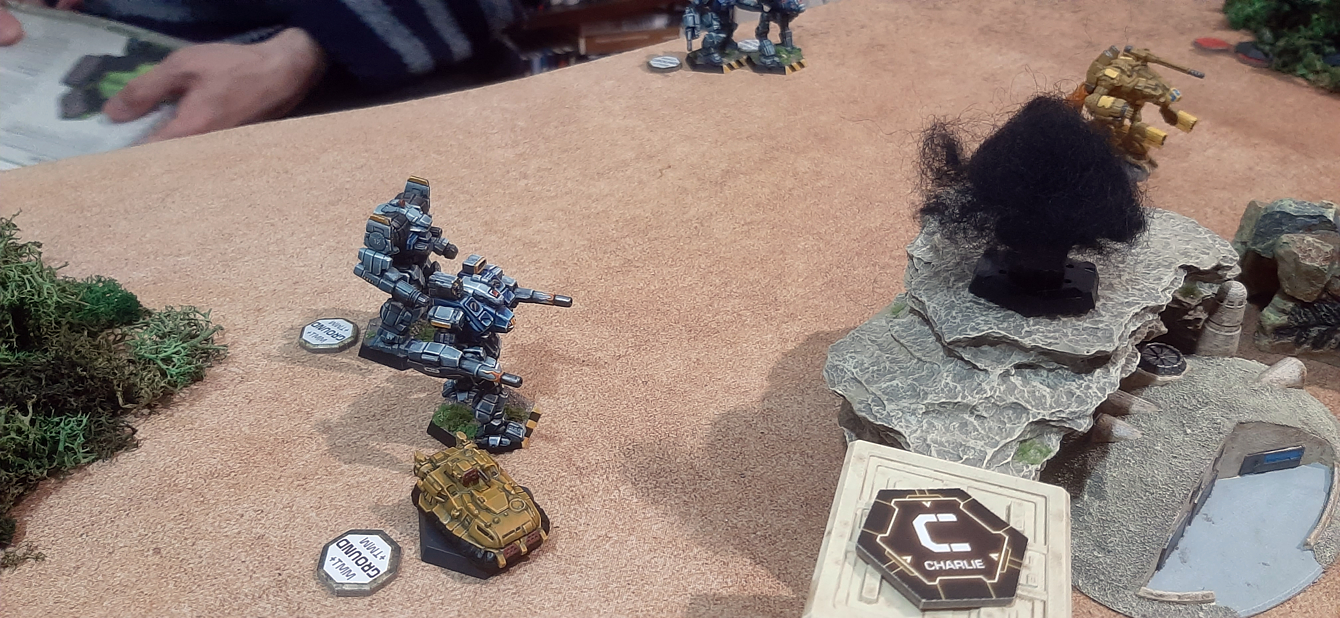
Tanit’s mercenary mechs move into the enemy base. We try to push the enemy out of their positions by pure mass. The Masters siblings jump right in.
The Jade Falcons’ Rifleman and Bane form a second line of defence along the river.
Lt. Cadillac feels positively indestructible in her new machine and, with the Awesome in tow, moves towards the enemy. Who in turn focus their fire on my poor lance commander and JUST manage to fell the mighty machine.
Oops. This is the second time Cadillac is taken down in this campaign.
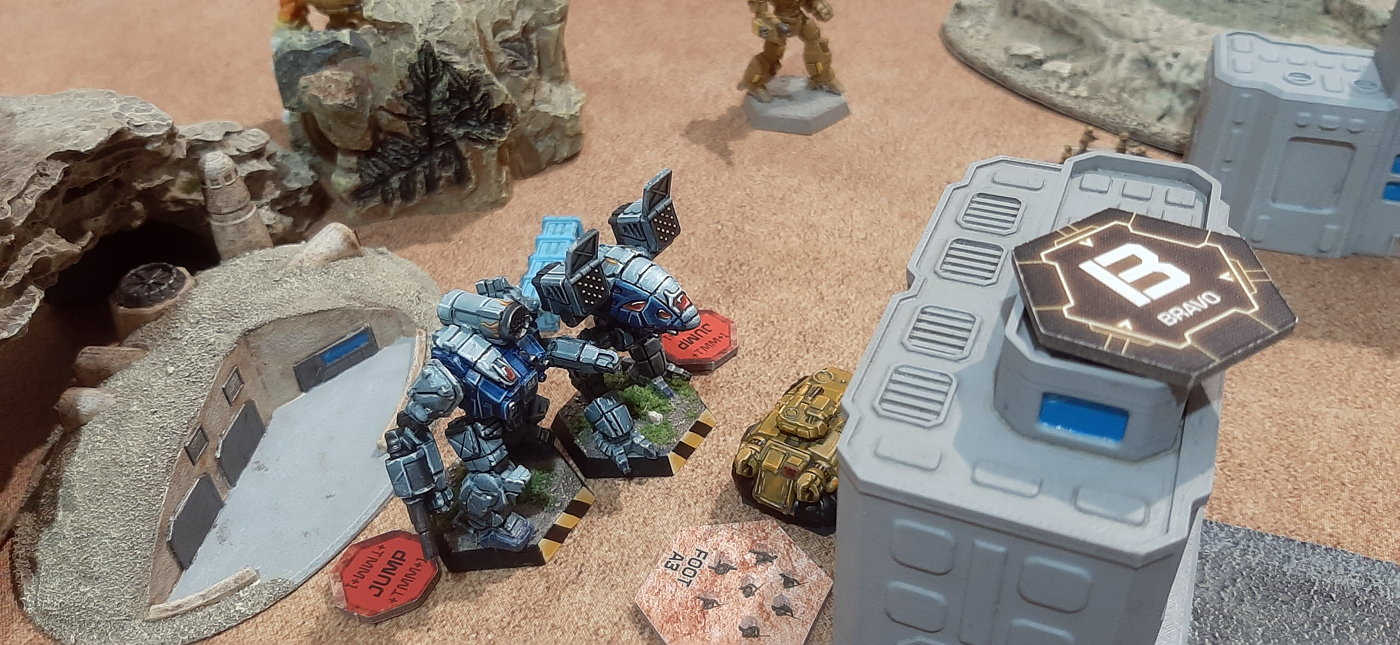
This at least buys the rest of the crew some time. Lee’s Victor and Leekon’s Phoenix Hawk flank the enemy position.
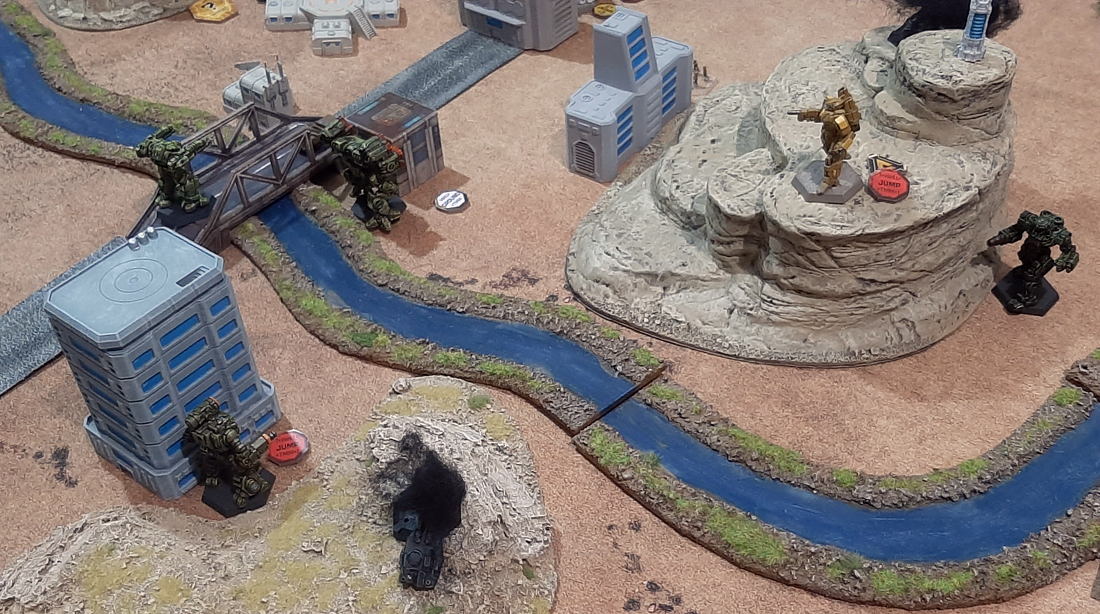
With their boss abandoning them, the Bane and Rifleman pilot see now reason to hold the position any further and retreat along with Commander Sender.
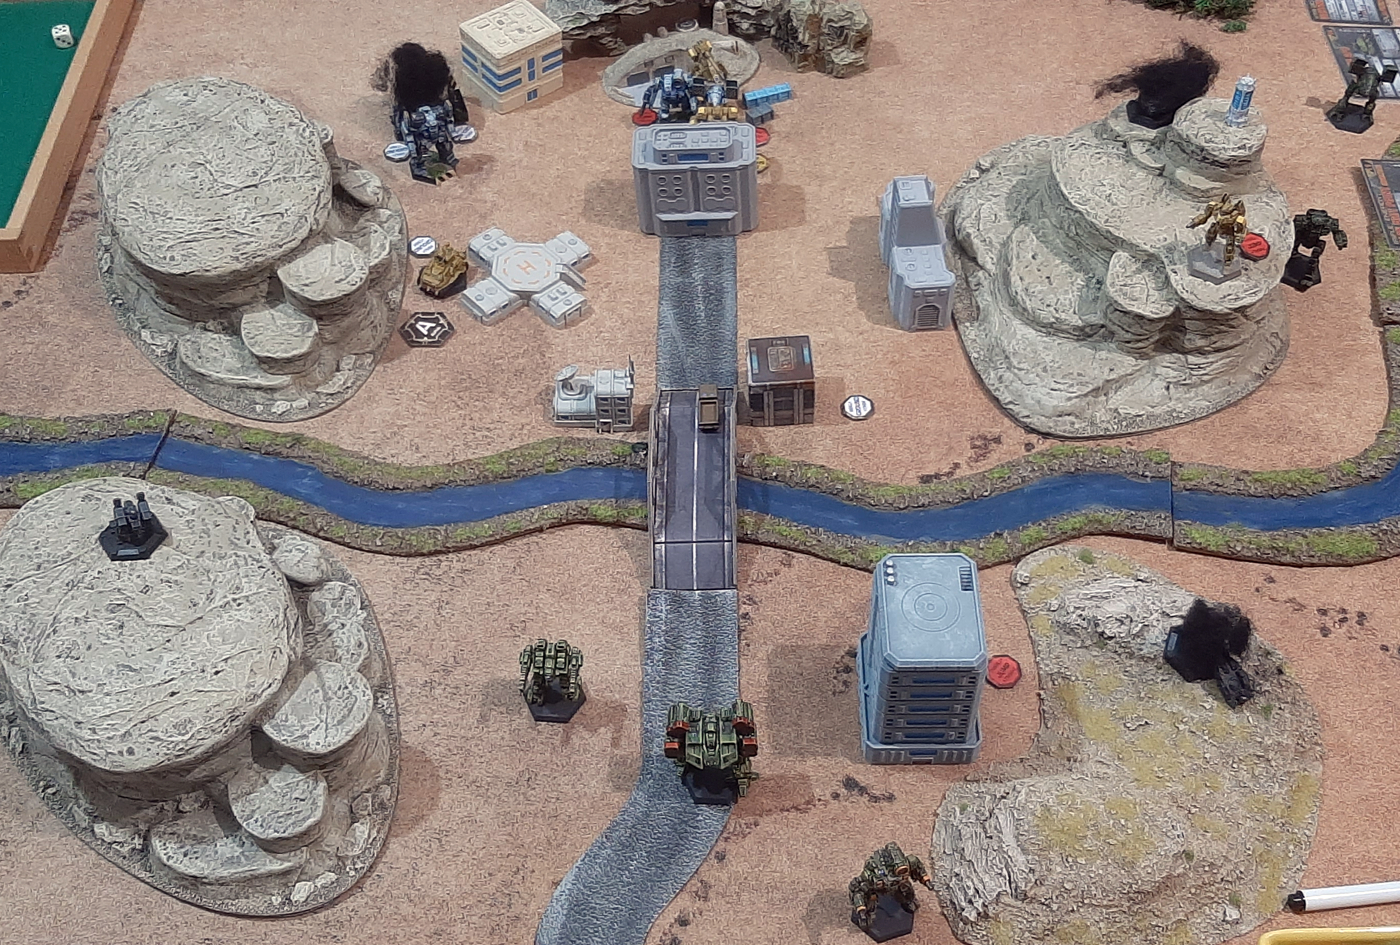
Tanit’s Talons take out the last defence gun, local forces capture the enemy artillery guns.
Tanit’s Talons are victorious!
Aftermath
The enemy garrison has fallen! Apolakkian forces drag away prisoners, throw documents out of windows, kick over statues, all that sorta stuff. No signs of Sender though, who managed to slip away once more. All we know is that he’ll either try to contact his pals in space for additional support or he might go completely off the rails and try to do something to the planet’s vital civilian infrastructure.

Another scenario that went well for us. Well, most of us. Bit of a shame that Lt.Cadillac’s got shot down once again. Her Warhammer can be salvaged and she’s back to the infirmary for the next game. But we already know: She’ll be back once more, and even angrier than before!
Stay tuned for game #6!